Quick Answer: Hydroponic chives are one of the easiest herbs you can grow indoors. Expect your first harvest in 3–4 weeks from transplant, or 6–8 weeks from seed. Keep pH at 6.0–6.5, EC between 400–1,200 PPM (0.8–2.4 EC) depending on growth stage, and give them 14–16 hours of light daily. Use a cut-and-come-again technique and a single planting can feed you for years.
If you’ve been wondering how to grow hydroponic chives, you’re in the right place. Chives are forgiving, compact, and genuinely useful in the kitchen — which makes them a perfect first hydroponic herb. They use 90–95% less water than soil growing, thrive under basic LED lighting, and bounce back fast after every harvest.
Quick Reference: Key Growing Parameters
| Parameter | Target Range |
|---|---|
| pH | 6.0–6.5 |
| EC (seedling) | 400–600 PPM (0.8–1.2 EC) |
| EC (production) | 800–1,200 PPM (1.6–2.4 EC) |
| Light (photoperiod) | 14–16 hours |
| PPFD (production) | 200–400 µmol/m²/s |
| Temperature | 65–75°F (18–24°C) |
| First harvest (transplant) | 3–4 weeks |
| First harvest (from seed) | 6–8 weeks |
Choosing the Best Hydroponic System for Chives
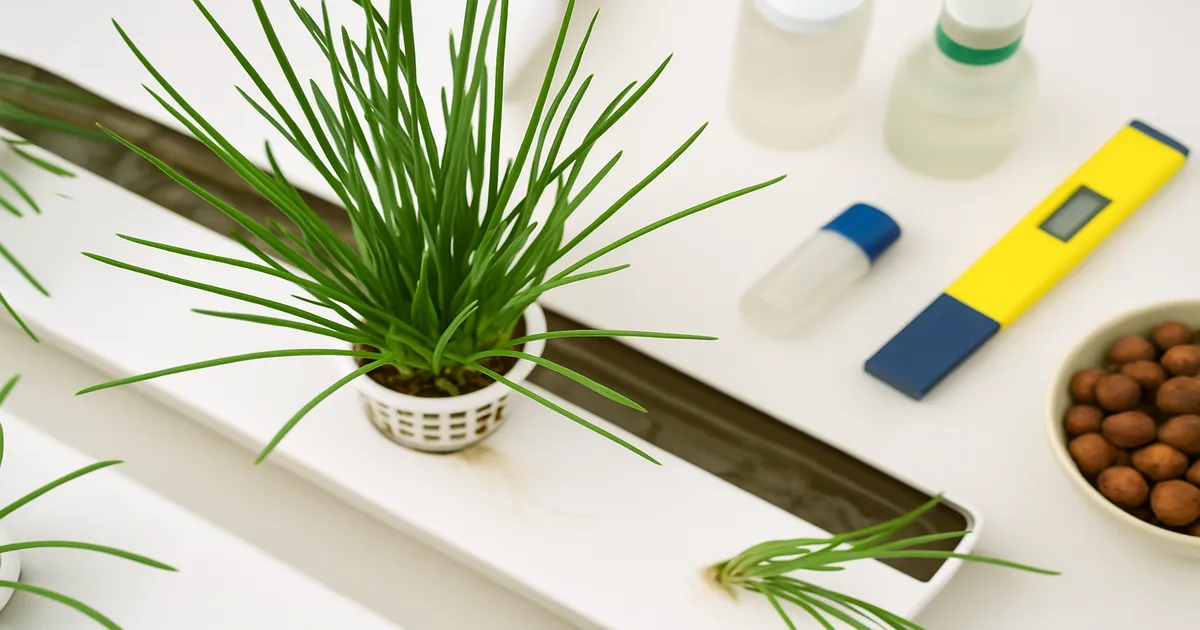
NFT (Nutrient Film Technique): The Top Choice
NFT systems run a thin, continuous film of nutrient solution through shallow channels. Chives love it — their fine, fibrous roots thrive in that shallow flow without becoming waterlogged. Most commercial herb growers use NFT for chives, and it scales up easily if you catch the growing bug.
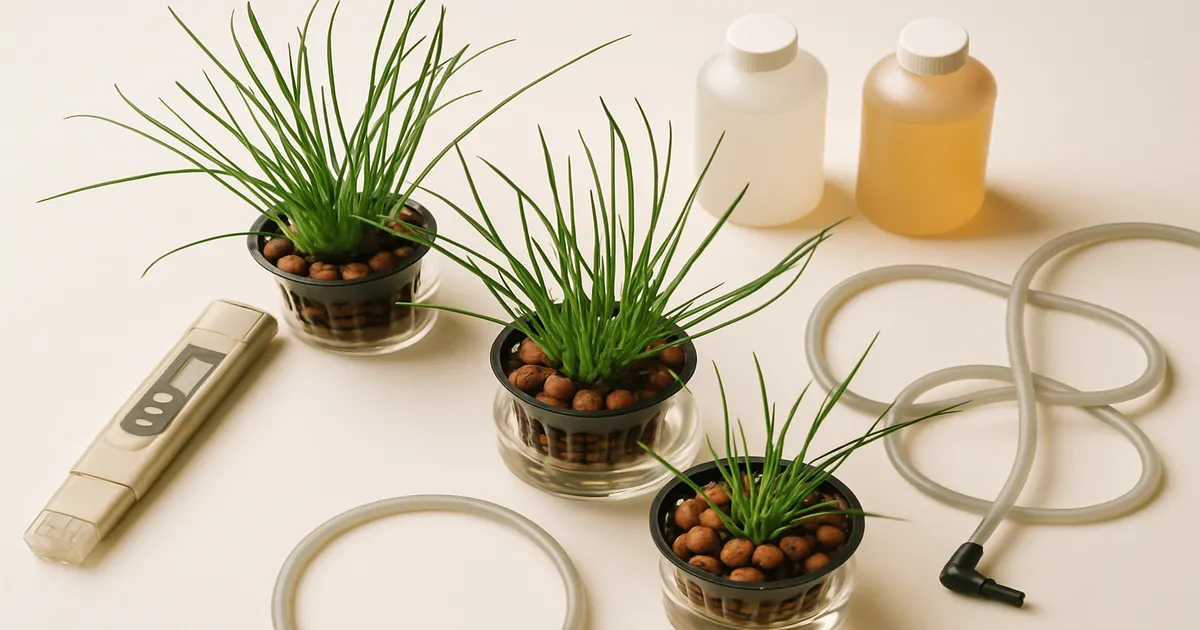
DWC and Kratky: Best for Home Growers
Deep Water Culture (DWC) suspends plant roots directly in an oxygenated nutrient reservoir. It’s simple to set up and very beginner-friendly — just keep an air pump running to maintain dissolved oxygen. The Kratky method is a passive variation with no pump at all: roots hang above a static reservoir and draw nutrients as the water level drops. It’s ideal for a windowsill or shelf where running a pump isn’t practical.
Ebb & Flow and Vertical Tower Systems
Ebb & Flow systems are a solid choice if you want to grow a larger batch with some flexibility in growing media. They flood the root zone on a timer, then drain — giving roots excellent oxygen exposure between cycles. Vertical tower systems are worth considering if space is tight. Chives’ compact size makes them ideal for stacking multiple levels, and they’re popular in urban herb gardens.
Wicking Systems: Ultra-Low-Cost Option
A wicking system costs almost nothing to build — just a container with an absorbent medium that draws nutrient solution up from a reservoir below. Growth is slower than active systems, but it works. If you want to experiment before committing to a pump-based setup, this is a sensible starting point.
System Comparison
| System | Suitability | Best For | Key Consideration |
|---|---|---|---|
| NFT | ⭐⭐⭐⭐⭐ Excellent | Commercial & hobbyist | Requires pump and channels |
| DWC | ⭐⭐⭐⭐ Very Good | Beginners with a pump | Monitor dissolved oxygen |
| Kratky | ⭐⭐⭐⭐ Very Good | Windowsill / no-pump setups | Reservoir needs monitoring |
| Ebb & Flow | ⭐⭐⭐⭐ Very Good | Larger home plantings | Timer and pump required |
| Vertical Tower | ⭐⭐⭐⭐ Very Good | Space-limited growers | Pump + even light coverage needed |
| Wicking | ⭐⭐⭐ Good | Casual home growers | Slower growth rate |
Best Chive Varieties for Hydroponics
Common Chives (Allium schoenoprasum): The Reliable Workhorse
Standard common chives are the go-to for hydroponics. They grow fast, produce abundantly, and have that familiar mild onion flavour. Seed is cheap, widely available, and germinates reliably. For most growers — especially beginners — this is the only variety you need.
Garlic Chives and Other Specialty Varieties
Garlic chives (Allium tuberosum) have flat, broader leaves and a distinct garlic-forward flavour. They grow slightly slower than common chives but are equally well-suited to hydroponic systems. If you’re selling to restaurants, garlic chives can command a premium and help differentiate your product.
Starting from Seed vs. Transplanting Divisions
- From seed: Germination takes 7–14 days; first harvest around 6–8 weeks. More economical if you’re planting in volume.
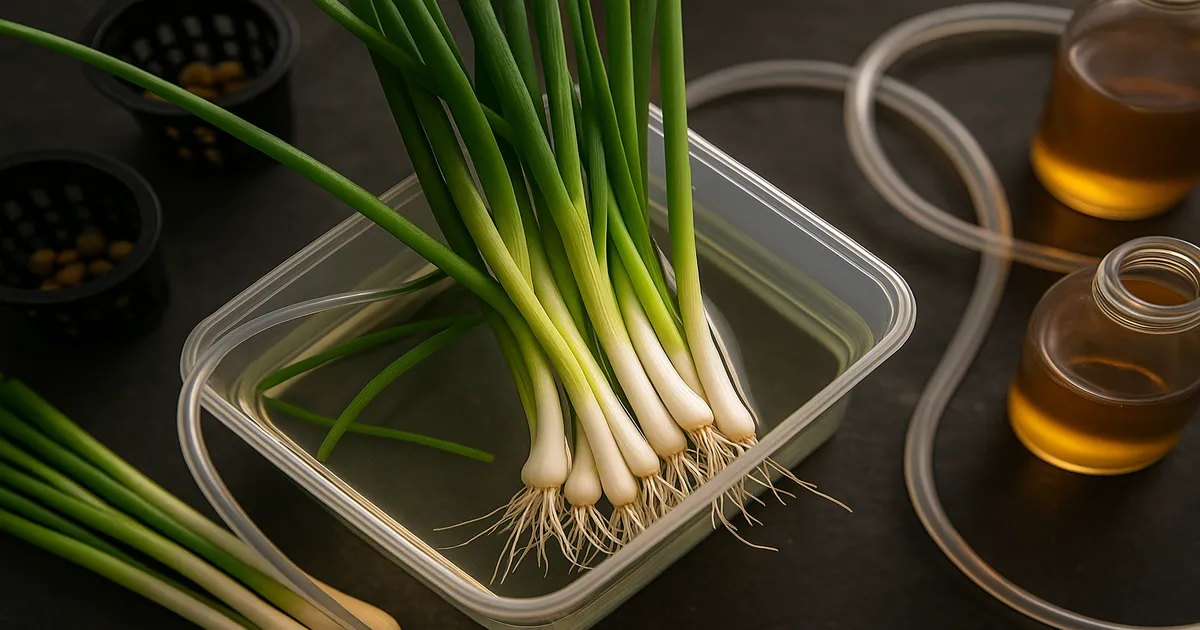
- From transplant/division: Split an established clump from a garden or nursery pot, wash the roots thoroughly, and transplant directly into your system. First harvest in just 3–4 weeks.
The transplant route is faster and lower-risk. Either way, chives are perennial — a healthy hydroponic planting can produce for 2–3 years or more with proper maintenance.
How to Grow Hydroponic Chives: Step-by-Step Setup
Germinating Chive Seeds
Soak rockwool cubes or Rapid Rooter plugs in pH 5.5–6.0 water for 30 minutes before use. Place 3–5 seeds per cube, cover lightly, and keep them somewhere warm (70–75°F / 21–24°C) with high humidity — a humidity dome helps. Expect germination in 7–14 days. Seedlings are ready to transplant once roots are visibly emerging from the cube.
Transplanting into Your System
Once seedlings have visible roots, or your division clumps are cleaned up, they’re ready for net pots. Set your nutrient solution to seedling strength (400–600 PPM / 0.8–1.2 EC) for the first two weeks. If transplanting soil-grown divisions, rinse the roots gently but thoroughly — soil in a hydroponic reservoir causes problems fast.
Use 2-inch net pots for individual transplants, or 3-inch pots for small clumps of 5–8 seedlings. Space plants 2–4 inches apart. Chives grow in dense clumps naturally, so you can plant more tightly than most crops — just make sure airflow isn’t compromised.
Choosing Your Growing Media
- Hydroton (clay pebbles): Excellent drainage and reusable; rinse thoroughly before first use
- Rockwool: Great for starting seeds; retains moisture well
- Perlite: Lightweight and inexpensive; works well in ebb & flow or wicking systems
The goal is to anchor the plant and allow roots to reach the nutrient solution without sitting in stagnant water. Any of the above will do the job.
Temperature and Humidity
Aim for 65–75°F (18–24°C) and 50–70% relative humidity. Chives tolerate a fairly wide range — they won’t die at 60°F (15°C), they’ll just grow more slowly. Keep temperatures below 80°F (27°C) to reduce bolting risk.
Nutrient Solution for Hydroponic Chives
Why Nitrogen Leads the Formula
Chives are a leafy crop, so nitrogen drives growth. Aim for an N-P-K ratio around 3-1-2 or 4-1-3 during active vegetative production. Phosphorus supports root establishment early on, while potassium helps cell wall strength and overall vigour.
The Role of Sulfur in Flavour Development
This is the nutrient most growers overlook. Sulfur compounds are directly responsible for chives’ characteristic onion-like flavour and aroma — the same chemistry behind all Alliums. Target 30–60 PPM sulfur in your solution. Magnesium sulfate (Epsom salt) is an easy way to ensure adequate sulfur while also supplying magnesium.
EC and PPM Targets by Growth Stage
| Stage | PPM | EC |
|---|---|---|
| Seedling (weeks 1–2) | 400–600 PPM | 0.8–1.2 EC |
| Establishment (weeks 3–4) | 600–900 PPM | 1.2–1.8 EC |
| Active production | 800–1,200 PPM | 1.6–2.4 EC |
| High-yield (experienced growers) | 1,000–1,400 PPM | 2.0–2.8 EC |
Don’t push beyond 1,600 PPM (3.2 EC). Above that threshold, expect tip burn and reduced yield.
Nutrient Product Options
Beginner: The General Hydroponics Flora Series is a reliable starting point. Use FloraGro, FloraMicro, and FloraBloom at a 3:1:2 ratio, at 50–75% of the recommended “aggressive vegetative” rate. If you’d prefer a single-part powder, General Hydroponics MaxiGro is even simpler — mix at 5–7 g per gallon.
Intermediate: The Masterblend 4-18-38 system is highly cost-effective for larger operations. Combine Masterblend, calcium nitrate, and Epsom salt at a 1:2:0.5 ratio by weight. It takes a little more measuring, but the per-gallon cost is significantly lower than pre-mixed products.
Water Source
RO or distilled water (starting TDS of 0–50 PPM) gives you the cleanest baseline. Tap water under 200 PPM TDS is generally fine — let it sit 24 hours to off-gas chlorine, or use a dechlorinator. Hard tap water above 300 PPM TDS can throw off your nutrient ratios and should be diluted or filtered before use.
pH and EC Management
Optimal pH Range
Most hydroponic crops prefer pH 5.5–6.0, but chives — being Alliums — perform best at a slightly higher 6.0–6.5. This matters particularly for iron availability: if pH creeps above 6.5, iron becomes less soluble and you’ll start seeing yellowing between leaf veins (interveinal chlorosis).
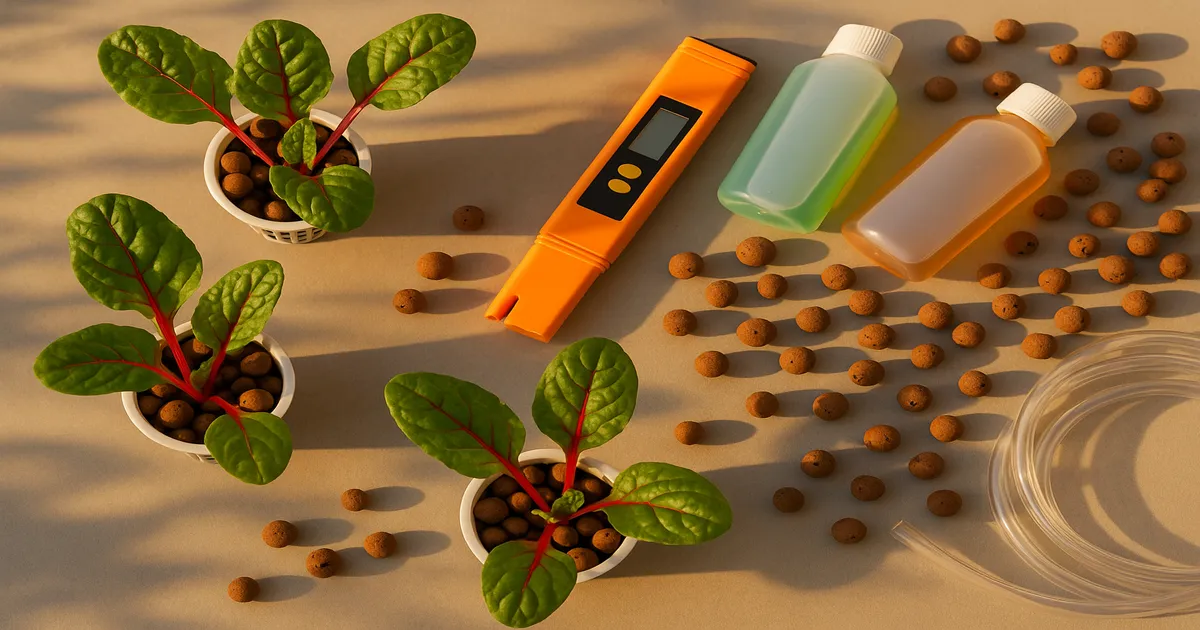
Monitoring Tools and Frequency
A quality digital pH meter is non-negotiable. The Apera PC60 and Bluelab pH Pen are both excellent choices. Calibrate weekly using pH 4.0 and 7.0 buffer solutions. For EC, the Bluelab Truncheon is reliable and needs no calibration. pH test strips are acceptable for casual growing but are only accurate to ±0.2–0.5 pH units.
Monitoring frequency:
- First 2 weeks: Check pH and EC daily
- Once stable: Every 2–3 days
Adjusting pH Safely
Always mix your nutrients into water first, then adjust pH. Nutrients shift pH on their own, so adjusting plain water first is a waste of time. Use pH Up (potassium hydroxide-based) or pH Down (phosphoric acid-based) in 1–2 mL increments per 5 gallons. Wait 15–30 minutes and retest before adding more.
Understanding EC and pH Drift
| Scenario | Cause | Fix |
|---|---|---|
| pH drifting up | Plant uptake releasing OH⁻; algae | Add pH Down; block light from reservoir |
| pH drifting down | Microbial activity; root decay | Add pH Up; check for root rot |
| EC rising | Plants drinking more water than nutrients | Top off with plain pH-adjusted water |
| EC falling | Plants consuming nutrients faster than water | Add diluted nutrient solution or do a full reservoir change |
Reservoir Maintenance Schedule
- Every 2–3 days: Top off with pH-adjusted plain water as needed
- Every 7–10 days: Partial reservoir change (25–50%)
- Every 2–3 weeks: Full reservoir change to prevent salt buildup and pathogen accumulation
- Between crop cycles: Drain completely, clean with a 1:10 bleach solution or 3% hydrogen peroxide, rinse thoroughly before refilling
Lighting for Hydroponic Chives
Spectrum and Intensity
Blue light (400–500 nm) drives compact, dense vegetative growth — exactly what you want from a cut herb. Full-spectrum white LEDs in the 4000–5000K range work beautifully. Avoid old-style “blurple” red/blue LEDs if you can; full-spectrum lights produce better flavour compound development. A small amount of UV light can also enhance sulfur compound production, intensifying that characteristic chive flavour.
| Stage | PPFD Target | DLI |
|---|---|---|
| Seedling | 100–200 µmol/m²/s | 8–12 mol/m²/day |
| Production | 200–400 µmol/m²/s | 12–17 mol/m²/day |
Chives don’t need intense light. Their saturation point is around 400–500 µmol/m²/s — pushing beyond that wastes electricity and can bleach leaves.
Photoperiod
Run lights for 14–16 hours per day. Chives are long-day plants, so longer photoperiods keep them in vegetative mode and delay flowering. Stick closer to 14 hours if your grow space runs warm (above 70°F / 21°C) — the combination of long days and heat is the most common trigger for bolting.
Recommended LED Grow Lights
Home/hobbyist:
- Barrina T5 LED strips — ideal for shelf systems; even coverage, very affordable
- Spider Farmer SF-1000 — excellent full-spectrum Samsung diodes; covers a 2×2 ft area well
- Mars Hydro TS-1000 — budget-friendly option for small herb gardens
Commercial/semi-commercial:
- Fluence SPYDR 2i — industry-leading efficiency for herb production
- Gavita Pro 1700e LED — high output for larger grow rooms
Position most LED panels 12–24 inches above the canopy — check your manufacturer’s specs. Use a PAR meter or the free Photone smartphone app to verify you’re hitting 200–400 µmol/m²/s at plant level. Adjust height rather than dimming whenever possible; even coverage matters more than raw intensity for a crop like chives.
Harvesting Hydroponic Chives
The Cut-and-Come-Again Method
Wait until leaves are at least 6 inches tall before your first cut. Using clean scissors, cut the entire clump down to about 2 inches above the root crown — don’t leave stubs shorter than that or you’ll slow regrowth significantly. After a proper cut, expect new growth to be ready again in 2–3 weeks.
From transplant, plan for 3–4 weeks to first harvest. From seed, allow 6–8 weeks.
Harvesting Chive Flowers
The purple globe flowers that appear on mature plants are fully edible and visually striking as a garnish. If you’re selling to restaurants, they’re a premium product worth harvesting as soon as the heads fully open. If you’re not using them, remove flower stalks promptly — letting them go to seed diverts energy away from leaf production.
Maximising Regrowth
- Never cut below 2 inches above the root crown
- After harvesting, nudge your EC toward the higher end of your production range to fuel regrowth
- Keep photoperiod and temperatures in the optimal range during recovery
Long-Term Perennial Production
Every 6–12 months, root clumps will become dense and crowded. Lift them out of the net pots, divide the clump into smaller sections, and replant. This reinvigorates growth and prevents your system from becoming root-bound. A well-maintained hydroponic chive planting can produce continuously for 2–3 years or more.
Troubleshooting Common Problems
Yellowing Leaves: Nitrogen Deficiency or Iron Chlorosis?
Uniform yellowing across older (lower) leaves points to nitrogen deficiency — increase your EC slightly and confirm your N-P-K ratio is appropriate for a leafy crop. Yellowing between the veins of newer leaves, while the veins themselves stay green, is interveinal chlorosis — a classic sign of iron deficiency caused by pH creeping above 6.5. Bring pH back into the 6.0–6.5 range and the problem typically resolves within a week.
Tip Burn
Brown, papery leaf tips are almost always a sign of EC that’s too high, poor airflow, or low calcium. Check your EC first — if you’re above 1,400 PPM, dial it back. If EC is fine, increase air circulation around the canopy and verify your calcium levels are adequate (target 150–200 PPM Ca).
Slow Growth or Thin, Weak Leaves
If growth is sluggish and leaves look pale or spindly, the most likely culprits are insufficient light, low EC, or temperatures below 65°F (18°C). Check your PPFD at canopy level — it should be 200–400 µmol/m²/s during production. If light is adequate, bump EC toward the upper end of your production range.
Root Rot
Slimy, brown roots with a foul smell indicate root rot, usually caused by Pythium species. It’s most common in DWC systems with poor aeration or high water temperatures. Keep reservoir temperature below 72°F (22°C), ensure your air pump is running continuously, and consider adding a beneficial bacteria product such as Hydroguard to your reservoir as a preventative measure.
Bolting (Flowering Too Early)
If your chives are sending up flower stalks prematurely, the trigger is usually a combination of long days and high temperatures. Reduce your photoperiod to 14 hours and keep temperatures below 75°F (24°C). Remove flower stalks as soon as they appear to redirect energy back into leaf production.
Frequently Asked Questions
How long does it take to grow hydroponic chives? From transplant, expect your first harvest in 3–4 weeks. From seed, allow 6–8 weeks. After the first cut, regrowth is ready to harvest again every 2–3 weeks.
What is the best pH for hydroponic chives? Keep pH between 6.0 and 6.5. This is slightly higher than most hydroponic crops and reflects chives’ preference as an Allium. Below 6.0, some nutrient uptake is impaired; above 6.5, iron availability drops and yellowing can occur.
Can you grow hydroponic chives without a pump? Yes. The Kratky method requires no pump — roots hang above a static nutrient reservoir and draw solution as the water level drops. It’s slower than active systems but perfectly effective for a small windowsill setup.
How often should you harvest hydroponic chives? Once your plants are established, you can harvest every 2–3 weeks. Always cut to 2 inches above the root crown and let the plant recover fully before the next cut.
Do hydroponic chives need nutrients? Yes. Unlike soil, a hydroponic system contains no naturally occurring nutrients. You need to add a balanced hydroponic nutrient solution and maintain EC in the 800–1,200 PPM (1.6–2.4 EC) range during active production. Don’t skip sulfur — it’s essential for the flavour compounds that make chives taste like chives.