Quick Answer: Swiss chard is one of the most beginner-friendly crops you can grow — in soil or hydroponics. Keep pH at 5.8–6.4 (hydro) or 6.0–7.0 (soil), feed at 800–1,400 PPM (1.6–2.8 EC) during vegetative growth, and run a 16/8 light cycle. Use cut-and-come-again harvesting and you’ll be pulling leaves in as little as 25–35 days.
These swiss chard growing tips pull everything together in one place — from system selection and nutrient recipes to harvesting and troubleshooting. Whether you’re running a DWC bucket or a backyard raised bed, the fundamentals are the same: the right pH, the right light, and a consistent harvesting rhythm.
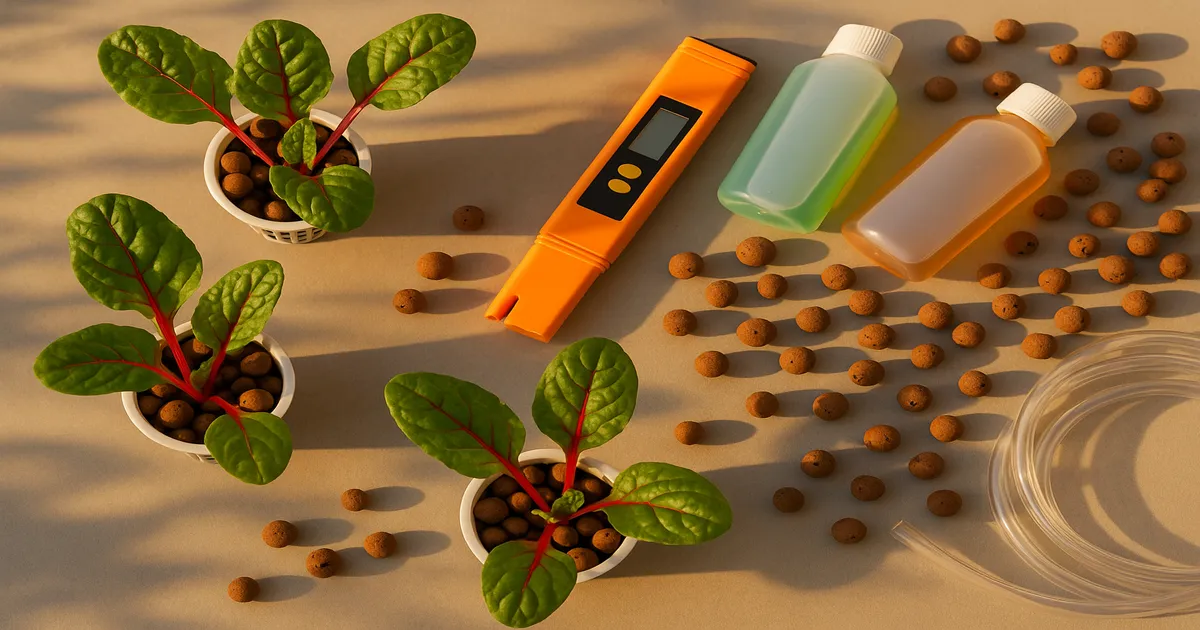
Swiss Chard Growing Tips at a Glance
Swiss chard (Beta vulgaris subsp. cicla) is a close relative of beetroot, and it shares that family’s toughness. It tolerates a wider pH and EC range than most leafy greens, bounces back from light frost, and keeps producing for weeks when harvested correctly. That combination makes it ideal for beginners and a reliable workhorse for experienced growers.
The cut-and-come-again (CCA) harvest method is the real game-changer. Instead of pulling the whole plant, you take outer leaves and let the center keep growing — extending your harvest window from a single cut to multiple rounds over several weeks.
Key Numbers Every Grower Needs
| Parameter | Hydroponics | Soil |
|---|---|---|
| pH | 5.8–6.4 | 6.0–7.0 |
| EC (vegetative) | 1.6–2.8 | N/A |
| PPM (vegetative) | 800–1,400 PPM | N/A |
| Days to first harvest | 25–35 (baby leaf) | 50–60 (full size) |
| Photoperiod | 16/8 (light/dark) | Natural or supplemented |
| Ideal temperature | 60–75°F (15–24°C) | 60–75°F (15–24°C) |
Note on EC: The upper end of 2.8 EC (1,400 PPM) suits mature plants in full vegetative growth. Sustained EC above 3.0 risks tip burn and slowed growth — keep mature plant targets at or below 1,500 PPM (3.0 EC) and watch your plants closely.
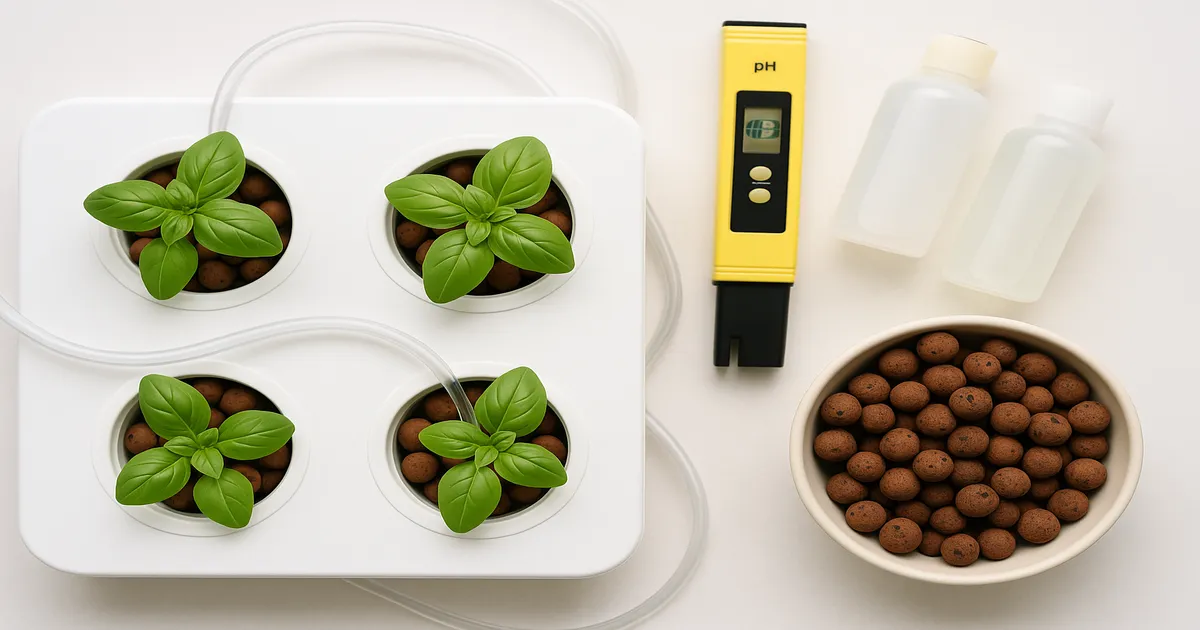
Choosing the Right Growing System
Swiss chard is unusually forgiving about system type, which is part of why it’s such a popular starter crop. It grows fast in active systems and well enough in passive ones.
| System | Suitability | Best For |
|---|---|---|
| NFT | ⭐⭐⭐⭐⭐ Excellent | Continuous production, commercial scale |
| DWC | ⭐⭐⭐⭐⭐ Excellent | Fast growth, easy monitoring |
| Kratky | ⭐⭐⭐⭐ Very Good | Beginners, no electricity needed |
| Ebb & Flow | ⭐⭐⭐⭐ Very Good | Larger root systems |
| Aeroponic | ⭐⭐⭐⭐ Very Good | Fastest growth, higher complexity |
| Wicking | ⭐⭐⭐ Good | Small-format, low-tech setups |
| Vertical Tower | ⭐⭐⭐ Good | Space efficiency |
NFT wins for continuous commercial-style production. A shallow stream of nutrient solution flows constantly over the roots, delivering oxygen and nutrients simultaneously. Swiss chard’s moderate root mass fits NFT channels well without clogging them.
DWC is equally excellent and arguably simpler to set up at home. Roots hang directly in an oxygenated reservoir, which drives fast, vigorous growth. Check your reservoir daily and top off with plain pH-adjusted water as needed. A reliable air pump keeps dissolved oxygen high — the single most important factor in DWC performance.
Kratky is passive DWC — no pump, no electricity, no moving parts. Fill a reservoir, set your net pot, and let the plant drink down the solution as it grows. It works well for compact varieties like ‘Baby Leaf Chard’ and ‘Perpetual Spinach.’ The main limitation is that you can’t fine-tune EC as easily as in active systems.
Wicking systems work for smaller plants but tend to deliver lower yields. They’re best suited to situations where electricity isn’t available or for a low-stakes first experiment.
Growing Swiss Chard in Soil
Swiss chard grows outdoors in USDA Zones 3–10 and performs well in both spring and fall plantings. Direct sow seeds ½ inch deep, 2–4 inches apart, and thin to 6–12 inches once seedlings establish. Target a soil pH of 6.0–7.0, with 6.5 being the sweet spot for nutrient availability. Amend heavy clay soils with compost to improve drainage — waterlogged roots invite crown rot and fungal disease.
Best Swiss Chard Varieties
Rainbow and Multicolor Varieties
‘Bright Lights’ is the most popular Swiss chard variety for good reason. It’s an All-America Selections winner with stalks in red, yellow, orange, pink, and white — ornamental in the garden and on the plate. Baby leaves are ready in 25–30 days, and it performs well in virtually every system type.
‘Rainbow Chard’ (sold as a blend) is similar and often more affordable. Uniformity varies slightly between individual plants, but it’s a solid choice for NFT channels and DWC buckets.
Classic White-Stalk Varieties
‘Fordhook Giant’ is the go-to heirloom for pure yield. It produces enormous, crinkled dark green leaves on thick white stalks and is about as vigorous as Swiss chard gets. Full maturity takes 50–60 days, but baby leaves are ready well before that.
‘Lucullus’ is milder in flavor and slightly more heat-tolerant than most varieties — a good pick if your grow space runs warm.
Red Varieties and Compact Specialty Types
‘Ruby Red’ (also sold as ‘Rhubarb Chard’) has deep crimson stalks and veins with dark green leaves. It’s slightly more bitter than white-stalked types and notably high in betalain pigments — the same antioxidant compounds found in beets.
‘Perpetual Spinach’ produces smaller, smoother leaves with a flavor closer to spinach than traditional chard. It’s excellent for NFT channels and vertical towers where large, floppy leaves would cause problems. ‘Baby Leaf Chard’ varieties are bred for dense small-format production and can be harvested at 20–25 days — ideal for Kratky jars.
| Variety | Days to First Harvest | System Suitability |
|---|---|---|
| Bright Lights | 25–30 (baby), 55–60 (full) | All systems |
| Fordhook Giant | 30–35 (baby), 50–60 (full) | DWC, NFT, soil |
| Ruby Red | 30–35 (baby), 55–60 (full) | All systems |
| Perpetual Spinach | 20–28 | NFT, towers, Kratky |
| Baby Leaf Chard | 20–25 | Kratky, small DWC |
Nutrient Requirements and Solution Recipes
Macronutrient Ratios by Growth Stage
Swiss chard is a foliage crop, so nitrogen drives everything. During vegetative growth — which is essentially its entire productive life — aim for an N:P:K ratio of 3:1:3 to 4:1:4. At the seedling stage, back off to 2:1:2 while roots establish.
Avoid high-phosphorus “bloom” formulas. These are designed for flowering plants and will suppress the lush leaf growth you’re after while potentially locking out micronutrients.
Key Micronutrients and Target Ranges
| Micronutrient | Target Range | Role |
|---|---|---|
| Iron (Fe) | 2–4 PPM | Chlorophyll synthesis; use chelated Fe-EDTA |
| Manganese (Mn) | 0.5–1.0 PPM | Enzyme activation, photosynthesis |
| Zinc (Zn) | 0.1–0.5 PPM | Protein synthesis |
| Boron (B) | 0.3–0.5 PPM | Calcium transport, cell walls |
| Copper (Cu) | 0.05–0.1 PPM | Enzyme function |
| Molybdenum (Mo) | 0.01–0.05 PPM | Nitrogen metabolism |
Calcium and magnesium deserve special attention. Target 150–200 PPM calcium and 40–60 PPM magnesium. Low calcium causes tip burn; low magnesium shows up as interveinal yellowing on older leaves.
Beginner Recipe: General Hydroponics Flora Series
The GH Flora Series is a reliable three-part system that covers all macro and micronutrients.
- Seedling stage: FloraGro 2.5 mL/gal + FloraMicro 2.5 mL/gal + FloraBloom 1.25 mL/gal
- Vegetative/harvest stage: FloraGro 5 mL/gal + FloraMicro 5 mL/gal + FloraBloom 2.5 mL/gal
Always add FloraMicro to water first, then FloraGro, then FloraBloom. Never mix concentrates together directly — you’ll get nutrient precipitation.
DIY Recipe: Masterblend 4-18-38
Masterblend is a favorite among budget-conscious growers. For Swiss chard at mid-vegetative stage:
- Add 2.4 g/gal Masterblend 4-18-38 to your reservoir
- Add 2.4 g/gal Calcium Nitrate separately
- Add 1.2 g/gal Magnesium Sulfate (Epsom Salt)
This yields approximately 800–1,000 PPM (1.6–2.0 EC) — right in the vegetative sweet spot. Scale up proportionally for mature plants targeting 1,200–1,400 PPM (2.4–2.8 EC).
pH and EC Management
Ideal pH Ranges
Hydroponic Swiss chard wants pH 5.8–6.4, with 6.0–6.2 being the sweet spot. In soil, aim for 6.0–7.0, ideally around 6.5. Staying within these windows keeps all major nutrients soluble and available — drift outside them and you’ll see deficiency symptoms even in a well-fed plant.
EC and PPM Targets by Growth Stage
| Growth Stage | PPM | EC |
|---|---|---|
| Seedling (0–2 weeks) | 350–560 PPM | 0.7–1.1 |
| Early vegetative | 800–1,120 PPM | 1.6–2.2 |
| Full vegetative / harvest ready | 1,120–1,400 PPM | 2.2–2.8 |
| Mature plant (large leaves) | 1,200–1,500 PPM | 2.4–3.0 |
Monitoring and Adjusting pH
Calibrate your pH meter weekly using pH 4.0 and 7.0 buffer solutions — a drifting probe is one of the most common causes of mysterious plant problems. The Apera PC60 and the Bluelab Combo Meter are both excellent choices. For smaller setups on a tighter budget, the HM Digital PH-80 gets the job done.
To lower pH, use a phosphoric acid-based pH Down solution. Add 0.5–1 mL at a time per 5 gallons, stir, and wait 15–30 minutes before re-testing. For raising pH, use potassium hydroxide-based pH Up. Small, patient adjustments beat large corrections every time.
Managing EC Drift
When your reservoir level drops, top off with plain pH-adjusted water, not more nutrient solution. Plants consume water faster than nutrients, so EC naturally rises over time. Adding plain water brings it back down.
Do a full reservoir change every 7–14 days in active systems. This prevents salt accumulation and nutrient imbalances that build up even when your EC readings look normal. Every 3–4 weeks, flush with plain pH-adjusted water (pH 6.0–6.2) for 24 hours to dissolve mineral deposits from channels, net pots, and root zones.
Lighting Requirements
Light Spectrum and PPFD Targets
Blue light (400–500 nm) keeps Swiss chard compact and leafy. Too little blue and plants stretch with thin, weak stems. Red light (600–700 nm) drives photosynthesis efficiency and overall biomass. Most quality full-spectrum LEDs balance these two well.
| Growth Stage | PPFD Target | DLI Target |
|---|---|---|
| Seedling | 100–200 µmol/m²/s | 8–12 mol/m²/day |
| Early vegetative | 200–350 µmol/m²/s | 12–17 mol/m²/day |
| Full vegetative / harvest | 350–600 µmol/m²/s | 17–25 mol/m²/day |
Swiss chard’s light saturation point is around 700 µmol/m²/s — well below fruiting crops like tomatoes. You don’t need a powerful or expensive light to grow it well, which keeps operating costs low.
Photoperiod and Recommended Fixtures
Run 16 hours of light and 8 hours of dark. Swiss chard is a long-day plant, so extended photoperiods push vegetative growth. Don’t run 24-hour lighting — plants use the dark period for respiration and metabolic processes, and skipping it reduces long-term yield.
| Budget | Fixture | Coverage |
|---|---|---|
| Under $100 | Spider Farmer SF-1000, Mars Hydro TS-1000 | 2×2 to 3×3 ft |
| $150–$350 | Spider Farmer SF-2000, AC Infinity IONBOARD S24 | 3×3 to 4×4 ft |
| $400+ | Fluence SPYDR, Gavita 1700e, HLG 350R | 4×4 to 5×5 ft |
T5 fluorescents are still a legitimate option for Swiss chard because of its lower light requirements. A 4-lamp T5HO fixture positioned 4–6 inches above the canopy delivers adequate PPFD for baby leaf production. They run cooler than HID lights and are inexpensive to replace.
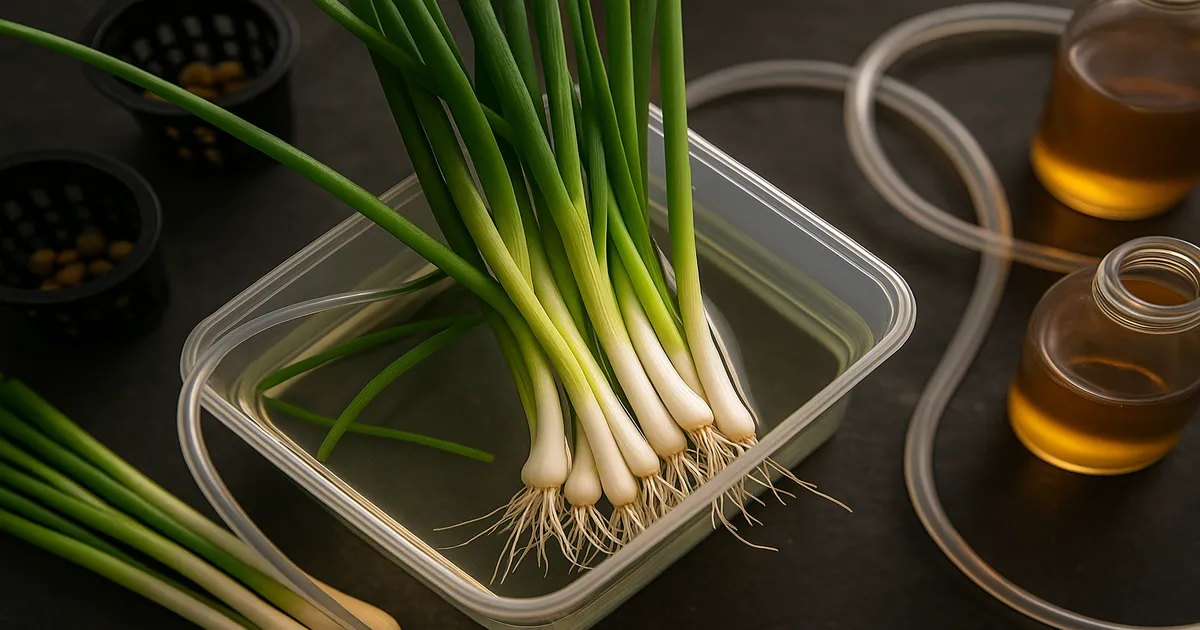
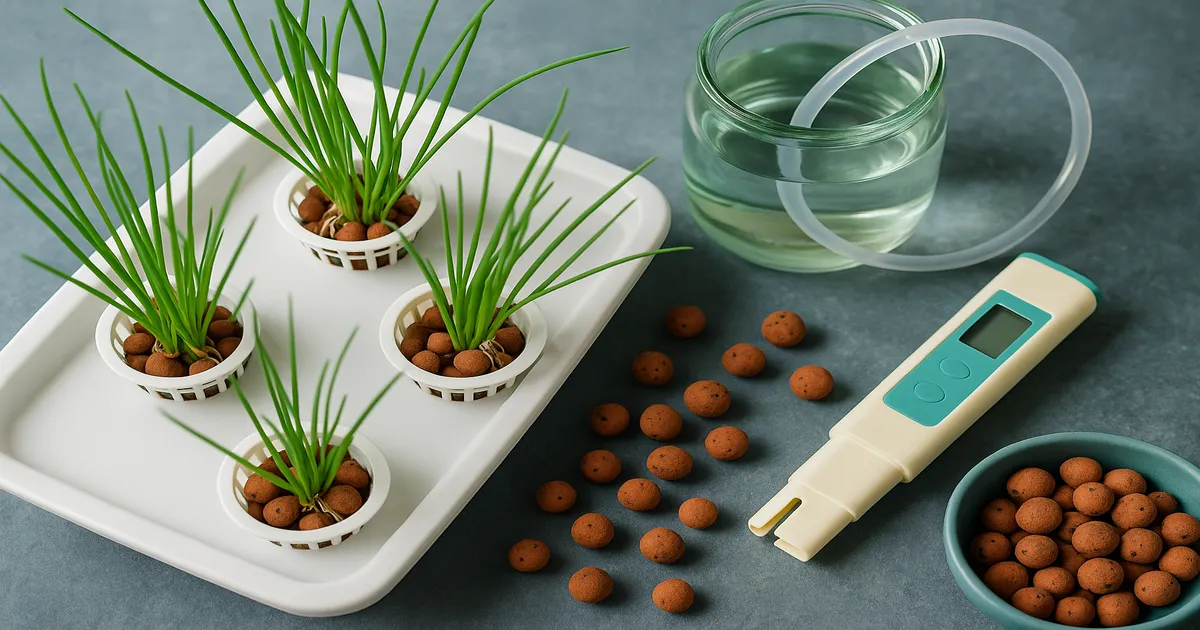
Planting, Care, and Harvesting Swiss Chard
Starting Seeds
For hydroponics, start seeds in rockwool cubes or Rapid Rooter plugs. Soak rockwool in pH 5.5 water before use to neutralize its naturally high pH. Place one or two seeds per cube, keep them at 65–75°F (18–24°C), and maintain humidity around 70–80% until germination — typically 5–7 days. Rapid Rooters are slightly more forgiving for beginners since they don’t require pre-soaking and have a more neutral pH out of the package.
Transplanting into Your System
Transplant when seedlings have their first true leaves and roots are just beginning to emerge from the bottom of the cube — usually 10–14 days after germination. Don’t wait too long; roots that have grown extensively outside the cube are harder to handle without damage. Start transplants at seedling-stage EC (0.7–1.1) and ramp up gradually over the first week.
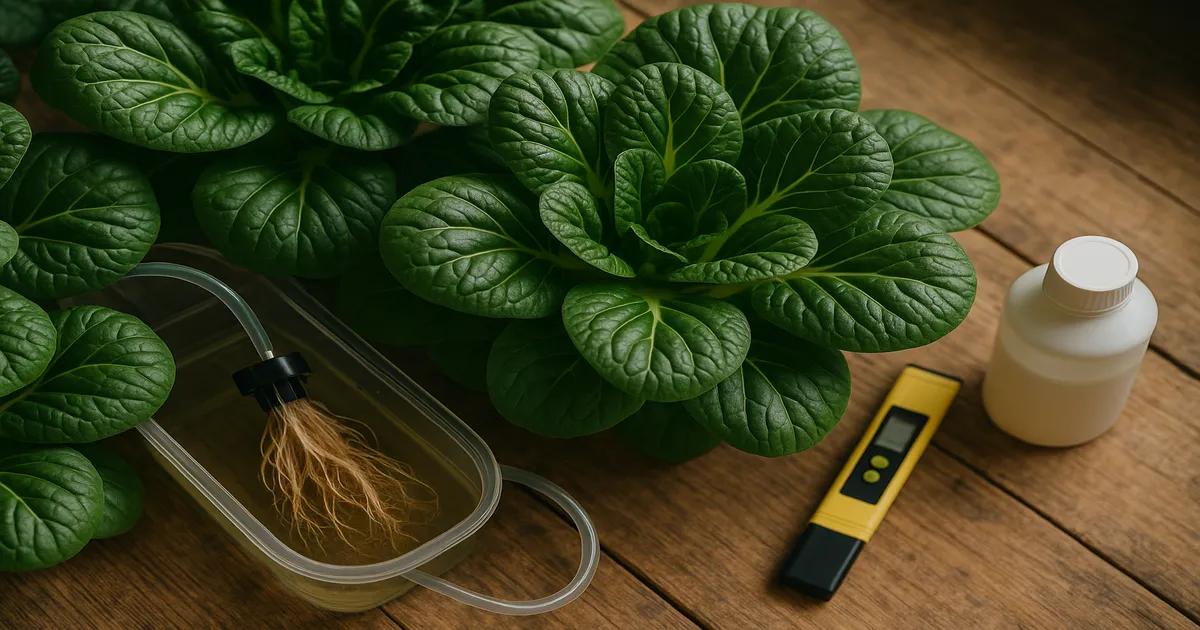
Cut-and-Come-Again Harvesting
This is the most important swiss chard growing tip for maximizing yield. Begin harvesting outer leaves once plants reach 6–8 inches tall — typically 25–35 days from transplant for baby leaf, 50–60 days for full-size. Always leave at least 4–5 inner leaves intact so the plant can continue photosynthesizing. Harvest in the morning when leaves are fully turgid for the best flavor and shelf life.
With a healthy plant in a well-maintained DWC or NFT system, you can expect 4–6 harvest rounds before growth slows noticeably.
Troubleshooting Common Problems
| Symptom | Likely Cause | Fix |
|---|---|---|
| Tip burn on leaf edges | High EC or low calcium | Lower EC; check Ca at 150–200 PPM |
| Interveinal yellowing (older leaves) | Magnesium deficiency | Add Epsom salt; target 40–60 PPM Mg |
| Pale, washed-out leaves | Iron deficiency or high pH | Check pH; use chelated Fe-EDTA |
| Leggy, stretched stems | Insufficient blue light or low PPFD | Increase light intensity; check spectrum |
| Slow growth, wilting | Low dissolved oxygen (DWC) | Check air pump; clean air stones |
| Brown, slimy roots | Root rot (Pythium) | Improve aeration; consider beneficial bacteria |
Frequently Asked Questions
How long does Swiss chard take to grow hydroponically? Baby leaves are ready in 25–35 days from transplant. Full-size leaves take 50–60 days. With cut-and-come-again harvesting, a single plant can produce for 8–12 weeks before it needs replacing.
What is the best pH for Swiss chard in hydroponics? Aim for 5.8–6.4, with 6.0–6.2 being the ideal target. This range keeps iron, calcium, and all major nutrients soluble and available to the plant.
Can I grow Swiss chard in a Kratky system? Yes. Compact varieties like ‘Baby Leaf Chard’ and ‘Perpetual Spinach’ work especially well. Use a container of at least 1 gallon per plant and start at low EC (0.7–1.1). The main limitation is that you can’t adjust EC mid-cycle as easily as in active systems.
Why are my Swiss chard leaves turning yellow? Yellowing between leaf veins on older leaves usually points to magnesium deficiency — add Epsom salt and target 40–60 PPM Mg. Uniform pale yellowing across newer leaves is more likely an iron deficiency or a pH problem locking out iron. Check pH first.
How often should I change my nutrient solution? Every 7–14 days in active systems like DWC and NFT. Top off daily with plain pH-adjusted water between changes. In Kratky systems, top off as needed and do a full solution swap every 2–3 weeks.