Quick Answer: Hydroponic basil grows 30–50% faster than soil-grown basil, produces 2–4 oz per harvest every 3–4 weeks, and thrives in a simple Deep Water Culture or Kratky setup you can build for under $50. Keep pH at 5.8–6.2, EC between 1.4–2.4 (700–1,200 PPM), and run your lights 18 hours a day — that’s really all it takes to grow basil hydroponically at home.
If you’ve ever killed a grocery store basil plant on your windowsill, you’re not alone. Soil basil is finicky — it hates inconsistent watering and depleted potting mix. Learning how to grow basil hydroponically at home solves most of those problems by giving roots exactly what they need, exactly when they need it. No overwatering, no nutrient guesswork, and no waiting for summer.
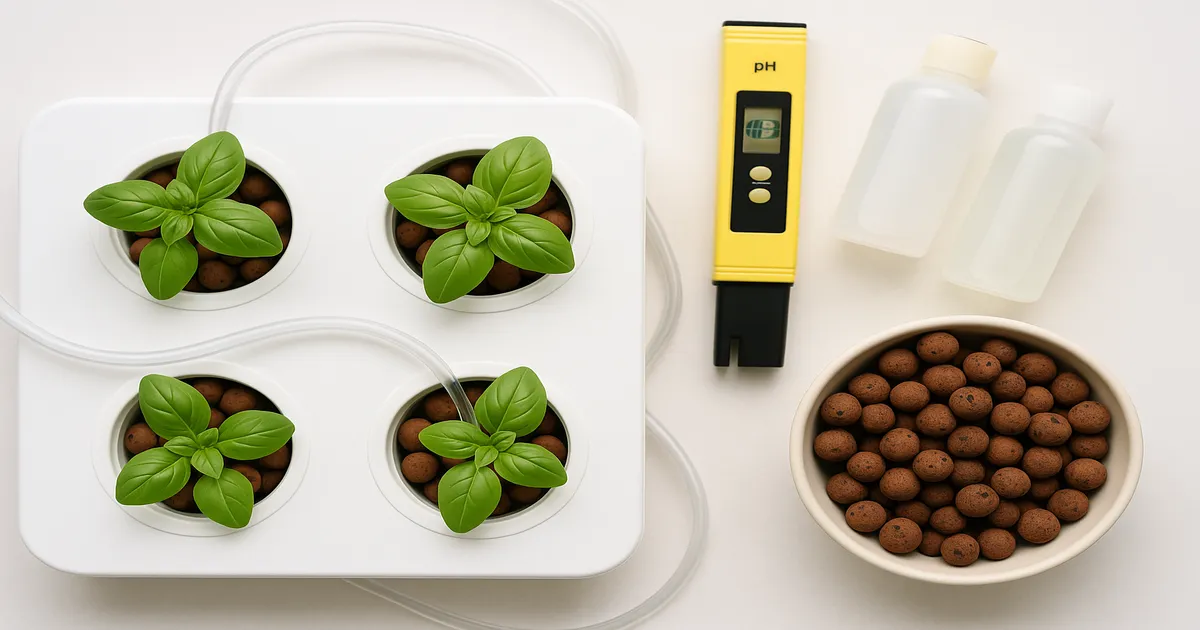
How to Grow Basil Hydroponically at Home: What to Expect
Growth Speed and Yields
Hydroponic basil consistently outpaces soil-grown plants. Expect germination in 4–7 days, harvestable leaves in 3–4 weeks, and once the plant is established, you can harvest every 3–4 weeks indefinitely. A single healthy DWC plant typically yields 2–4 oz (57–113 g) per cutting session.
Flavor is excellent too — often more intense than store-bought — because you control the light spectrum and nutrient balance that drive essential oil production.
Minimum Requirements at a Glance
| Parameter | Target Range |
|---|---|
| System | DWC or Kratky (beginners) |
| pH | 5.8–6.2 |
| EC / PPM | 1.4–2.4 EC (700–1,200 PPM) |
| Light | 16–18 hrs/day, 200–400 PPFD |
| Air temp | 70–80°F (21–27°C) |
| Reservoir temp | 65–72°F (18–22°C) |
Choosing the Best Hydroponic System for Basil
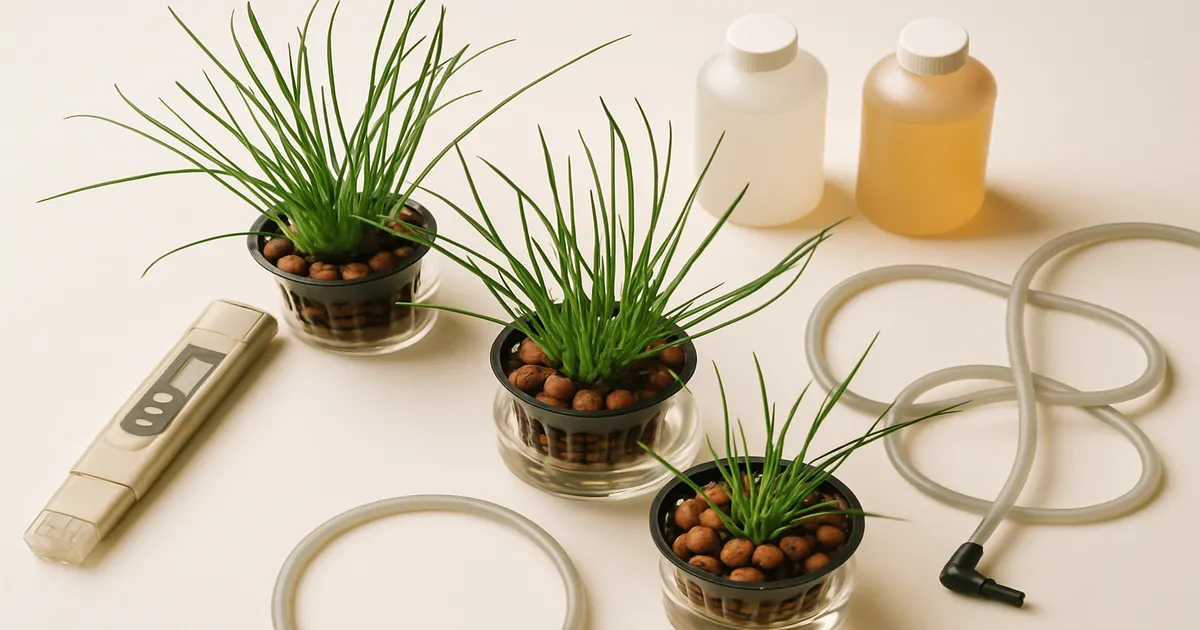
Deep Water Culture (DWC): Best for Beginners
DWC is the go-to starting point for most home basil growers. Your plant sits in a net pot suspended over a reservoir of nutrient solution, and a small air pump keeps the water oxygenated. Roots dangle directly into the solution, which is why growth is so fast.
The hardware is cheap and forgiving. A 5-gallon opaque bucket, a net pot lid, an air pump like the Vivosun 4-Watt Single Outlet and an airstone is all you need. You can build a functional single-plant DWC system for $20–$30.
Kratky Method: No Pump, No Electricity
Kratky takes DWC and removes the pump entirely. Fill the reservoir, set the net pot so it just touches the waterline, and as the plant drinks down the solution an air gap forms naturally. Roots grow into the solution below and develop thicker “air roots” in the gap above — those air roots are what keep the plant from suffocating without active aeration.
It’s genuinely passive — no electricity beyond your grow light. The trade-off is that you need to monitor the reservoir level more closely and change the solution on schedule, since there’s no circulation to prevent stagnation.
Nutrient Film Technique (NFT): For Multiple Plants
NFT runs a thin film of nutrient solution continuously through a sloped channel, bathing the roots before draining back to the reservoir. It’s efficient with water and scales well — you can grow six to twelve basil plants in a single channel.
The setup requires a pump, timer, and properly sloped channels, which makes it a step up in complexity. Worth it if you want a countertop herb garden with multiple varieties.
Ebb & Flow and Aeroponics: Advanced Options
Ebb & flow floods a growing tray on a timer, then drains it back — giving roots alternating wet and dry cycles with excellent oxygenation. It works well with a variety of growing media and suits larger home setups, but the timer-dependent flooding adds a failure point.
Aeroponics mists roots directly with nutrient solution and delivers the fastest growth of any system. It’s also the most technical and expensive option, and a pump failure can kill plants within hours. Skip it until you’ve run a few successful DWC grows.
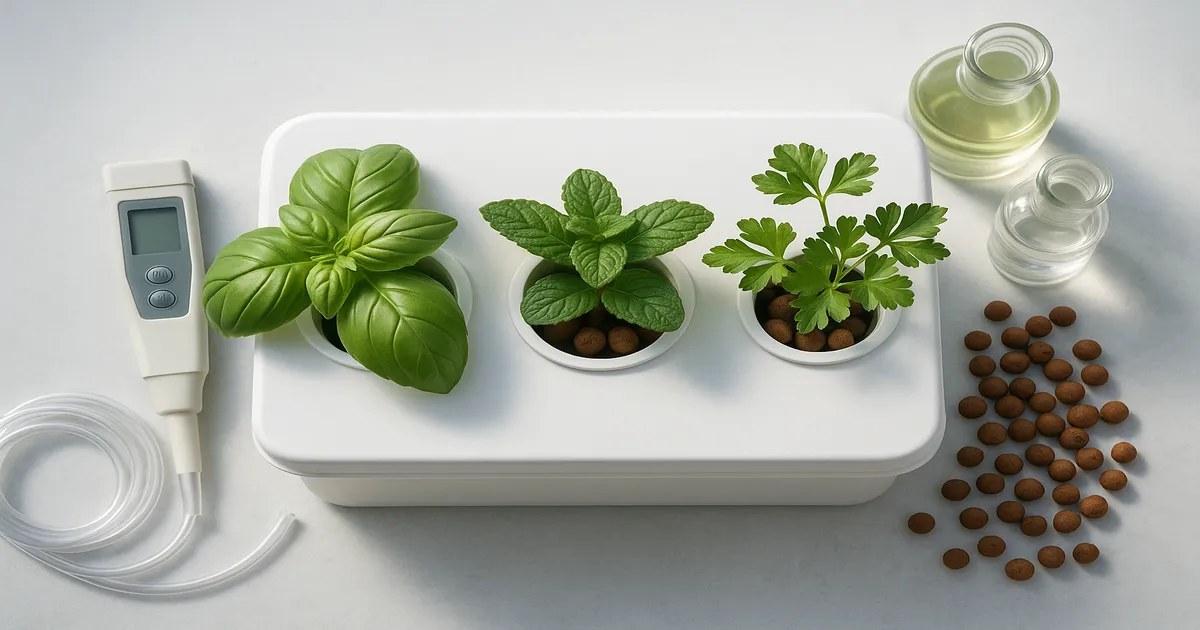
All-in-One Countertop Systems
If you want zero assembly and don’t mind a premium price, countertop systems like the AeroGarden Harvest are a legitimate option. They bundle the reservoir, pump, grow light, and nutrient pods into one unit — perfect for apartment growers who want fresh basil without building anything.
The main limitation is scale. Most units hold 3–9 pods, and the included lights are sized for compact herb growth rather than maximum yield.
How to Set Up Your System Step by Step
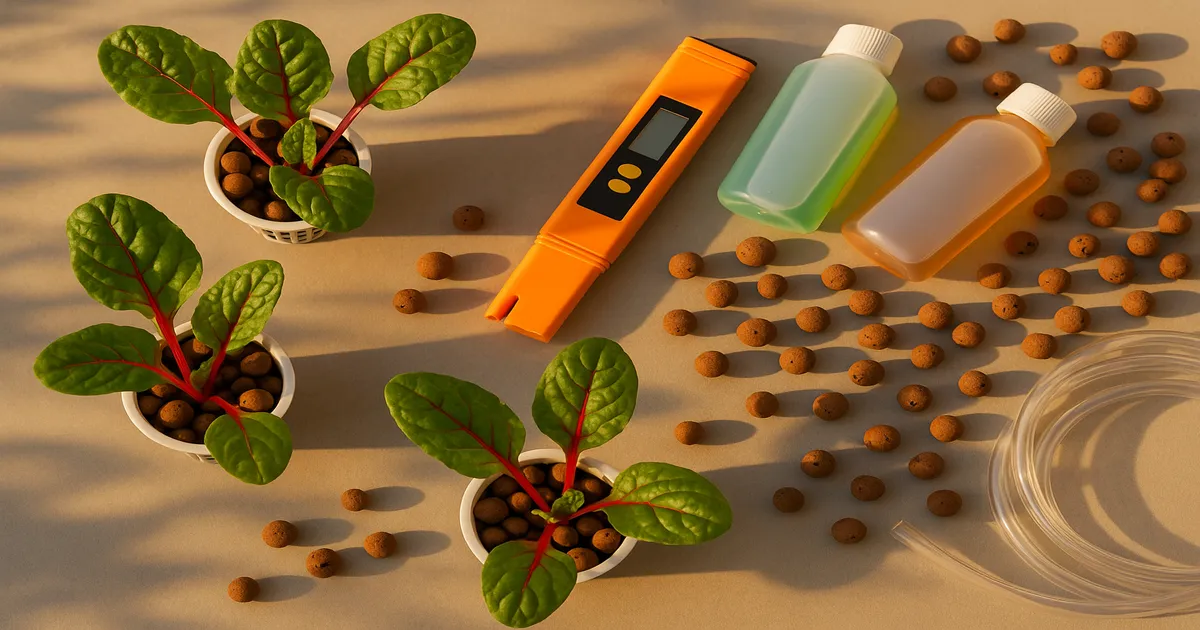
Equipment You Will Need
For a basic DWC or Kratky build, gather:
- Reservoir — 5-gallon opaque bucket or tote (opaque prevents algae)
- Net pots — 2-inch or 3-inch diameter
- Growing media — hydroton clay pebbles or rockwool cubes
- Air pump + airstone + tubing (DWC only)
- pH meter — the Apera PH20 is accurate, affordable, and easy to calibrate
- EC/TDS meter (Apera EC20)
- Hydroponic nutrients — General Hydroponics Flora Series is the most beginner-friendly option
- pH Down solution
- Grow light (see the lighting section below)
Starting from Seed vs. Using Transplants
Starting from seed is cheaper and gives you access to dozens of basil varieties. Sow into rockwool cubes or Rapid Rooters, keep them moist and warm (75–80°F / 24–27°C), and expect germination in 4–7 days. Buying nursery seedlings cuts 2–3 weeks off your timeline and is a perfectly reasonable shortcut.
If you go the transplant route, gently rinse all soil off the roots before placing them in your hydroponic setup. Soil particles introduce pathogens and can clog your system.
Germinating Basil Seeds
- Soak rockwool cubes in pH 5.5 water for 30 minutes, then squeeze gently to remove excess moisture.
- Drop 2–3 seeds per cube, cover lightly with a pinch of growing media, and place in a humidity dome.
- Keep under low light (a standard T5 fluorescent works fine) at 75–80°F (24–27°C).
- Once seedlings show their first true leaves — around 7–10 days — they’re ready to transplant.
Transplanting into Net Pots
Fill your net pot about halfway with rinsed hydroton. Nestle the rockwool cube into the center, then pack more hydroton around it to hold everything upright. The top of the growing media should sit slightly above the rim of the net pot.
Lower the net pot into your reservoir lid so the bottom just touches — or sits just above — the nutrient solution. In Kratky, that contact point is your starting waterline.
Mixing Your First Nutrient Solution
Mix your first batch at seedling strength: 350–560 PPM (0.7–1.1 EC). This is gentler on young roots and prevents the nutrient burn that kills more seedlings than anything else.
Using General Hydroponics Flora Series, start with 2.5 mL/gal FloraGro, 1 mL/gal FloraMicro, and 1 mL/gal FloraBloom — always add FloraMicro to the water first. After mixing, test and adjust pH to 5.8–6.2 before adding the solution to the reservoir.
Nutrient Requirements for Hydroponic Basil
Macronutrients: N, P, and K
Nitrogen drives leaf production and the lush, aromatic growth you’re after. Aim for an N-P-K ratio of roughly 3:1:2, and favor nitrate nitrogen (NO₃⁻) over ammoniacal forms — too much ammonium causes toxicity and slows growth in basil specifically.
Phosphorus matters most during early root development and plays a role in essential oil synthesis. Potassium handles stomatal regulation and contributes to the flavor compounds that make fresh basil worth growing.
Secondary Nutrients: Calcium, Magnesium, and Sulfur
Calcium is non-negotiable. It builds cell walls, and without enough of it you’ll see tip burn — crispy brown leaf edges that spread fast. Target 150–200 PPM calcium in your solution.
Magnesium sits at the center of every chlorophyll molecule, so a deficiency shows up quickly as interveinal yellowing on older leaves. Target 30–50 PPM. Sulfur is often overlooked, but it directly contributes to linalool and eugenol synthesis — the aromatic compounds that give basil its scent. Most complete nutrient formulas cover sulfur through magnesium sulfate (Epsom salt).
EC and PPM Targets by Growth Stage
| Stage | PPM | EC |
|---|---|---|
| Seedling (weeks 1–2) | 350–560 | 0.7–1.1 |
| Vegetative (weeks 3–5) | 700–1,050 | 1.4–2.1 |
| Active Harvest (weeks 6+) | 800–1,200 | 1.6–2.4 |
| Upper Limit | 1,400 | 2.8 |
Start low and ramp up. Overfeeding is far more common than underfeeding in home setups, and salt buildup is harder to fix than a mild deficiency.
Nutrient Product Recommendations
General Hydroponics Flora Series is the most beginner-friendly option — widely available, well-documented, and forgiving. Use the seedling ratios above and scale up as the plant matures.
MaxiGro is a single-part dry concentrate that simplifies mixing: 7 g per gallon yields approximately 900–1,000 PPM (1.8–2.0 EC), landing right in the active harvest sweet spot.
MasterBlend 4-18-38 is the professional choice if you’re growing more than a few plants. Mix 2.4 g MasterBlend + 2.4 g Calcium Nitrate + 1.2 g Epsom Salt per gallon for approximately 800–900 PPM (1.6–1.8 EC) at a fraction of the cost of bottled nutrients.
Managing pH and EC
Optimal pH Range: 5.8–6.2
The 5.8–6.2 window isn’t arbitrary — it’s where nitrogen, calcium, iron, and phosphorus are all simultaneously available in their most plant-accessible forms. Drop below 5.5 and iron becomes toxic while calcium uptake suffers. Creep above 6.5 and iron, manganese, and phosphorus start locking out, causing yellowing even when your nutrient levels look fine on paper.
Testing and Adjusting pH
A digital pH meter like the Apera PH20 is the most accurate option and worth the investment. Calibrate every two weeks using pH 4.0 and 7.0 buffer solutions, and store the probe in storage solution — never plain water. Liquid test kits are a decent budget backup (accurate to ±0.2–0.5). pH strips are a last resort — fine for a quick gut-check but not reliable enough for dialing in a new system.
To adjust pH, always work drop by drop. Add 1–2 drops of pH Down (phosphoric acid) or pH Up (potassium hydroxide) to a small cup of reservoir water, stir, pour it back, and wait 30 minutes before retesting. Move pH in increments of 0.5 or less per session. Expect natural upward drift every 2–3 days — plants absorb alkaline-forming nitrate ions, which nudges pH up over time.
Monitoring EC and Topping Off
Check EC every 2–3 days during active growth, and daily in warm environments where evaporation is high. When the reservoir level drops, top off with plain pH-adjusted water first. Plants drink water faster than nutrients, so EC naturally rises as the level falls. Adding more nutrient solution to a low reservoir will overdose your plants.
If EC climbs above 1,400 PPM (2.8 EC), do a partial reservoir change: replace 25–50% with fresh pH-adjusted water.
Reservoir Change Schedule
Do a complete reservoir change every 7–14 days. Even if pH and EC look good, salt residues accumulate and the microbial balance can shift. A full change resets the system and prevents most pathogen problems before they start.
Keep reservoir temperature at 65–72°F (18–22°C). Warm water holds less dissolved oxygen and breeds root pathogens — this is one of the most overlooked variables in home setups.
Water Quality Notes
Standard tap water with chlorine is fine — chlorine off-gasses within 24 hours if you let the water sit uncovered in an open container. Chloramine is different. It doesn’t off-gas and requires a carbon filter or a small dose of ascorbic acid (vitamin C powder) to neutralize.
If your tap water tests above 200 PPM baseline, switch to RO or distilled water. High-mineral tap water makes precise EC management nearly impossible because you’re starting with an unknown nutrient load.
Lighting Your Hydroponic Basil Garden
Best Spectrum for Growth and Flavor
Blue light (400–500 nm) drives compact, bushy growth and boosts essential oil production. Red light (600–700 nm) powers photosynthesis and raw biomass. A full-spectrum LED covers both. Small amounts of UV-A (315–400 nm) measurably increase terpene and essential oil concentrations — some modern LED fixtures include UV diodes for exactly this reason.
PPFD and DLI Targets
PPFD (µmol/m²/s) measures light intensity at the leaf surface. DLI (Daily Light Integral) measures total light delivered over a full day: PPFD × hours of light × 0.0036.
Target 200–400 PPFD during vegetative growth, which translates to a DLI of 14–26 mol/m²/day on an 18-hour schedule. Active production benefits from 400–600 PPFD (DLI 26–39), but beyond 600 PPFD you’ll hit diminishing returns without CO₂ supplementation.
The 18/6 Light Schedule
Run your lights 18 hours on, 6 hours off. This maximizes vegetative leaf production while giving the plant a rest period that supports long-term health and essential oil quality.
Avoid 24/0 continuous light — it can cause leaf edge curl and reduces aromatic oil production in some varieties. More critically, avoid drifting toward 12/12, which signals the plant to bolt (flower) and tanks leaf quality.
Recommended LED Grow Lights
Budget ($30–$80):
- Spider Farmer SF-1000 — 100W, covers a 2×2 ft area, excellent value for a single DWC setup
- Barrina T5 LED Grow Light Tubes — low-profile, ideal for shelf-based Kratky setups; run 2–4 tubes per shelf
Mid-range ($80–$200):
- Spider Farmer SF-2000 — 200W, covers 3×3 ft, great for multi-plant NFT or DWC
- AC Infinity IONBOARD S22 — full spectrum with UV/IR diodes, excellent build quality for a 2×2 ft space
Premium ($200+):
- Fluence SPYDR 2i — commercial-grade efficiency and uniformity, worth the price if you’re running a dedicated grow space with multiple plants
Harvesting Hydroponic Basil for Maximum Regrowth
Always harvest by cutting just above a leaf node — the point where two leaves branch off the main stem. This triggers the plant to push two new shoots from that node, doubling your future harvest points with every cut.
Never remove more than one-third of the plant at a time. Strip too much and the plant diverts energy to recovery rather than new growth. Harvest in the morning when essential oil concentration is highest, before the heat of your grow lights drives off volatile aromatics.
Pinch off any flower buds the moment you see them. Once basil bolts, leaf production slows and flavor turns bitter. In a hydroponic setup with an 18/6 light schedule, bolting is rare — but stay vigilant.
How to Grow Basil Hydroponically at Home: FAQ
How long does it take to grow basil hydroponically? Expect germination in 4–7 days and your first harvestable leaves in 3–4 weeks. After that, you can harvest every 3–4 weeks indefinitely as long as you harvest correctly and maintain your nutrient solution.
Can I use regular potting soil nutrients in a hydroponic system? No. Soil fertilizers are formulated for slow release into a soil matrix and often contain organic compounds that will foul your reservoir and promote root rot. Use nutrients specifically formulated for hydroponics, such as General Hydroponics Flora Series or MasterBlend.
Why are my hydroponic basil leaves turning yellow? The most common causes are pH out of range (locking out nutrients), magnesium deficiency (interveinal yellowing on older leaves), or nitrogen deficiency (uniform yellowing starting on lower leaves). Check pH first — it’s the culprit more often than a missing nutrient.
Do I need a grow tent to grow basil hydroponically? No, but a grow tent helps. It reflects light back onto the plants, contains humidity, and keeps your grow space tidy. A 2×2 ft tent is plenty for 2–4 DWC plants. If you’re using a countertop system like the AeroGarden, no tent is needed at all.
What’s the best basil variety for hydroponics? Genovese basil is the classic choice — fast-growing, high-yielding, and the standard for cooking. Thai basil and lemon basil also perform well hydroponically. Avoid very compact or dwarf varieties if yield is your priority; they produce less leaf mass per plant.