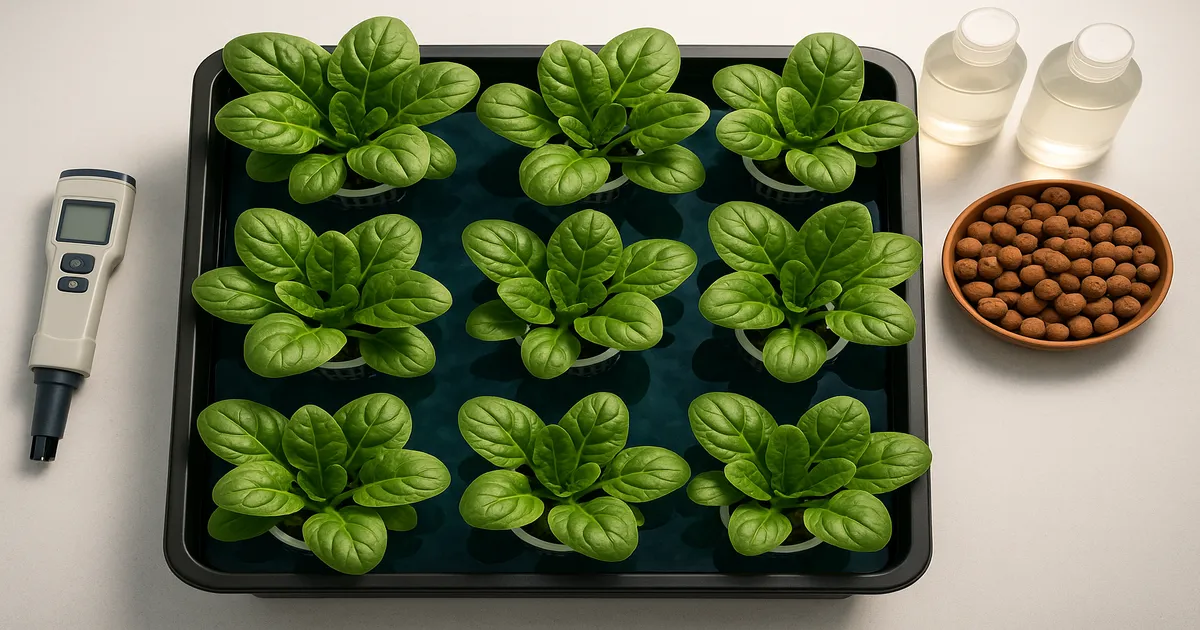
Quick Answer: Hydroponic spinach reaches harvest in just 30–45 days at pH 6.2–6.8 and 350–1,400 PPM (0.7–2.8 EC) depending on growth stage. NFT and DWC systems work best, though a simple passive Kratky setup also produces excellent results. Keep temperatures cool (60–70°F / 15–21°C), provide 14–16 hours of light, and you’ll have fresh spinach year-round.
How to Grow Spinach in a Hydroponic System: Quick-Start Guide
Learning how to grow spinach in a hydroponic system is one of the smartest moves a new grower can make. Spinach is forgiving, fast, and genuinely rewarding — you’ll be harvesting tender leaves in about a month. It has shallow, fibrous roots that adapt easily to almost any system, moderate nutrient demands that won’t overwhelm beginners, and a natural preference for cool indoor temperatures.
Key Numbers at a Glance
| Parameter | Target Range |
|---|---|
| Harvest time | 30–45 days from transplant |
| pH | 6.2–6.8 |
| EC (seedling) | 350–500 PPM (0.7–1.0 EC) |
| EC (mature) | 1,000–1,400 PPM (2.0–2.8 EC) |
| Temperature | 60–70°F (15–21°C) |
| Light (PPFD) | 150–250 µmol/m²/s |
| Photoperiod | 14–16 hours/day |
Choosing the Best Hydroponic System for Spinach
NFT (Nutrient Film Technique): Top Choice for Continuous Production
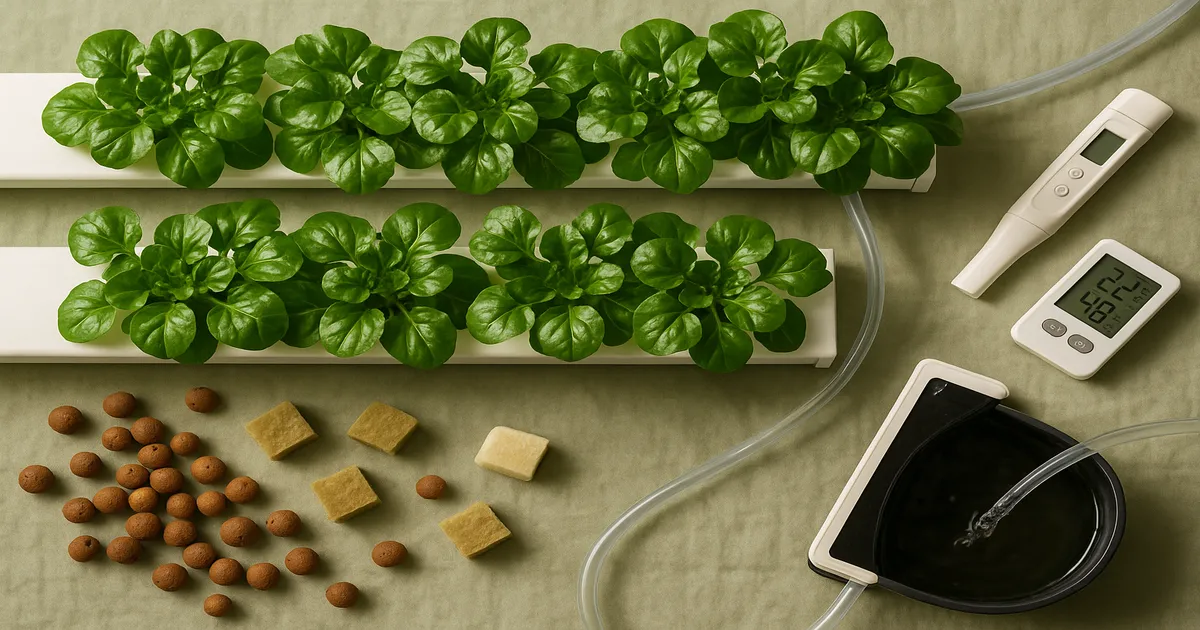
In an NFT system, a thin film of nutrient solution flows continuously along the bottom of shallow channels, bathing the roots while exposing most of them to air. This suits spinach’s shallow root system almost perfectly. Water efficiency is excellent, and the channels are straightforward to clean between crops. NFT is the go-to choice for growers who want to run multiple back-to-back harvests.
Deep Water Culture (DWC): Best for Beginners
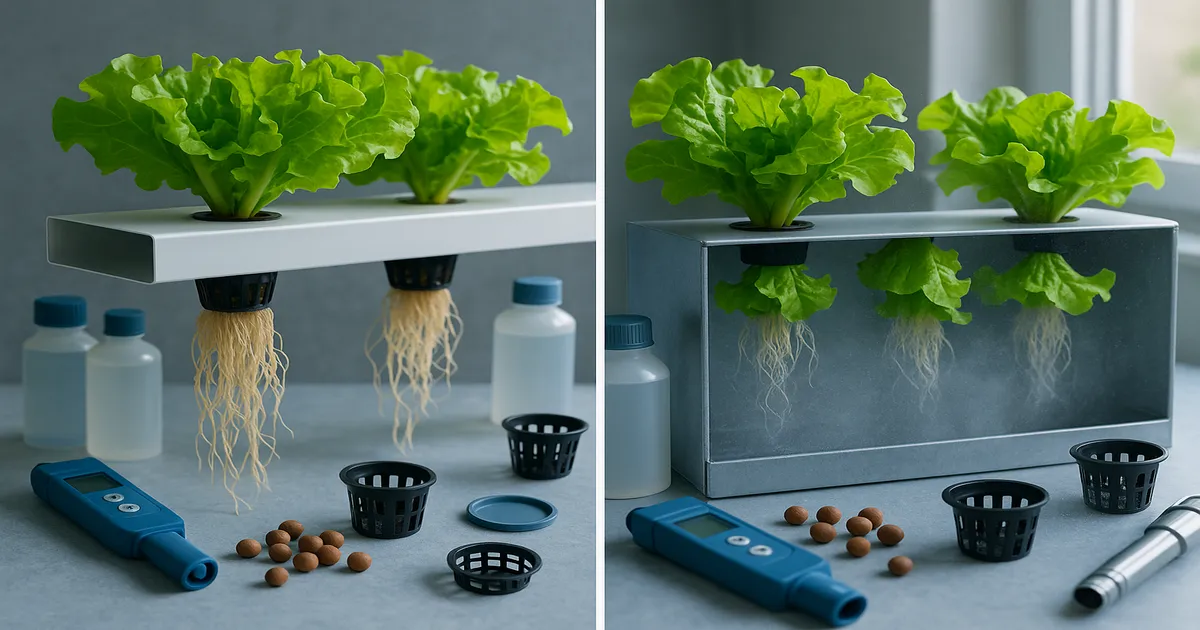
DWC suspends plant roots directly in a well-oxygenated nutrient reservoir. Growth rates are fast — sometimes faster than NFT — and the setup is simple enough for a first-time grower. A basic 5-gallon bucket with an air pump and air stone is all you need to get started.
Kratky Method: Passive Growing With No Pump
The Kratky method is a passive variation of DWC where the plant gradually consumes the nutrient solution, creating an air gap that oxygenates the roots naturally. No pump, no electricity beyond your grow light. It’s ideal for small home setups and produces impressive spinach with minimal fuss — a mason jar and a net pot lid are enough to begin.
Other Systems Worth Knowing
- Ebb & Flow: Floods a grow tray with nutrient solution on a timer, then drains it back. Works well with rockwool or hydroton. Slightly more complex than DWC but very versatile.
- Vertical Towers: Space-efficient and popular for home use. Systems like Tower Garden or ZipGrow towers let you grow a lot of spinach in a small footprint.
- Aeroponics: Delivers the fastest growth rates, but cost and complexity make it overkill for most home growers.
- Wicking systems: Fine for seedlings, but too slow for mature spinach at any meaningful scale.
System Comparison
| System | Suitability | Best For |
|---|---|---|
| NFT | ⭐⭐⭐⭐⭐ Excellent | Intermediate growers, continuous production |
| DWC | ⭐⭐⭐⭐⭐ Excellent | Beginners, fast results |
| Kratky | ⭐⭐⭐⭐ Very Good | Small-scale home growers, zero electricity |
| Ebb & Flow | ⭐⭐⭐⭐ Very Good | Versatile media-based growing |
| Vertical Tower | ⭐⭐⭐⭐ Very Good | Space-limited indoor grows |
| Aeroponics | ⭐⭐⭐ Good | Commercial or advanced growers |
If you’re just starting out, grab a DWC bucket kit or try Kratky in a mason jar. Once you’ve grown a few successful batches, upgrading to an NFT channel system is worth it.
Setting Up Your System Step by Step
Equipment You’ll Need
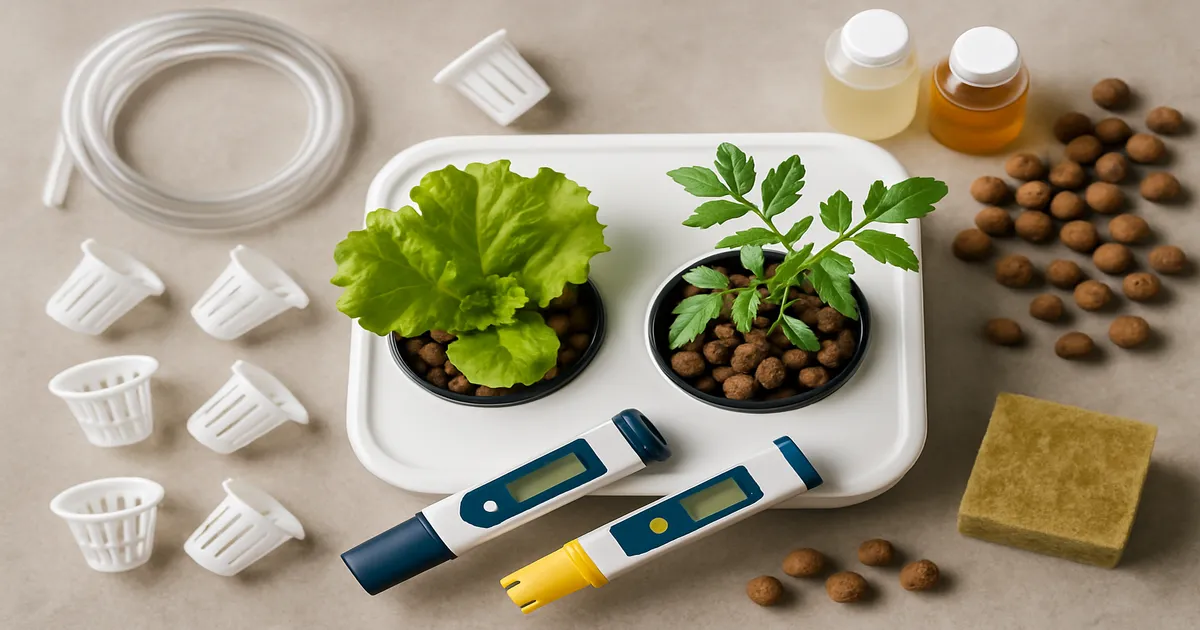
- Reservoir or grow container (5-gallon bucket for DWC; food-safe tote for larger systems)
- Air pump and air stone (DWC only; not needed for Kratky)
- 2-inch net pots
- Growing media: rockwool cubes for germination; hydroton or coco coir for transplanting
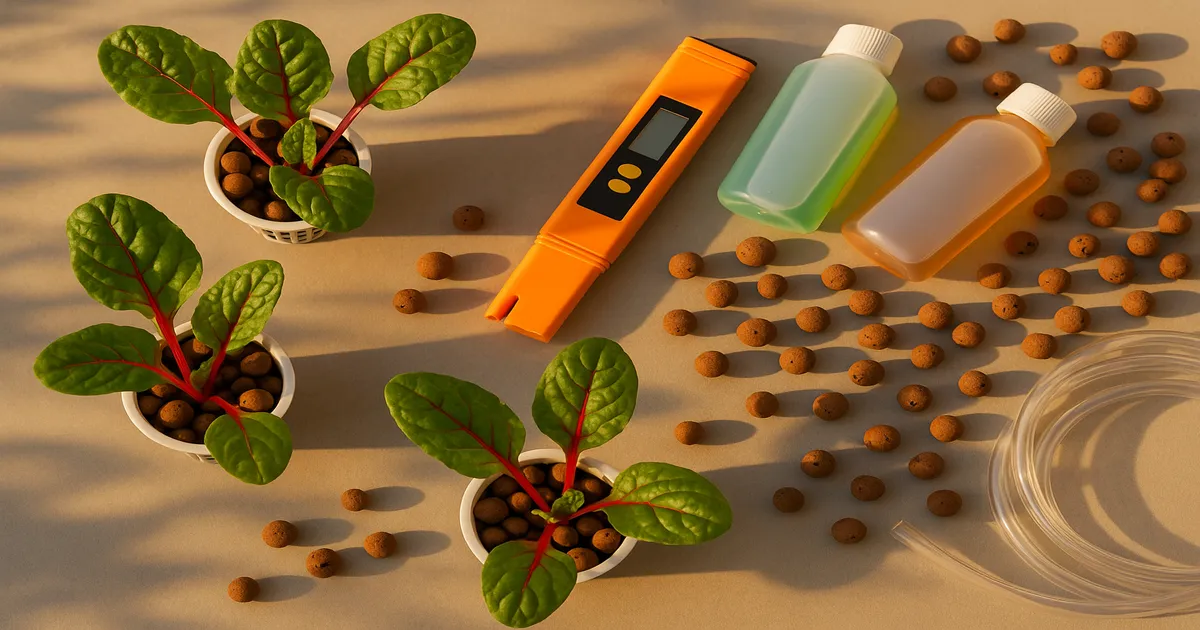
- pH and EC meters (Apera PC60)
- pH Up (KOH-based) and pH Down (phosphoric acid-based) solutions
- Hydroponic nutrients (General Hydroponics Flora Series)
- Grow light with a timer
Germinating Seeds
Soak rockwool cubes or rapid rooter plugs in pH-adjusted water (pH 5.5–6.0) for 30 minutes before planting. Drop one or two seeds per cube about ¼ inch deep, then keep them in a warm, dark spot at 65–70°F (18–21°C). Germination typically takes 5–10 days. Wait until you see the first true leaves — not just the seed leaves — before transplanting.
Transplanting and Spacing
Gently place each rockwool cube into a net pot and fill around it with hydroton or your chosen media. The cube should sit snugly without being crushed. In DWC, the bottom of the net pot should just touch the nutrient solution at first; roots will grow down into the reservoir within a few days.
Space plants 4–6 inches apart in NFT channels or DWC setups. Crowding causes tip burn and restricts airflow — two problems that are much easier to prevent than fix.
Nutrient Solution for Hydroponic Spinach
EC and PPM by Growth Stage
| Stage | Days | PPM | EC |
|---|---|---|---|
| Seedling | 0–10 | 350–500 | 0.7–1.0 |
| Early vegetative | 10–25 | 800–1,000 | 1.6–2.0 |
| Mature / pre-harvest | 25–45 | 1,000–1,400 | 2.0–2.8 |
| Maximum tolerance | — | ~1,600 | ~3.2 |
Keeping EC in the 800–1,000 PPM range throughout growth produces noticeably more tender, less bitter leaves. If flavor matters more than maximum yield, resist the urge to push EC higher.
NPK Requirements
Spinach is a heavy nitrogen feeder — nitrogen should represent about 40–50% of total nutrient uptake. Use nitrate-nitrogen (NO₃⁻) as the primary form; ammoniacal nitrogen above 10–15% of total N causes pH instability and can stress plants. Target concentrations at the mature stage:
- Nitrogen: 150–200 PPM
- Phosphorus: 40–60 PPM
- Potassium: 150–250 PPM
Calcium and Magnesium
Calcium is arguably the most important nutrient to get right with spinach. It prevents tip burn — the most common problem home growers encounter — and because it’s immobile in the plant, consistent solution delivery matters. Target 150–200 PPM Ca and 40–60 PPM Mg, keeping your Ca:Mg ratio between 3:1 and 4:1.
Micronutrients
| Micronutrient | Target PPM | Notes |
|---|---|---|
| Iron (Fe) | 2–4 PPM | Use chelated iron (Fe-EDTA or Fe-DTPA) |
| Manganese (Mn) | 0.5–1.0 PPM | Excess causes dark leaf spots |
| Zinc (Zn) | 0.3–0.5 PPM | Deficiency causes small, distorted new leaves |
| Boron (B) | 0.3–0.5 PPM | Critical for calcium transport; low boron worsens tip burn |
| Copper (Cu) | 0.05–0.1 PPM | Tiny amounts only — excess is toxic |
| Molybdenum (Mo) | 0.05–0.1 PPM | Needed for nitrogen assimilation |
Beginner Recipe: General Hydroponics Flora Series
Seedlings (per gallon):
- FloraMicro: 2.5 mL | FloraGro: 2.5 mL | FloraBloom: 1 mL → ~500 PPM (1.0 EC)
Vegetative/mature (per gallon):
- FloraMicro: 5 mL | FloraGro: 5 mL | FloraBloom: 2 mL → ~900–1,000 PPM (1.8–2.0 EC)
Always add FloraMicro to water first, then the other parts. Never mix concentrates together directly.
DIY Recipe: Masterblend 4-18-38
This three-part dry fertilizer combo is affordable, precise, and spinach loves it. Per gallon of water:
- Masterblend 4-18-38: 2.4 g
- Calcium Nitrate (15.5-0-0): 4.8 g
- Magnesium Sulfate (Epsom Salt): 1.2 g
Mix each part separately into a small amount of water before adding to your reservoir. This yields approximately 800–1,000 PPM (1.6–2.0 EC) — ideal for spinach vegetative growth.
Managing pH and EC
Optimal pH Range
The sweet spot for hydroponic spinach is pH 6.2–6.8. Drop below pH 6.0 and you risk iron and manganese toxicity; climb above pH 7.0 and iron, boron, and manganese become locked out, causing yellowing in new growth. Spinach tolerates a wider pH range than many crops, but that’s no reason to neglect it.
Testing and Adjusting
A reliable digital meter is non-negotiable. The Bluelab pH Pen and Apera PC60 are both excellent choices. Check pH daily in DWC and NFT systems and EC every 1–2 days during active growth. Calibrate your pH meter with 4.0 and 7.0 buffer solutions every 1–2 weeks, and store the probe in storage solution — never distilled water.
To raise pH, use a KOH-based pH Up solution. To lower it, phosphoric acid (pH Down) is standard — just be aware it adds phosphorus to the solution over time. Add adjustments in small increments (0.5–1 mL per 5 gallons), stir well, wait 15 minutes, then recheck.
Common pH Problems and Fixes
| Situation | Likely Cause | Fix |
|---|---|---|
| pH rises gradually | Nitrate uptake releases OH⁻ | Add pH Down; top off with plain water |
| pH drops rapidly | Microbial activity or NH₄⁺ uptake | Add pH Up; check for algae or root rot |
| pH swings >0.5 in 24 hours | Low EC, underbuffered solution | Raise EC slightly; add potassium silicate |
| Persistent high pH | High-alkalinity tap water | Switch to RO water or pre-treat with acid |
EC Management and Reservoir Changes
As plants drink, water level drops and EC rises because nutrients concentrate. Top off with plain, pH-adjusted water — not nutrient solution — whenever your reservoir drops 10–15%. Do a full flush and reservoir replacement every 7–14 days in recirculating systems to prevent salt buildup.
If you use RO water, add a CalMag supplement to replace stripped calcium and magnesium (target 50–100 PPM Ca, 25–50 PPM Mg as a baseline). (Botanicare Cal-Mag Plus)
Lighting for Hydroponic Spinach
Spectrum, Intensity, and Photoperiod
Spinach thrives under a spectrum weighted toward blue and red wavelengths. Blue light (400–500 nm) promotes compact leaf growth and suppresses bolting; red light (600–700 nm) drives photosynthesis and biomass. Keep far-red (700–750 nm) below 10% of the spectrum — it can trigger bolting. Full-spectrum white LEDs at 3,500–5,000K deliver an excellent balance and are the most practical choice for home growers.
Target 150–250 µmol/m²/s PPFD for 14–16 hours per day. This is modest compared to fruiting crops, so you don’t need a high-powered fixture. Mount LED panels 18–24 inches above the canopy as a starting point and adjust based on your meter readings. If you see bleaching or pale leaf tips, raise the fixture a few inches.
Preventing Bolting
Bolting is triggered by the combination of long days and warm temperatures. Keep your photoperiod at 14–16 hours and your grow space at 60–70°F (15–21°C) and bolting becomes a non-issue indoors. If plants start to bolt, reduce the photoperiod to 12 hours and check that your space hasn’t warmed up.
Recommended Fixtures
- Full-spectrum LED panels: Best overall for efficiency and spectrum control. (Spider Farmer SF-1000)
- T5 fluorescent fixtures: Reliable and affordable for small systems. They produce minimal heat, which actually helps keep temperatures in spinach’s preferred range.
- HID (HPS/MH): Overkill for spinach and generates too much heat for most indoor setups.
Ongoing Care and Harvesting
Temperature, Humidity, and Airflow
Spinach is a cool-season crop. The ideal range is 60–70°F (15–21°C) with relative humidity between 50–70%. Temperatures above 75°F (24°C) accelerate bolting and reduce leaf quality noticeably. A small clip fan and good ventilation can make a meaningful difference if your grow space runs warm.
Good airflow is one of the most underrated factors in growing healthy spinach. Calcium moves through the plant via the transpiration stream, so stagnant air reduces transpiration and cuts calcium delivery to leaf margins — the direct cause of tip burn. Run a fan at low speed to keep air moving gently across the canopy at all times.
Harvesting: Cut-and-Come-Again vs. Full Harvest
You have two options when it comes to harvesting hydroponic spinach:
- Cut-and-come-again: Snip outer leaves once they reach 3–4 inches, leaving the growing center intact. Plants will continue producing for several additional weeks.
- Full harvest: Cut the entire plant at the base when it reaches maturity (around 30–45 days). This is faster and cleaner if you’re running a continuous production system with staggered plantings.
For the best flavor, harvest in the morning before your grow lights have been on for several hours. Leaves are crisper and have a higher sugar content at that point.
When to Start a New Batch
Spinach quality declines quickly after it begins to bolt. Rather than trying to extend a single crop indefinitely, start new seeds every 2–3 weeks so you always have plants at different stages. This staggered approach gives you a continuous supply of young, tender leaves rather than occasional gluts.
Frequently Asked Questions
How long does hydroponic spinach take to grow? From transplant, spinach typically reaches harvest in 30–45 days. Germination adds another 5–10 days, so expect your first harvest roughly 5–7 weeks after seeding.
What is the best pH for hydroponic spinach? Maintain pH between 6.2 and 6.8. Below 6.0, iron and manganese can reach toxic levels; above 7.0, those same nutrients become unavailable, causing yellowing in new growth.
Why are my hydroponic spinach leaves turning yellow? Yellowing in new growth usually points to iron deficiency caused by high pH — check and correct your pH first. Yellowing in older leaves more often indicates nitrogen deficiency; increase your nutrient concentration slightly and recheck EC.
Can I grow spinach hydroponically year-round? Yes — and this is one of the biggest advantages of growing spinach in a hydroponic system. With controlled temperature and artificial lighting, you’re completely independent of seasons. Stagger plantings every 2–3 weeks for a continuous harvest.
What causes tip burn on hydroponic spinach? Tip burn is caused by insufficient calcium delivery to leaf margins, not necessarily a lack of calcium in the solution. Improve airflow across the canopy, ensure your solution EC isn’t too high (which limits water uptake), and verify that calcium levels are in the 150–200 PPM range.