Quick Answer: NFT and DWC systems are the best choices for a hydroponic watercress growing system — they mimic watercress’s natural stream habitat and deliver the constant moisture and oxygen its roots crave. Watercress is harvestable in just 14–21 days from transplant at a pH of 6.0–6.5 and 600–1,200 PPM (1.2–2.4 EC). Keep air temperatures between 50–72°F (10–22°C), nutrient solution at 60–68°F (15–20°C), and photoperiods at 14 hours or less to prevent bolting.
Watercress (Nasturtium officinale) is one of the few crops practically born for hydroponics. In the wild, it grows in flowing freshwater streams — so a well-designed hydroponic watercress growing system isn’t fighting the plant’s nature; it’s working with it. It’s also ranked #1 on the CDC’s Powerhouse Fruits and Vegetables list, making it one of the most nutrient-dense crops you can grow indoors.
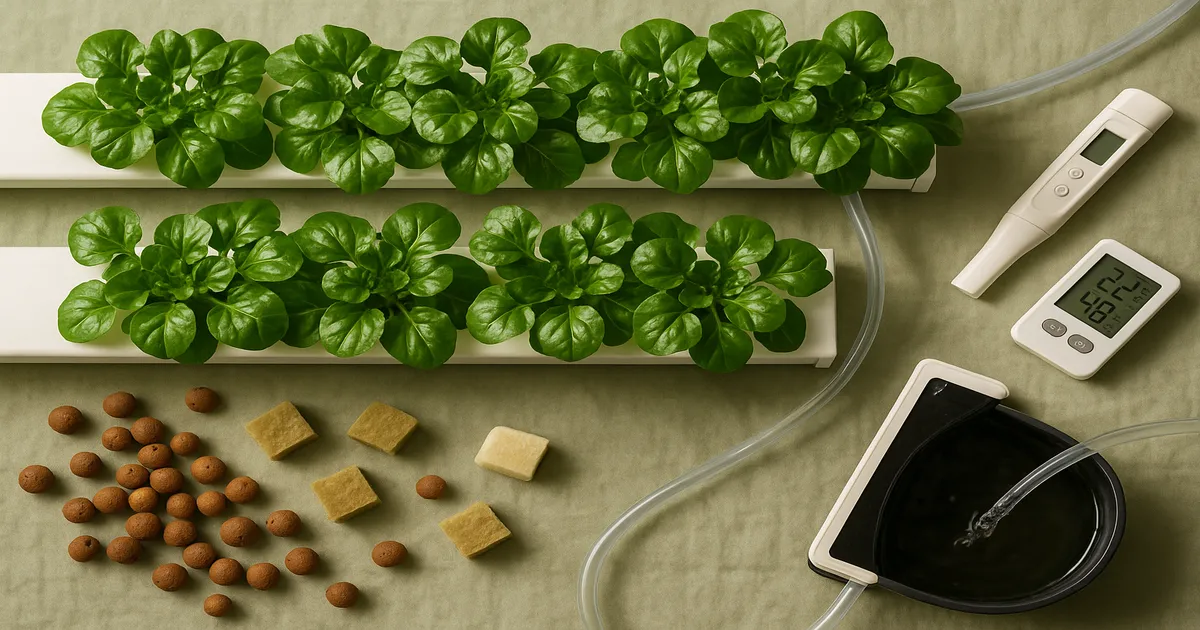
Hydroponic Watercress at a Glance
Watercress evolved in flowing, mineral-rich streams. Hydroponics — especially NFT and DWC — recreates that environment precisely: oxygenated, nutrient-loaded water in constant contact with the roots. Traditional UK growers have cultivated watercress in gravel-bed stream channels since the 1800s. Modern hydroponics is simply a more controlled version of the same idea.
Key Parameters Before You Start
| Parameter | Target Range |
|---|---|
| Air temperature | 50–72°F (10–22°C) |
| Nutrient solution temp | 60–68°F (15–20°C) |
| pH | 6.0–6.5 |
| EC — seedling | 0.7–1.0 (350–500 PPM) |
| EC — harvest-ready | 1.6–2.4 (800–1,200 PPM) |
| Photoperiod | 14 hrs on / 10 hrs off |
| Days to harvest | 14–21 from transplant |
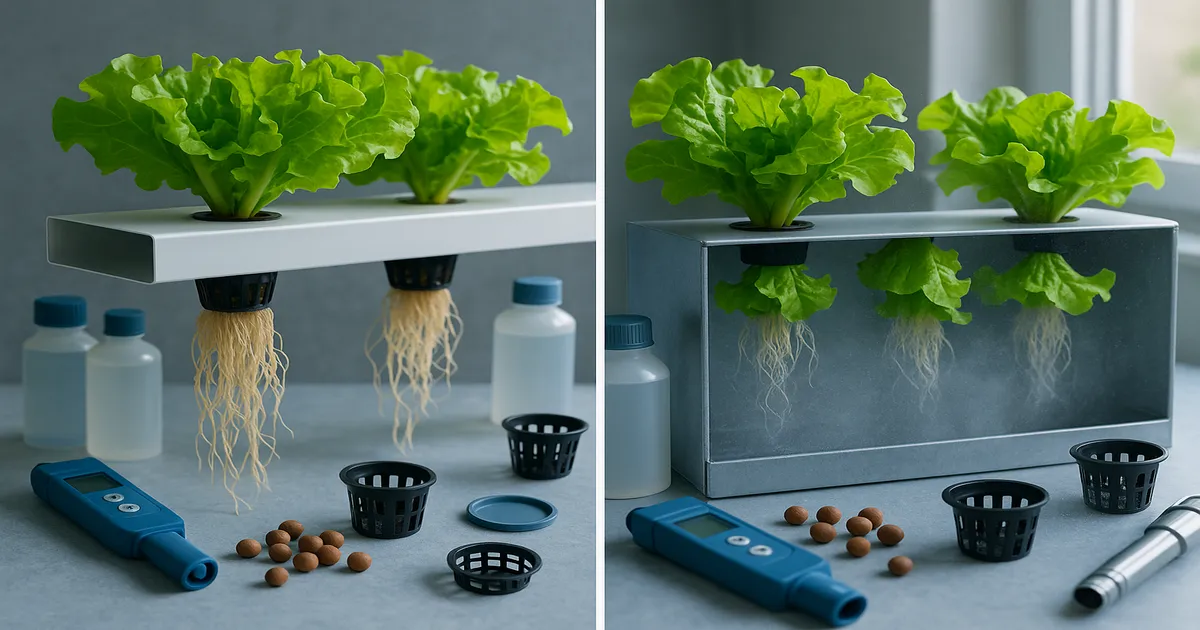
Best Systems for a Hydroponic Watercress Growing System
NFT: The Top Choice
NFT is the gold standard for watercress — and it’s not close. A thin, continuous film of nutrient solution flows over the roots and recirculates, mimicking a shallow stream almost perfectly. Roots get constant moisture and strong oxygen exposure, which is exactly what this plant wants.
Set channels at a slope of 1:40 to 1:100 (roughly 1–2.5%) and maintain a flow rate of 1–2 liters per minute per channel. Too steep and roots dry out; too flat and you risk pooling and root rot.
DWC and Raft Systems
DWC is the go-to for home growers who want simplicity without sacrificing performance. Plants sit in net pots suspended over a reservoir of continuously aerated nutrient solution. The critical requirement: keep dissolved oxygen above 6 mg/L. Without strong aeration, root rot sets in fast — especially as water warms. A quality air pump makes all the difference here.
Raft systems — large floating foam boards over shallow pools — scale this concept up for commercial greenhouse operations and are widely used in professional watercress production.
Kratky Method: Passive Growing for Beginners
The Kratky method needs no pump, no timer, and no electricity. Plants sit above a static reservoir with roots dangling into the nutrient solution and an air gap above the waterline for oxygen. It works surprisingly well for watercress at small scale — just top off the reservoir regularly and keep the solution cool. Not the method for high-volume production, but for a kitchen countertop setup or a beginner’s first grow, it’s genuinely effective.
Other Systems: Worth It?
- Ebb and Flow: Works, but watercress prefers constant root moisture. Flood every 1–2 hours minimum — less frequent than that and roots start to stress.
- Aeroponics: Excellent oxygenation and fast growth, but cost and complexity rarely justify it for a leafy green this easy to grow in simpler systems.
- Wicking: Viable only at very small scale. Nutrient delivery is too limited for meaningful yields.
- Vertical towers with long dry intervals: Avoid these. Watercress roots cannot tolerate extended dry periods — the plant stalls, stresses, and bolts prematurely.
Setting Up Your System Step by Step
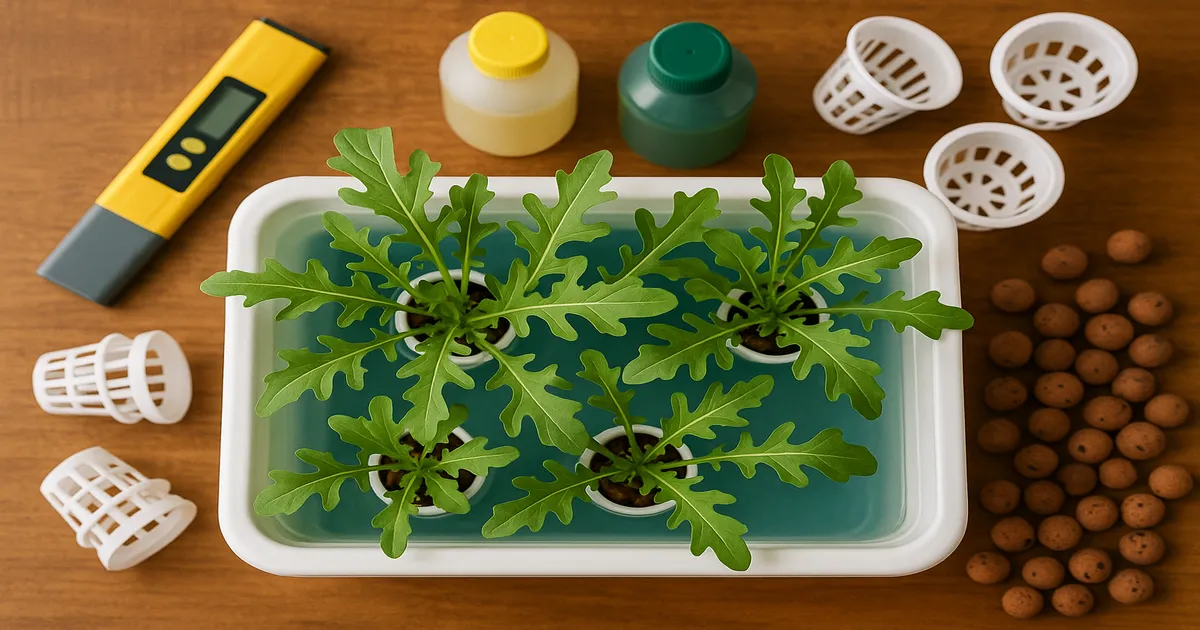
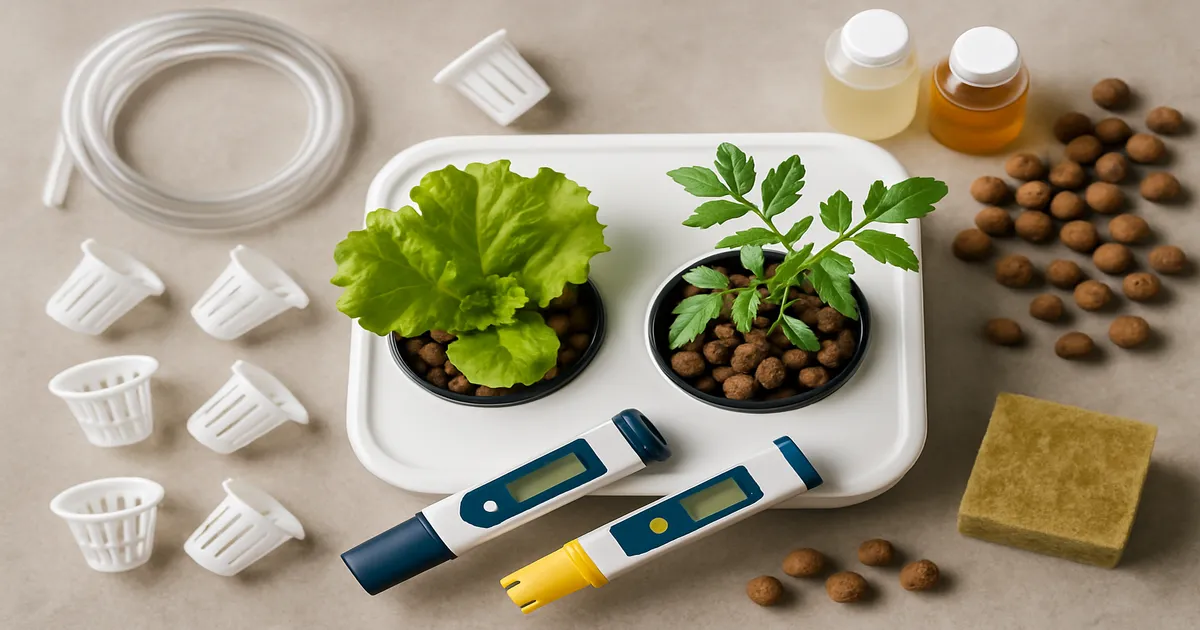
Growing Media and Net Pots
Watercress isn’t picky about media, but you want something that holds moisture without becoming waterlogged:
- Rockwool cubes — excellent moisture retention and root support; ideal for germination and transplanting
- Hydroton (expanded clay pebbles) — great drainage and reusability; works well in NFT channels
- Coco coir — holds moisture well and is pH-neutral; a solid all-around choice
Use 1-inch net pots for NFT and 2-inch pots for DWC. Watercress has a compact root system, so large containers are unnecessary.
Germinating Seeds
Start seeds in moistened rockwool cubes or a seedling tray. Keep EC very low during germination — 350–500 PPM (0.7–1.0 EC) — because seedlings are sensitive to salt stress. Maintain temperatures around 65–70°F (18–21°C) and expect germination in 5–7 days. Provide light as soon as sprouts emerge; 50–150 PPFD is plenty at this stage.
Transplanting Seedlings
Transplant when seedlings have their first true leaves and roots are visible through the bottom of the rockwool cube — typically 10–14 days after germination. Gradually step up EC to your vegetative target of 600–800 PPM (1.2–1.6 EC) over 3–5 days. Don’t jump straight to full-strength nutrients.
Temperature and Humidity
Air temperature is your biggest quality lever. Keep it in the 50–72°F (10–22°C) range — watercress actively dislikes heat. Above 75°F (24°C), bolting risk climbs sharply and flavor degrades.
Nutrient solution temperature deserves equal attention. Target 60–68°F (15–20°C). Warmer solution holds less dissolved oxygen, which directly increases root rot risk. In warm climates or summer grows, a water chiller is often necessary rather than optional. Relative humidity of 50–70% keeps transpiration healthy without encouraging mold.
Nutrients for Hydroponic Watercress
EC and PPM by Growth Stage
| Stage | PPM | EC |
|---|---|---|
| Seedling | 350–500 | 0.7–1.0 |
| Early Vegetative | 600–800 | 1.2–1.6 |
| Harvest-Ready | 800–1,200 | 1.6–2.4 |
| Maximum Tolerance | 1,400 | 2.8 |
Never exceed 1,400 PPM (2.8 EC) — beyond this, tip burn and leaf scorch become likely.
Macronutrient Targets
Watercress is a leafy green, so nitrogen drives most of its growth. Target 150–200 ppm N, with a nitrate-to-ammonium ratio of 90:10. More ammonium than that — especially in cool temperatures — risks toxicity.
Other macronutrient targets at peak vegetative stage:
- Phosphorus (P): 40–60 ppm
- Potassium (K): 150–200 ppm
- Calcium (Ca): 150–200 ppm — watercress is calcium-hungry; deficiency causes tip burn
- Magnesium (Mg): 40–60 ppm
- Sulfur (S): 50–80 ppm — important for glucosinolate synthesis, the compounds that give watercress its health value
Micronutrients
Use chelated iron (Fe-EDTA or Fe-DTPA) at 2–4 ppm — this form stays available across the pH range watercress prefers. Other key micronutrients: manganese at 0.5–1.0 ppm, zinc at 0.3–0.5 ppm, and boron at 0.3–0.5 ppm (critical for calcium uptake and cell wall integrity).
Ready-to-Use Nutrient Recipes
General Hydroponics Flora Series (3-part):
- Seedling: FloraGro 5 mL/gal + FloraMicro 2.5 mL/gal
- Vegetative: FloraGro 5 mL/gal + FloraMicro 5 mL/gal + FloraBloom 2.5 mL/gal
- Target: 800–1,000 PPM (1.6–2.0 EC)
Masterblend 4-18-38 Formula:
- Masterblend 4-18-38: 2.4 g/gal
- Calcium Nitrate (15.5-0-0): 2.4 g/gal
- Magnesium Sulfate (Epsom Salt): 1.2 g/gal
- Yields approximately 800–900 PPM (1.6–1.8 EC) — a near-perfect fit for watercress
Start with reverse osmosis (RO) water or low-mineral tap water with a baseline EC below 0.3. Hard tap water above 200 PPM can push calcium and magnesium out of balance before you’ve added a single nutrient.
pH and EC Management
Optimal pH Range
The sweet spot is pH 6.0–6.5. Drop below 5.8 and iron and manganese become over-available, risking toxicity. Climb above 6.8 and those same elements lock out, along with boron. Watercress is particularly sensitive to iron availability, so holding pH steady in this window matters more than it might for other crops.
Monitoring Accurately
A quality digital meter is non-negotiable. The Apera PC60 and Bluelab pH Pen are both reliable choices for home growers. Calibrate weekly using pH 4.0 and 7.0 buffer solutions, and store the electrode in proper storage solution — not plain water.
For EC, the Bluelab Truncheon is a durable workhorse. Make sure any meter you use has automatic temperature compensation (ATC), since EC readings shift with water temperature.
Adjusting pH
- Too high: Add phosphoric acid (pH Down) in small increments — 1–2 mL per 10 gallons at a time. Wait 15–30 minutes before rechecking.
- Too low: Potassium bicarbonate (KHCO₃) is the best choice for watercress — gentler than potassium hydroxide and adds a small buffering benefit along with useful potassium.
Never mix pH Up and pH Down concentrates directly. Add each to the reservoir separately.
Managing EC and Reservoir Changes
The rule of thumb: if EC rises, add plain water; if EC falls, add nutrient solution. EC rising means plants are drinking water faster than nutrients; EC falling means heavy nutrient uptake.
Do a full reservoir change every 7–14 days in active systems. This prevents salt accumulation and nutrient imbalances — especially important because mature watercress absorbs nutrients aggressively and can deplete the reservoir faster than you’d expect.
Target >6 mg/L dissolved oxygen — ideally 8–10 mg/L. In DWC, run air stones continuously. In NFT, cascading flow handles most oxygenation, but solution temperature still matters. Above 72°F (22°C), dissolved oxygen drops fast and root rot risk spikes.
Lighting Your Hydroponic Watercress Garden
Spectrum and Intensity
Watercress is a low-to-moderate light crop. It responds best to blue light (400–500 nm) for compact, dense leaf growth and bolt prevention, and red light (620–700 nm) for efficient photosynthesis. Go easy on far-red (700–750 nm) — it can promote bolting when combined with warm temperatures. Full-spectrum white LEDs in the 3000K–4000K range with supplemental blue diodes cover all the bases well.
PPFD and DLI Targets
| Stage | PPFD (µmol/m²/s) | DLI (mol/m²/day) |
|---|---|---|
| Seedling | 50–150 | 3–6 |
| Early Vegetative | 150–250 | 8–12 |
| Harvest-Ready | 200–350 | 12–17 |
Watercress saturates around 400–500 PPFD. Pushing beyond that doesn’t increase yield — it adds heat stress and bolting risk.
Photoperiod
Stick to 14 hours on / 10 hours off. Watercress is a facultative long-day plant, meaning extended light periods can trigger flowering. Fourteen hours hits the sweet spot for maximum vegetative growth without crossing into bolt territory. In very cool environments (below 65°F / 18°C), you can stretch to 16 hours, but 14 is the safe default.
Recommended LED Grow Lights
For home growers, the Spider Farmer SF-2000 and Mars Hydro TS-1000 are excellent full-spectrum quantum board options in the $100–$250 range, covering 2×2 to 2×4 ft spaces effectively. Commercial operations should look at higher-output fixtures with dimming capability to dial in exact PPFD targets without overdriving the crop.
Harvesting and Continuous Production
When and How to Harvest
Watercress is ready 14–21 days after transplanting (25–35 days from seed). Look for stems 6–10 inches long with healthy, dark green leaves. Harvest in the morning when sugar content is highest and leaves are most crisp. Use clean scissors or a sharp knife and cut stems above a leaf node — this is the key to getting regrowth.
Cut-and-Come-Again Harvesting
Rather than pulling entire plants, harvest outer stems and leave the central growing points intact. New shoots emerge from the nodes within 7–10 days, and a single planting can yield 3–4 harvests before flavor and growth rate start to decline. Keep EC in check during this phase — mature watercress absorbs nutrients aggressively and EC can drop quickly in a dense system.
Preventing Bolting
Bolting is triggered by temperatures above 75°F (24°C) or photoperiods exceeding 14 hours. Once flower buds appear, stems become woody and flavor turns unpleasantly bitter — there’s no reversing it. Prevention is the only strategy. If you spot early flower buds, harvest immediately and correct your environment before starting the next succession.
Succession Planting
Start new seeds every 1–2 weeks in a separate germination tray. By the time your current harvest winds down, the next batch is ready to transplant. This staggered approach eliminates production gaps and keeps your system running at full capacity year-round.
Troubleshooting Common Problems
Root Rot
Root rot is almost always caused by low dissolved oxygen, high solution temperature, or both. Roots turn brown, slimy, and begin to smell. Fix it by:
- Increasing aeration immediately
- Cooling the nutrient solution to below 68°F (20°C)
- Adding a beneficial bacteria product containing Bacillus subtilis to outcompete pathogens
- Removing any dead or decaying root material
Prevention beats treatment every time. Monitor solution temperature daily.
Tip Burn and Leaf Scorch
Brown, crispy leaf edges usually point to calcium deficiency or EC that’s climbed above 1,400 PPM (2.8 EC). Check calcium levels first — target 150–200 ppm. If EC is the culprit, dilute with RO water and do a partial reservoir change. Poor airflow around leaves can also cause tip burn by limiting calcium transport, even when solution levels are correct. Increase fan circulation before assuming a nutrient problem.
Yellowing Leaves
Uniform yellowing across older leaves typically signals nitrogen deficiency — step up EC and confirm your nitrogen source is intact. Yellowing between leaf veins on newer growth points to iron or manganese deficiency; check pH first, since both elements lock out above 6.8.
Slow Growth or Stunted Plants
Slow growth in an otherwise healthy system usually comes down to temperature. If air or solution temperature is outside the target range, growth stalls noticeably. Confirm your thermometer is accurate, check for root crowding in NFT channels, and verify that light intensity is reaching the 150–250 PPFD range for vegetative growth.
Frequently Asked Questions
How long does watercress take to grow hydroponically? Watercress germinates in 5–7 days and is ready to harvest 14–21 days after transplanting — roughly 25–35 days from seed. With cut-and-come-again harvesting, a single planting can produce 3–4 harvests over 6–8 weeks.
What is the best hydroponic system for watercress? NFT is the top choice because the continuous flow of nutrient solution closely mimics watercress’s natural stream environment. DWC is an excellent alternative for home growers who want a simpler setup. Both outperform systems with intermittent watering cycles.
Can I grow watercress hydroponically indoors year-round? Yes — and hydroponics makes it easier than soil. Control air temperature (50–72°F), keep photoperiods at 14 hours, and use a water chiller if needed to maintain solution temperature. Succession planting every 1–2 weeks ensures a continuous harvest regardless of season.
Why does my hydroponic watercress taste bitter? Bitterness almost always means the plant has bolted or is close to it. Check air temperature (should be below 75°F / 24°C) and photoperiod (no more than 14 hours). Harvest immediately if flower buds are visible. Very high EC — above 1,200 PPM — can also intensify bitterness in mature plants.
What pH should I use for hydroponic watercress? Maintain pH between 6.0 and 6.5. Below 5.8, iron and manganese become over-available and can reach toxic levels. Above 6.8, those same elements lock out along with boron. Watercress is more sensitive to pH swings than many leafy greens, so check daily and adjust in small increments.