Quick Answer: Yes, you can grow arugula — and it’s one of the easiest crops to start with. It reaches harvest in just 21–40 days, thrives in soil, containers, and hydroponic systems, and rewards you with continuous harvests using the cut-and-come-again method. The main challenge is heat: arugula bolts quickly above 75°F (24°C).
Can You Grow Arugula? (Yes — Here’s How)
Arugula (Eruca vesicaria subsp. sativa) has been cultivated since Roman times for good reason — it’s fast, forgiving, and productive in almost any setup. Whether you’re working with a backyard raised bed, a sunny windowsill, or a full hydroponic system, arugula adapts readily. Its peppery, slightly nutty flavor intensifies under the right conditions, making it a genuinely rewarding crop.
It germinates in 3–7 days, can be harvested as baby greens or full leaves, and keeps producing when you harvest correctly. The learning curve is gentle, and the payoff is fast.
Key Growing Parameters at a Glance
| Parameter | Soil | Hydroponics |
|---|---|---|
| pH | 6.0–7.0 | 5.8–6.2 |
| EC | N/A | 0.7–2.4 |
| PPM | N/A | 350–1,200 |
| Temperature | 60–70°F (15–21°C) | 60–70°F (15–21°C) |
| Light (PPFD) | Partial to full sun | 200–400 µmol/m²/s |
| Days to harvest | 35–40 | 21–35 |
| Photoperiod (indoor) | — | 16 hours on / 8 hours off |
Best Growing Systems for Arugula
Soil, Raised Beds, and Containers
In-ground beds and raised beds work excellently for arugula, especially in spring and fall. Amend with compost and ensure good drainage — arugula doesn’t tolerate soggy roots. For containers, use a minimum depth of 6 inches; anything shallower restricts root development and dries out too quickly. Expect yields of roughly 0.5–1.0 lb per square foot per cutting.
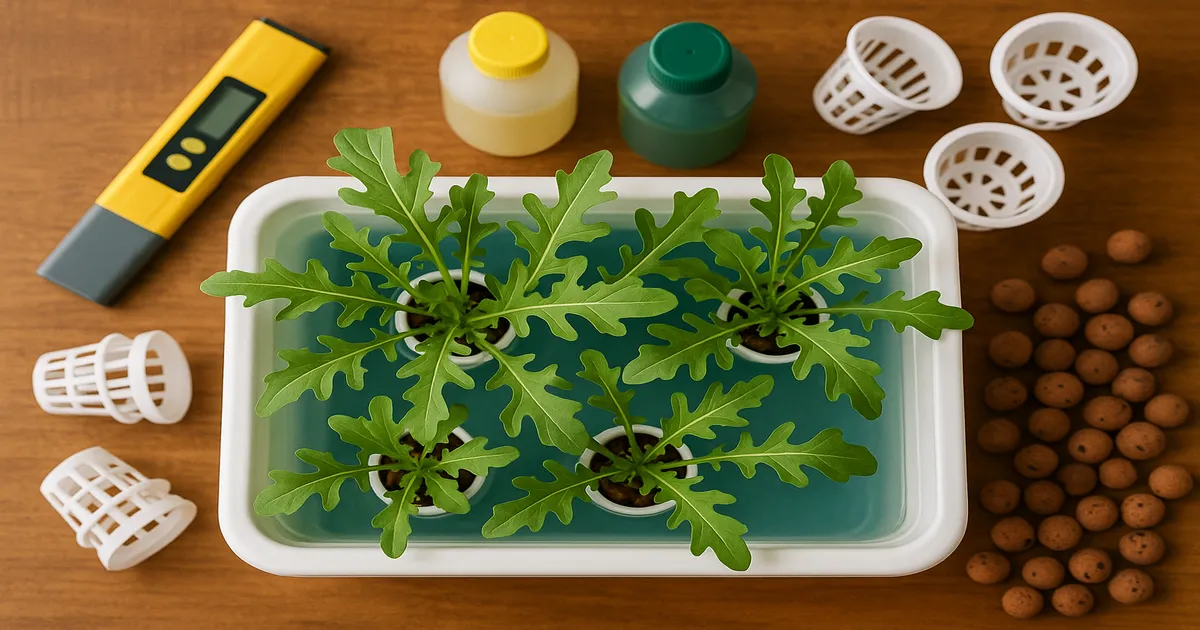
Deep Water Culture (DWC)
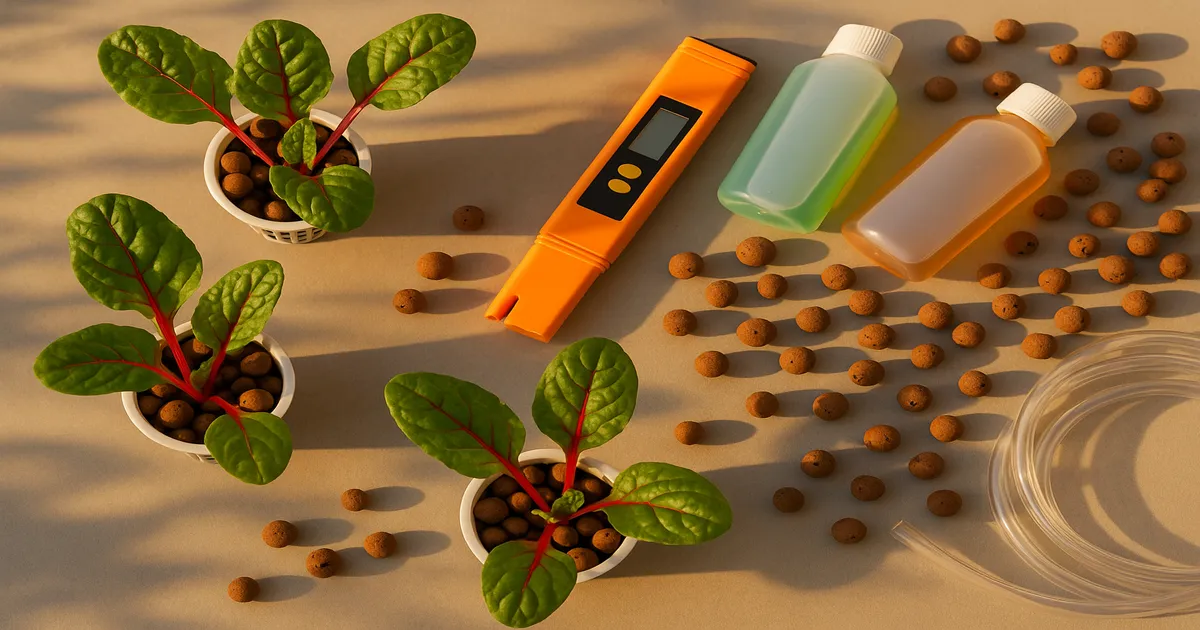
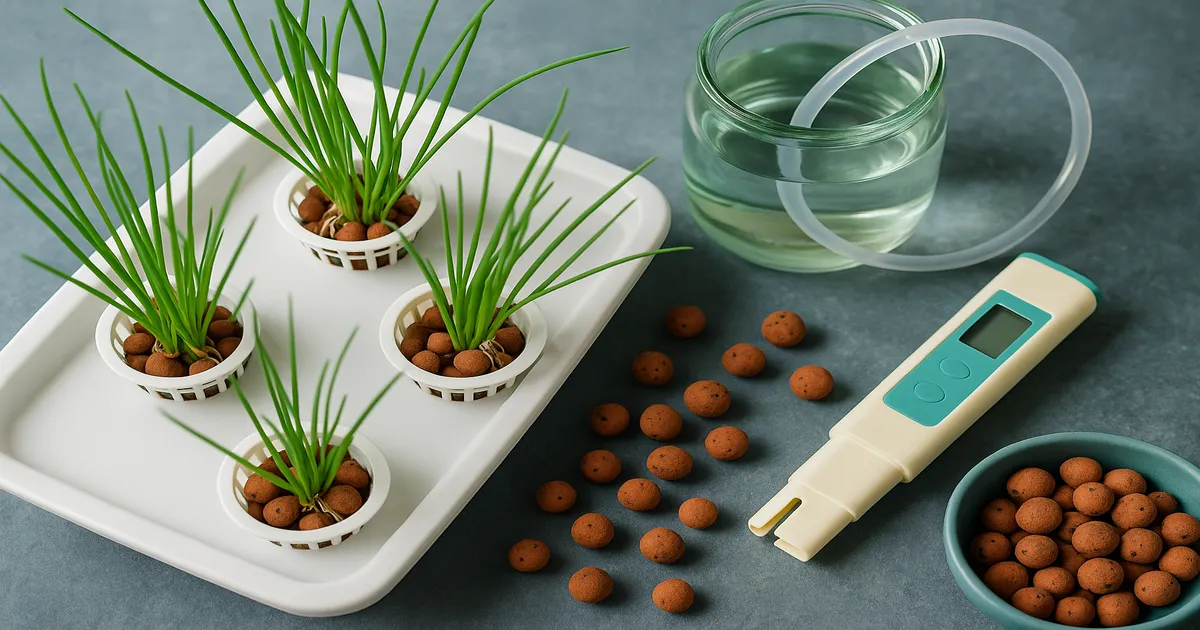
DWC is one of the top-performing hydroponic methods for arugula. Roots hang directly in an oxygenated nutrient solution, driving fast growth and consistent yields of 1.0–2.0 lb per cycle. Monitoring pH and EC is straightforward, making DWC a great first hydroponic system for beginners. A 5-gallon bucket with a quality air pump and air stone — such as the Vivosun Air Pump — keeps dissolved oxygen high and root rot at bay.
Nutrient Film Technique (NFT)
NFT is the commercial standard for leafy greens. A thin film of nutrient solution flows continuously over the roots, delivering excellent oxygenation and the highest yields — up to 2.0–3.0 lb per square foot per cycle. It requires a pump and slightly more infrastructure, but it’s hard to beat for efficiency at scale.
Kratky Passive Hydroponics
If you want to grow arugula hydroponically without pumps or electricity, Kratky is your answer. Fill a reservoir, suspend plants in net pots, and let them grow as they consume the solution. Change the reservoir every 3–4 weeks. It’s the most beginner-friendly hydroponic option available, and arugula performs very well in it.
Other Systems
Tower gardens, ebb and flow, aeroponics, and wicking systems all work with arugula, though they vary in complexity. For most home growers, DWC or Kratky delivers the best balance of simplicity and results.
Choosing the Best Arugula Variety
Standard Varieties: Astro, Roquette, and Runway
‘Astro’ is the most widely available variety — mild, broad-leafed, and very easy to grow. It reaches harvest in 21–30 days hydroponically and 35–40 days in soil. Great for beginners.
‘Roquette’ is the classic Italian type with a more pronounced peppery bite. It’s excellent for cut-and-come-again harvesting and takes about 25–35 days to reach baby leaf stage.
‘Runway’ is the pick for warm climates or growers who struggle with bolting. It has higher bolt resistance than Astro or Roquette and takes 28–38 days to harvest.
Wild Arugula: Heat-Tolerant Options
Wild arugula (Diplotaxis tenuifolia) is a different species — slower growing, but perennial in USDA zones 6–9 and significantly more heat-tolerant than standard types.
‘Sylvetta’ has deeply lobed leaves and an intensely peppery flavor. It takes 40–60 days to harvest but bounces back repeatedly and handles summer heat that would bolt standard arugula in days. ‘Wasabi’ is similarly intense and works well as a baby leaf or microgreen. If you’ve struggled with bolting in summer, either wild variety is worth trying.
Growing Arugula as Microgreens
Any standard arugula variety can be grown as microgreens and harvested in just 7–14 days. Seed densely — about 1–2 oz per 10×20 inch tray — and harvest at the cotyledon to first true leaf stage. Plain water is sufficient for the entire microgreens cycle; no nutrient solution is needed. Yields run 3–6 oz per tray, making it one of the most space-efficient crops you can grow indoors.
Nutrient Requirements for Growing Arugula Hydroponically
Macronutrients
Nitrogen drives leafy growth and the deep green color arugula is known for. Favor nitrate-nitrogen (NO₃⁻) over ammoniacal nitrogen — this reduces bitterness and lowers bolting risk. Avoid high-phosphorus bloom formulas; they’re counterproductive for leaf development.
Potassium supports cell wall integrity, stress resistance, and flavor. Aim for an N:K ratio of 1.5:1 to 2:1 for optimal leafy production.
Sulfur deserves special mention: it’s the building block of glucosinolates, the compounds responsible for arugula’s signature peppery heat. Magnesium sulfate in your nutrient mix covers both sulfur and magnesium simultaneously.
Micronutrients
- Calcium: 150–200 PPM — critical for preventing tip burn
- Magnesium: 30–50 PPM — supports chlorophyll production
- Iron: 2–3 PPM — use chelated iron (Fe-EDTA or Fe-DTPA); deficiency shows as yellowing between leaf veins
- Manganese: 0.5–1.0 PPM
- Boron: 0.3–0.5 PPM — important for cell division
- Zinc, Copper, Molybdenum: Trace amounts; covered by any complete hydroponic nutrient formula
EC and PPM Targets by Growth Stage
| Growth Stage | PPM | EC |
|---|---|---|
| Seedling (0–7 days) | 350–500 | 0.7–1.0 |
| Early vegetative (1–2 weeks) | 500–800 | 1.0–1.6 |
| Full vegetative / harvest | 800–1,200 | 1.6–2.4 |
Keep EC below 2.4 for most of the cycle. Exceeding this increases tip burn risk and can make leaves taste unpleasantly bitter. The “Mature / late harvest” row from the original table has been removed — at a 21–35 day crop cycle, arugula rarely warrants pushing EC above 2.4; doing so causes more harm than benefit.
Beginner Nutrient Recipe: General Hydroponics Flora Series
The General Hydroponics Flora Series 3-part system is a reliable starting point:
- FloraMicro: 3 mL/gallon
- FloraGro: 5 mL/gallon
- FloraBloom: 2 mL/gallon
This targets approximately 800–1,000 PPM (1.6–2.0 EC) — right in the sweet spot for vegetative arugula growth.
Intermediate Recipe: Modified Hoagland Solution
For growers who want precise control, mix the following per liter of RO or distilled water:
- Calcium nitrate [Ca(NO₃)₂]: 236 mg/L
- Potassium nitrate [KNO₃]: 202 mg/L
- Monopotassium phosphate [KH₂PO₄]: 136 mg/L
- Magnesium sulfate [MgSO₄·7H₂O]: 246 mg/L
- Plus standard Hoagland micronutrient stock solution
This produces approximately 800–1,000 PPM (1.6–2.0 EC) and gives you full control over every element in the mix.
pH and EC Management
Ideal pH Ranges
In soil, aim for pH 6.0–7.0 with an optimum around 6.5. In hydroponic systems, the window tightens to pH 5.8–6.2 — outside this range, nutrient uptake suffers even when your EC looks perfect.
How to Adjust pH
- Too acidic? Use a potassium hydroxide (KOH)-based pH Up solution. Add 0.5–1 mL per 5 gallons at a time, wait 15 minutes, then retest.
- Too alkaline? Use a phosphoric acid-based pH Down — it also contributes a small amount of phosphorus as a bonus.
- In soil: Raise pH with dolomite lime; lower it with elemental sulfur or acidifying fertilizers.
A useful tip: potassium silicate at 0.5–1 mL/gallon acts as a mild pH buffer while strengthening plant cell walls against pests and stress.
Monitoring and Reservoir Management
A reliable pH meter is non-negotiable. The Apera PH20 and Bluelab pH Pen are both excellent choices. For EC, the Bluelab Truncheon gives accurate, consistent readings without calibration.
Check pH and EC daily for DWC and NFT systems; every 2–3 days is sufficient for Kratky. Upward EC drift means plants are drinking more water than nutrients — top off with plain, pH-adjusted water. Downward EC drift means they’re consuming nutrients faster — add a small amount of concentrated solution. Change the reservoir completely every 7–14 days for active systems and every 3–4 weeks for Kratky. If your tap water tests above 200 PPM (0.4 EC) at baseline, consider switching to reverse osmosis water for cleaner, more predictable results.
Lighting for Arugula
PPFD Targets and Photoperiod
| Growth Stage | Target PPFD |
|---|---|
| Seedling | 100–200 µmol/m²/s |
| Vegetative / harvest | 200–400 µmol/m²/s |
| Maximum productive range | 400–600 µmol/m²/s |
Arugula needs far less light than fruiting crops. Exceeding 600 µmol/m²/s causes bleaching, heat stress, and accelerated bolting. Target a Daily Light Integral (DLI) of 12–17 mol/m²/day. A 16-hour photoperiod works well for most indoor grows — arugula is a facultative long-day plant, so extended light can eventually trigger flowering, but at typical 21–35 day cycles, 16 hours is safe and productive.
Recommended Grow Lights
| Budget | Fixture | Best For |
|---|---|---|
| $30–80 | Spider Farmer SF-1000, Mars Hydro TS-600 | Small DWC, Kratky, 2×2 ft |
| $100–250 | Mars Hydro FC-E3000, Spider Farmer SE3000 | 3×3 ft tent, NFT channel |
| $300+ | Fluence SPYDR, Gavita Pro 1700e LED | Commercial racks, 4×4 ft+ |
| Specialty | Barrina T5 LED strips | Vertical racks, shelf systems |
Barrina T5 LED strip lights are a genuinely cost-effective option for arugula given its modest light needs. Position any LED panel 18–24 inches above the canopy and adjust based on your fixture’s PPFD chart.
Planting, Harvesting, and Ongoing Care
Germination and Transplanting
Arugula germinates best at 60–70°F (15–21°C) and typically sprouts in 3–7 days. Seeds can germinate in cooler conditions (as low as 40°F / 4°C) but will take longer. Avoid germinating above 80°F (27°C) — germination rates drop sharply. Sow seeds about ¼ inch deep and keep the medium consistently moist but not waterlogged.
For hydroponic systems, start seeds in rockwool cubes or rapid rooter plugs, then transfer into 1–2 inch net pots once roots are visible and seedlings have their first true leaves. Transition gradually from plain water to a dilute nutrient solution (350–500 PPM / 0.7–1.0 EC) before ramping up to full strength.
Cut-and-Come-Again Harvesting
This is the single most important technique for continuous arugula production. Harvest outer leaves first, cutting about an inch above the base while leaving the central growing point intact. The plant regrows and is ready for another harvest in 2–3 weeks. Frequent harvesting also delays bolting — a regularly trimmed plant is far less likely to flower than one left to mature fully.
Succession Planting
Start a new batch of seeds every 2–3 weeks. By the time your second planting is ready to harvest, your first will have given you two or three cuttings and may be ready to replace. This simple rotation keeps fresh arugula available year-round without gaps.
Troubleshooting Common Arugula Problems
Bolting
Bolting is triggered by temperatures above 75°F (24°C), long photoperiods, drought stress, or plant maturity. You’ll notice the central stem shooting upward, leaves getting smaller and more intensely bitter, and flower buds appearing.
Prevention:
- Keep temperatures at 60–70°F (15–21°C)
- Harvest frequently — don’t let plants reach full maturity
- Choose bolt-resistant varieties like ‘Runway’ or ‘Sylvetta’
- Provide afternoon shade when growing outdoors in warm weather
Once a plant bolts, the flavor is compromised and it won’t recover. Replace it through your succession planting schedule.
Tip Burn
Tip burn looks like brown, papery edges on young inner leaves. It’s often misdiagnosed as calcium deficiency, but the real culprit is usually poor transpiration — the plant can’t move calcium from roots to leaf margins fast enough, even when calcium is present in the solution.
Fix it by:
- Running a small fan to improve air circulation around the canopy
- Keeping humidity below 80% RH
- Confirming calcium is at 150–200 PPM in your nutrient solution
- Slightly reducing EC to improve overall water uptake
Root Rot
Root rot (Pythium spp.) shows up as brown, slimy roots, a foul smell from the reservoir, and wilting plants despite adequate water. The cause is almost always warm water combined with low dissolved oxygen.
- Keep reservoir temperature at 65–72°F (18–22°C) — a water chiller helps in warm environments
- Run an air stone and air pump to keep dissolved oxygen above 6 mg/L
- Add Botanicare Hydroguard as a biological preventive — its Bacillus strains colonize roots and outcompete Pythium
- Sanitize reservoirs thoroughly between crop cycles
Yellowing Leaves and Pests
Yellowing between veins usually points to iron deficiency — check that your pH is within 5.8–6.2, since iron becomes unavailable above pH 6.5 in hydroponic systems. Overall pale yellowing across older leaves suggests nitrogen deficiency; increase your nutrient concentration by 100–200 PPM.
Common pests include aphids, fungus gnats, and flea beetles. Aphids and flea beetles are most problematic outdoors; fungus gnats are the main indoor threat and are best controlled by keeping growing media from staying waterlogged between waterings. Yellow sticky traps catch adults; a beneficial nematode drench handles larvae in media-based systems.
Frequently Asked Questions About Growing Arugula
Can you grow arugula indoors year-round? Yes. With a grow light and temperature control, arugula grows indoors in any season. A 16-hour photoperiod and temperatures of 60–70°F (15–21°C) are all it needs. Kratky or DWC setups make indoor growing especially simple.
How long does arugula take to grow hydroponically? Hydroponically grown arugula is typically ready to harvest in 21–35 days from transplant, depending on the variety and light levels. Baby leaf harvests can start as early as 18–21 days; full-sized leaves take closer to 30–35 days.
Can you grow arugula from seed in a hydroponic system? Yes, but it’s easiest to germinate seeds in rockwool cubes or rapid rooter plugs first, then transfer seedlings into your system once roots emerge. Direct seeding into NFT channels or DWC buckets is possible but harder to manage in the early stages.
Why does my arugula taste bitter? Bitterness usually has one of three causes: the plant has bolted, EC is too high (above 2.4), or temperatures have been too warm. Harvest younger leaves, keep EC in the 1.6–2.0 range, and maintain temperatures below 75°F (24°C) for the best flavor.
How often should I harvest arugula to keep it producing? Harvest every 2–3 weeks using the cut-and-come-again method. Remove outer leaves and leave the central growing point intact. Regular harvesting delays bolting and keeps the plant in active, productive growth.