Quick Answer: Yes, you can grow watercress at home — and it’s one of the easiest crops to start. Watercress is semi-aquatic by nature, scores a perfect 100/100 on the CDC’s nutrient density scale, and goes from transplant to harvest in just 3–4 weeks. This guide covers system selection, nutrients, lighting, and harvest so you can get started today.
Can You Grow Watercress at Home? (Yes — Here’s Why It’s Easy)
Watercress doesn’t just tolerate water — it craves it. The plant naturally grows along stream banks and in shallow moving water, which means it’s practically pre-adapted to hydroponic growing. Where other crops struggle with wet roots, watercress thrives.
It’s also a cut-and-come-again plant. Harvest the top few inches of stem and the plant regrows in 1–2 weeks. One small setup can keep you in fresh greens for months.
Store-bought watercress has a shelf life of just 2–5 days. By the time it reaches your kitchen, it’s often wilted and past its nutritional peak. Growing your own means harvesting minutes before you eat — and that difference is immediately obvious. Nutritionally, watercress topped the CDC’s Powerhouse Foods ranking with a perfect 100/100, thanks to vitamins K, C, and A, plus calcium, iron, and glucosinolates — the compounds linked to cancer prevention.
Choosing the Best System to Grow Watercress at Home
Deep Water Culture (DWC): Best Results for Most Growers
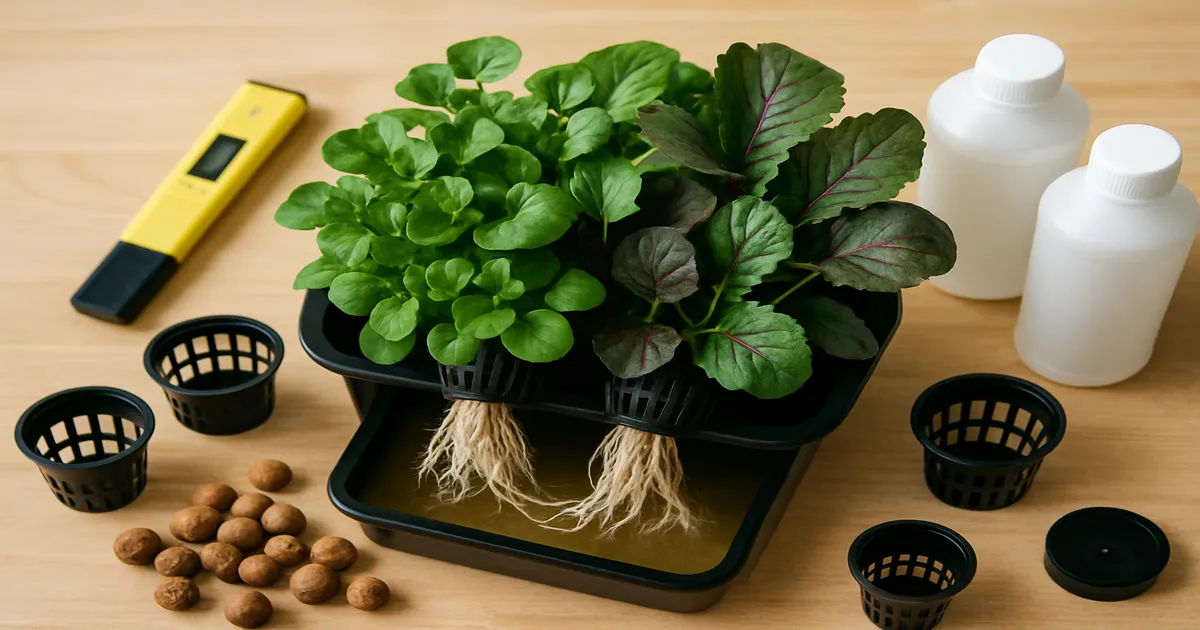
In a DWC system, plant roots hang directly in oxygenated, nutrient-rich water — essentially what watercress experiences in a natural stream. You’ll need a reservoir, net pots, an air pump with an air stone, and a grow light. The hardware is inexpensive and the setup is straightforward. For most home growers who want strong yields, DWC is the system to build.
A quality air pump makes a real difference here. The Vivosun 317 GPH air pump is a reliable, quiet option that works well for single-bucket or small multi-plant setups.
Kratky Method: Zero Complexity for Beginners
The Kratky method is passive DWC — no pump, no electricity, no moving parts. Fill a reservoir, suspend your plants above it, and let the roots grow down into the solution as the water level drops, creating an air gap that supplies oxygen. Watercress grows slightly slower than in active DWC, but it works well. If you want to start with zero complexity, this is your entry point.
NFT Systems: Closest to a Natural Stream
Nutrient Film Technique (NFT) runs a thin, continuous film of nutrient solution over roots in a sloped channel. It closely mirrors a shallow stream and scales well if you want to grow more than a few plants.
Aquaponics: A Natural Pairing
Watercress and fish are a classic combination. The plant thrives on fish-waste nitrogen, and its roots help filter the water. Tilapia is the most common pairing, with a stocking density of 0.5–1.0 lb per gallon of tank water. You’ll need to supplement potassium and chelated iron, since fish waste doesn’t supply enough of either, but otherwise the system is remarkably self-sustaining.
Soil and Mason Jar Methods
No hydroponic equipment? Use a mix of potting soil and perlite, keep it consistently moist — almost waterlogged — and sit the pot in a tray of water. For the simplest possible start, place fresh cuttings in a mason jar of water on a bright windowsill and change the water every 2–3 days. It’s not a production setup, but it’s a great way to root cuttings before moving them to a proper system.
| Your Situation | Best System |
|---|---|
| Complete beginner, no budget | Mason jar or Kratky |
| Beginner with small budget | Kratky or DWC |
| Some experience, want best yields | DWC or NFT |
| Want a living ecosystem | Aquaponics |
| No hydroponic equipment | Soil/container with tray |
Watercress Varieties: Which One to Grow
The standard species is Nasturtium officinale — classic peppery flavor, widely available as seed. N. microphyllum is slightly more heat-tolerant. N. × sterile is a sterile hybrid common in UK commercial production; it won’t set seed, but cuttings root perfectly.
For hydroponic setups, broad-leaf varieties consistently outperform standard types:
- ‘Aqua’ — The benchmark commercial variety; vigorous, reliably peppery, suited to all systems
- ‘Improved Broad Leaf’ — Larger leaves, higher yield, slightly milder flavor; excellent for DWC and NFT
- ‘Large Leaf’ — Bred for high yield; popular in UK commercial production
- ‘Cresson de Fontaine’ — A French heirloom with exceptional flavor; the gourmet choice
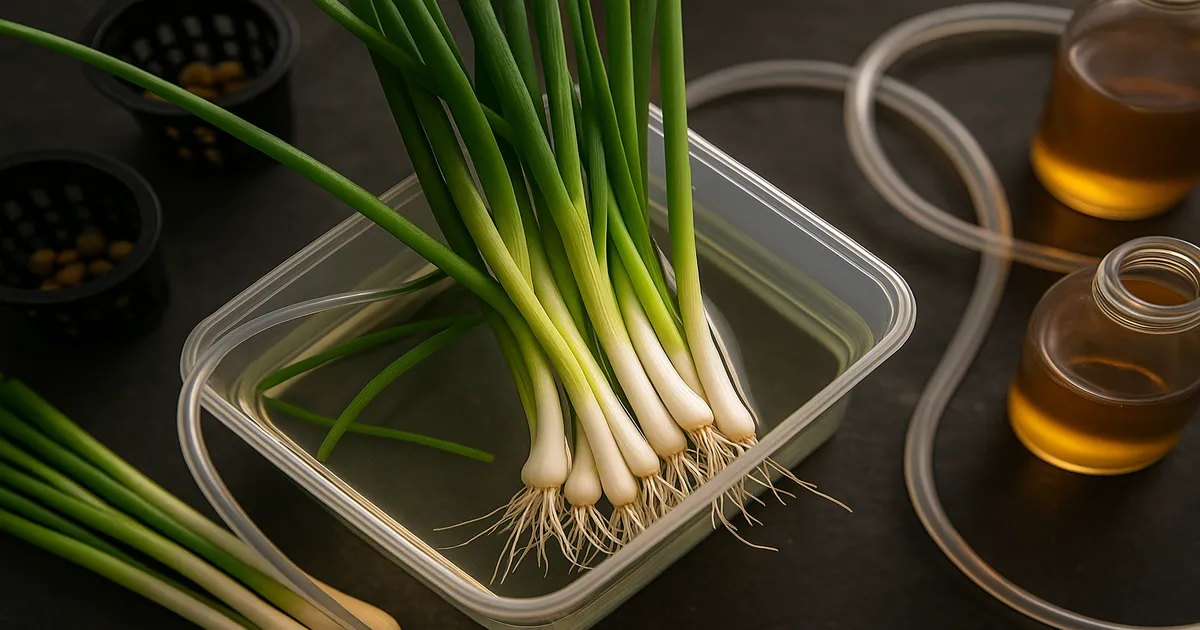
Starting from Grocery Store Cuttings
Buy a fresh bunch of watercress, trim the bottom inch of stems, and place them in a glass of water on a bright windowsill. Roots appear in 5–7 days — a free crop with almost no effort. This works because watercress spreads naturally by stem propagation in streams. The only caveat: UK supermarket bunches are often N. × sterile and won’t set seed, but cuttings root just as well.
Ideal Growing Conditions for Watercress at Home
Temperature
Watercress is a cool-season crop. Optimal air temperature is 50–70°F (10–21°C). Push above 70°F and you risk bolting — the plant flowers, growth slows, and leaves turn bitter. This is the most common reason home growers are disappointed. In summer, move your setup to a basement or north-facing room.
Light
Watercress is a low-to-moderate light crop. Target a PPFD of 350–600 µmol/m²/s and a Daily Light Integral (DLI) of 12–20 mol/m²/day — well below what tomatoes need, which makes it ideal for lower-light indoor spaces. Run lights for 14–16 hours with a mandatory dark period. Never exceed 18 hours when temperatures are above 70°F; that combination reliably triggers bolting.
A blue-dominant, full-spectrum LED in the 5000K–6500K range works best. Blue light encourages compact leaf growth and helps delay bolting. Avoid bloom-spectrum lights — they’re designed for flowering crops and can push watercress to flower prematurely.
Recommended grow lights:
| Budget | Fixture | Coverage |
|---|---|---|
| Budget | Mars Hydro TS-600 | 2×2 ft |
| Budget | Spider Farmer SF-1000 | 2×2 ft |
| Mid-range | AC Infinity IONBOARD S24 | 2×2 ft |
| Countertop | AeroGarden Harvest Elite | Pod system |
A south-facing window works in spring and fall — you need at least 4–6 hours of direct sun or 8+ hours of bright indirect light. In winter, supplement with a small grow light or growth slows significantly.
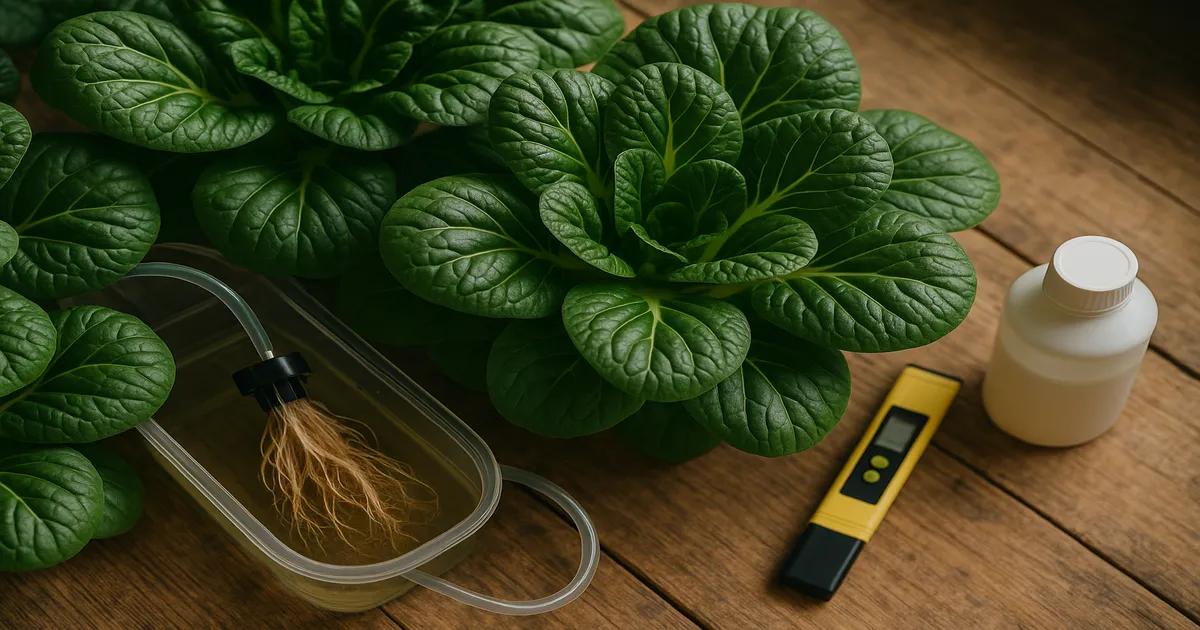
Water Temperature and Reservoir Size
Keep your reservoir below 72°F (22°C). Watercress evolved in cold, fast-moving streams and expects high dissolved oxygen at the roots. Above 75°F (24°C), dissolved oxygen drops sharply and pathogen risk climbs. In summer, an aquarium chiller or sealed bottles of ice can keep temperatures in range.
Use a minimum of 2 gallons of reservoir volume per plant. Small reservoirs swing in pH and EC quickly, and watercress is sensitive to sudden chemistry changes. A 5-gallon bucket for two or three plants is a practical starting point.
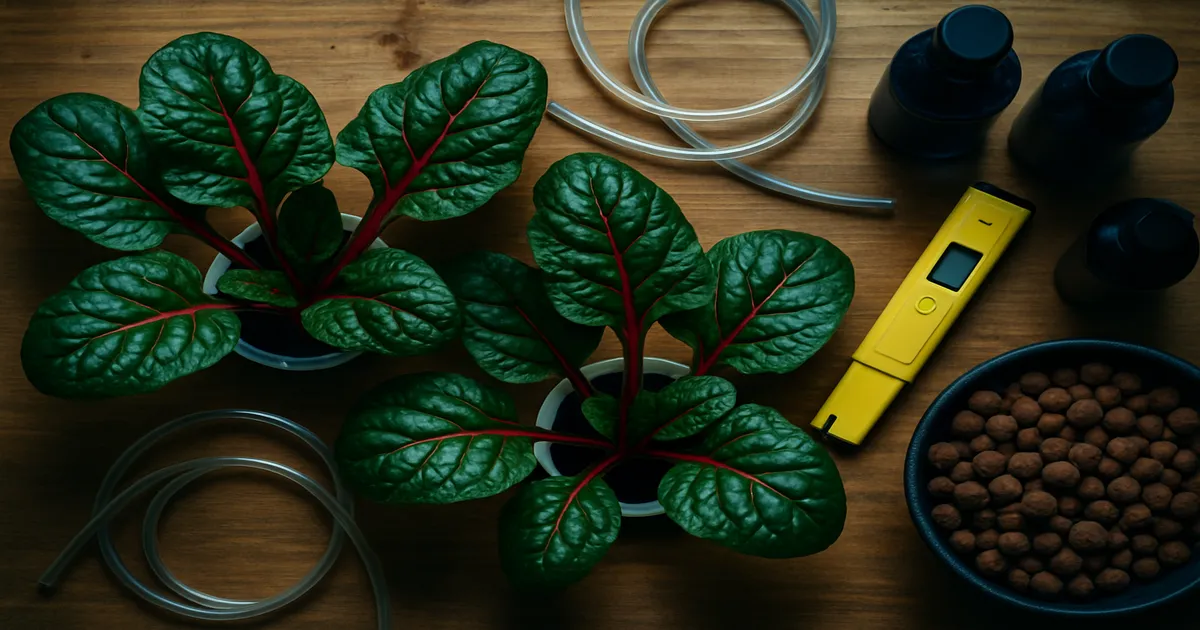
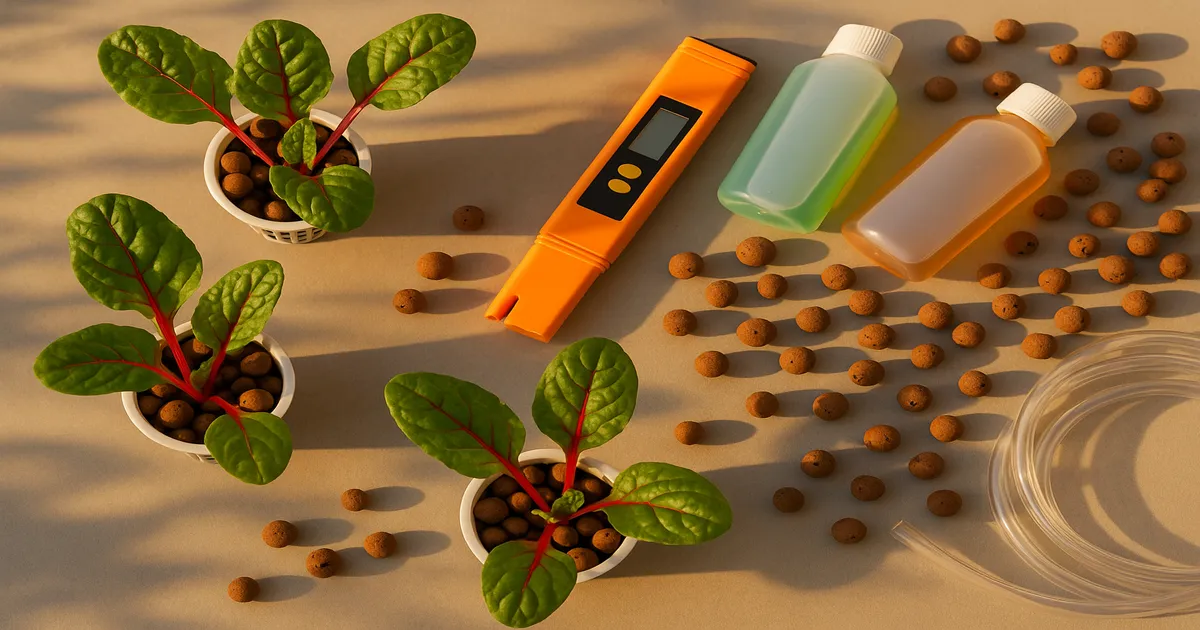
Nutrients, pH, and EC for Watercress
NPK and EC Targets
Watercress is a light feeder. Target an N:P:K ratio of 3:1:2 to 4:1:3 — nitrogen-forward to drive leafy growth, with moderate potassium for flavor and disease resistance. Skip high-phosphorus bloom formulas entirely.
| Growth Stage | PPM | EC |
|---|---|---|
| Seedling | 200–400 | 0.4–0.8 |
| Early vegetative (weeks 1–2) | 400–600 | 0.8–1.2 |
| Active vegetative / harvest | 600–900 | 1.2–1.8 |
| Mature plants | 900–1,100 | 1.8–2.2 |
Never exceed 1,200 PPM (2.4 EC). Above that threshold, tip burn, leaf scorch, and root damage become likely.
Calcium and Iron
Calcium maintains cell wall integrity and prevents tip burn — the brown, papery leaf margins that signal a deficiency. Watercress is particularly calcium-hungry compared to other leafy greens. Iron deficiency is the other common issue, especially if pH drifts above 7.0. Use chelated iron (Fe-EDTA or Fe-DTPA) for reliable availability across your target pH range.
DIY Nutrient Recipe
Per gallon of RO or distilled water — targets ~700 PPM (1.4 EC) at pH 6.5:
| Compound | Amount per Gallon |
|---|---|
| Calcium Nitrate [Ca(NO₃)₂] | 2.0 g |
| Potassium Nitrate [KNO₃] | 0.8 g |
| Monopotassium Phosphate [KH₂PO₄] | 0.4 g |
| Epsom Salt [MgSO₄·7H₂O] | 0.5 g |
| Chelated Iron (Fe-EDTA, 13%) | 0.05 g |
| Micronutrient blend | Per label |
For a pre-mixed option, the General Hydroponics Flora Series at a 3:2:1 ratio (FloraMicro:FloraGro:FloraBloom) is reliable and widely available. MaxiGro and Masterblend 4-18-38 also work well.
pH Management
The target pH for hydroponic watercress is 6.5, with an acceptable range of 6.0–7.0. In soil or aquaponics, 6.5–7.2 works fine. Drop below 5.8 and you risk iron and calcium lockout. Climb above 7.5 and phosphorus and micronutrient availability collapse.
Check pH daily for the first two weeks, then every 2–3 days once the system stabilizes. A reliable digital meter is worth the investment — the Apera PC60 reads both pH and EC and is accurate enough for serious home growing. Calibrate weekly with pH 4.0 and 7.0 buffer solutions. Adjust in small increments — 1 mL of pH Up or Down per gallon — wait 15–30 minutes, and recheck. Never move pH more than 0.5 units per hour.
EC management at a glance:
- EC rising — Plants are drinking water faster than nutrients. Top off with plain, pH-adjusted water.
- EC falling — Plants are consuming nutrients faster than water. Add diluted nutrient solution.
- Full reservoir change — Every 7–14 days for small systems; every 14–21 days for larger setups.
Planting and Harvesting Watercress at Home
Once cuttings have roots 1–2 inches long, transplant them into net pots packed with hydroton (expanded clay pebbles) or rockwool to support the stem. Position the net pot so roots reach or nearly reach the nutrient solution. Start at seedling EC levels (200–400 PPM) and ramp up over the first two weeks.
Watercress is ready to harvest 3–4 weeks after transplanting. Cut stems 2–3 inches above the root zone with clean scissors — don’t pull or strip the plant. New growth emerges from the cut point within 1–2 weeks, giving you a continuous harvest cycle. Harvest regularly; frequent cutting delays bolting by keeping the plant in vegetative mode.
If you see flower buds forming, pinch them off immediately. Flowers are edible and mildly peppery, but once the plant commits to flowering, leaf quality and yield decline fast. To extend your harvest window: keep air temperature below 70°F, maintain a 14–16 hour photoperiod, and harvest every 1–2 weeks.
Troubleshooting Common Problems
Yellowing leaves — Check the pattern. Overall yellowing starting with older leaves points to nitrogen deficiency; raise your EC one step. Yellowing between the veins while veins stay green (interveinal chlorosis) is a classic iron or magnesium deficiency, usually caused by pH drifting out of range. Correct pH first before adding more nutrients.
Tip burn — Brown, papery leaf margins almost always indicate calcium deficiency or low dissolved oxygen. Check your air pump is running, verify EC isn’t too high, and confirm calcium levels in your solution.
Bolting — Triggered by high temperatures, excessive light hours, or an aging plant. Lower the temperature, reduce photoperiod to 14 hours, and harvest immediately to reset the plant’s energy toward vegetative growth.
Root rot — Slimy, brown roots with an unpleasant smell. Usually caused by warm reservoir water, low dissolved oxygen, or light leaking into the reservoir. Lower water temperature, increase aeration, and cover any light leaks.
Frequently Asked Questions
Can you grow watercress at home without any special equipment? Yes. The simplest method is placing fresh cuttings in a mason jar of water on a bright windowsill. Change the water every 2–3 days. It won’t produce as much as a hydroponic setup, but it works and costs nothing.
How long does watercress take to grow at home? From cutting to first harvest is typically 3–4 weeks. Seeds take a week or two longer. After the first harvest, the plant regrows and is ready to cut again in 1–2 weeks.
Does watercress need a lot of light indoors? No — it’s a low-to-moderate light crop. A PPFD of 350–600 µmol/m²/s is plenty. A south-facing window works in spring and fall; supplement with a grow light in winter.
Why does my watercress taste bitter? Bitterness almost always means the plant has bolted or is close to it — usually caused by temperatures above 70°F or a photoperiod that’s too long. Move the setup somewhere cooler and harvest immediately to reset the plant.
Can you regrow watercress from a supermarket bunch? Yes. Trim the bottom inch of stems and place them in water. Roots appear in 5–7 days. It’s one of the easiest and cheapest ways to start growing watercress at home.