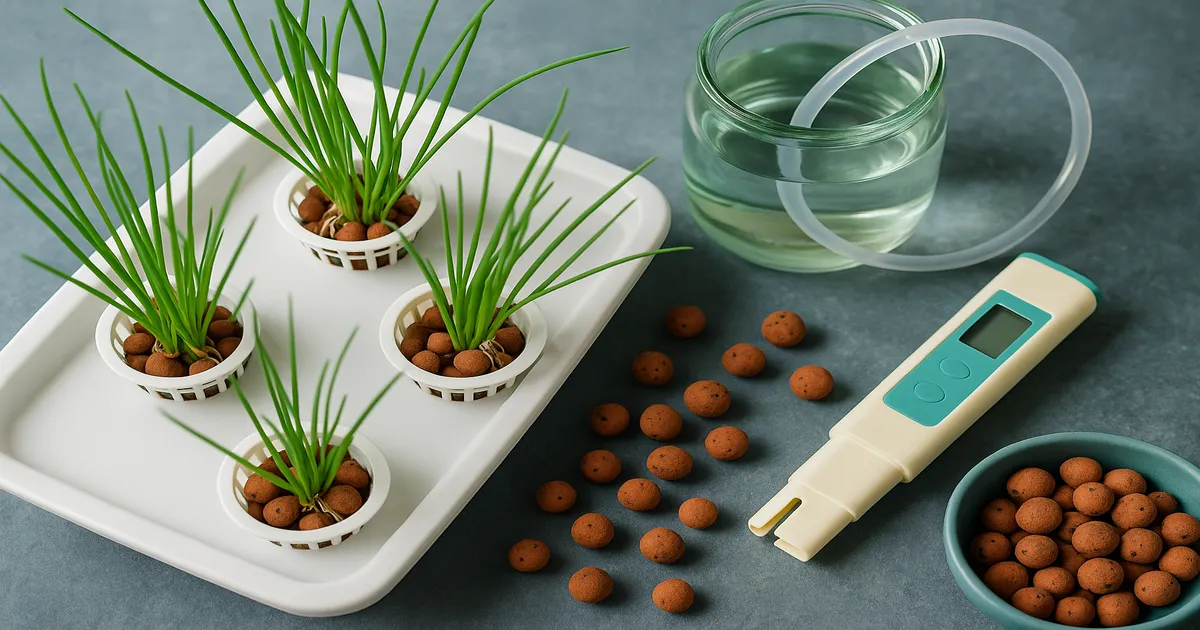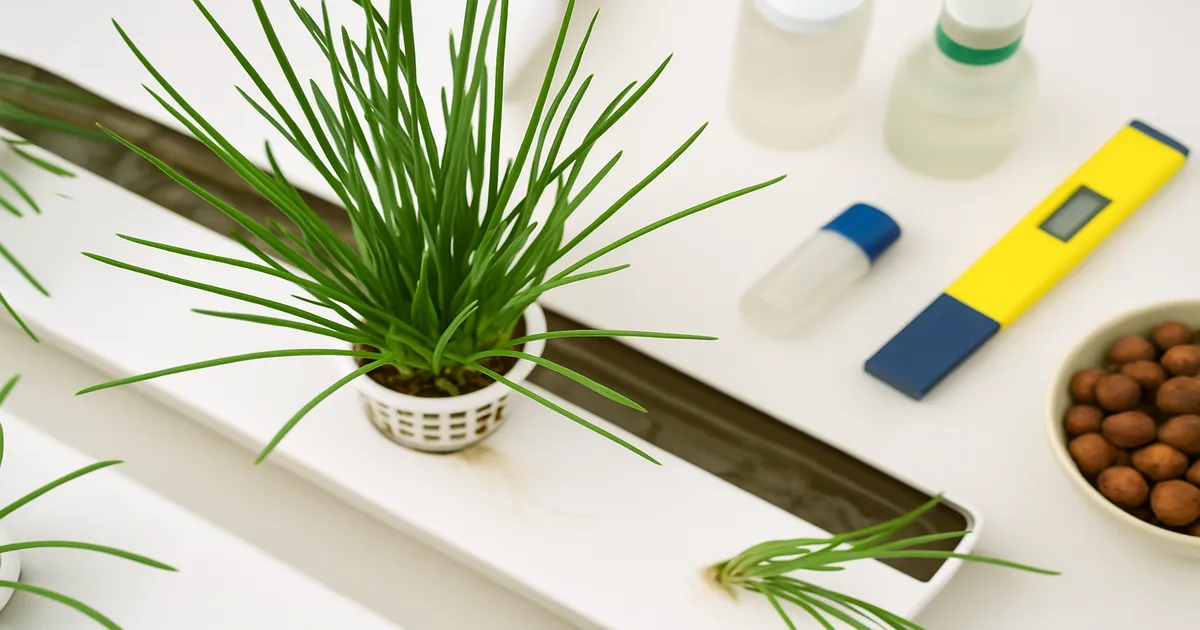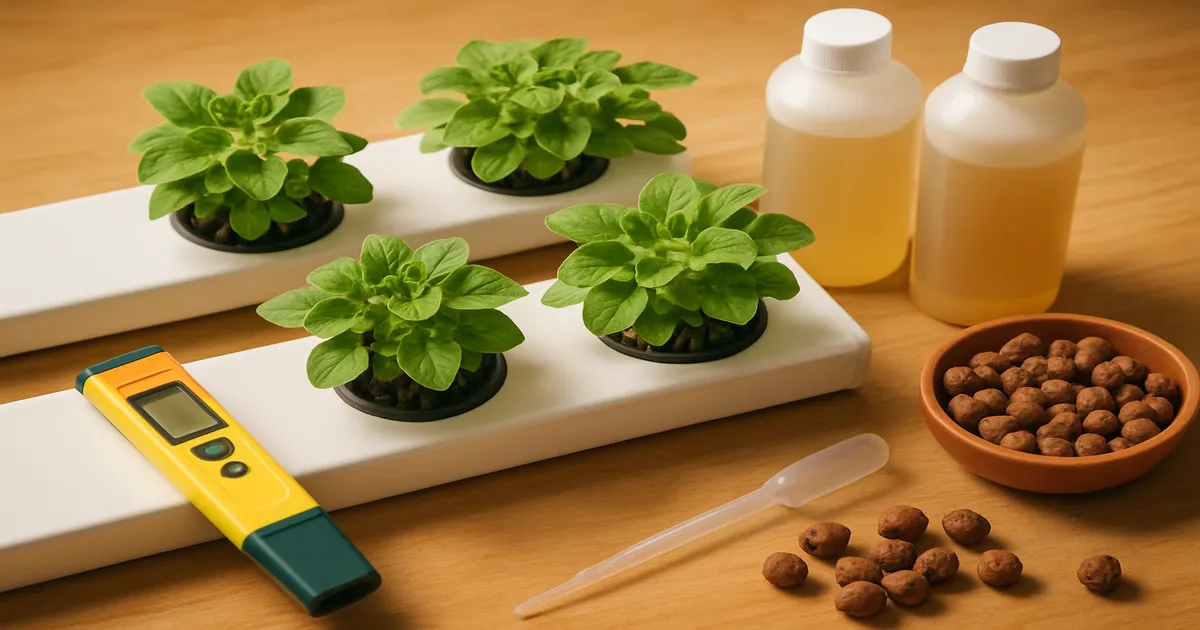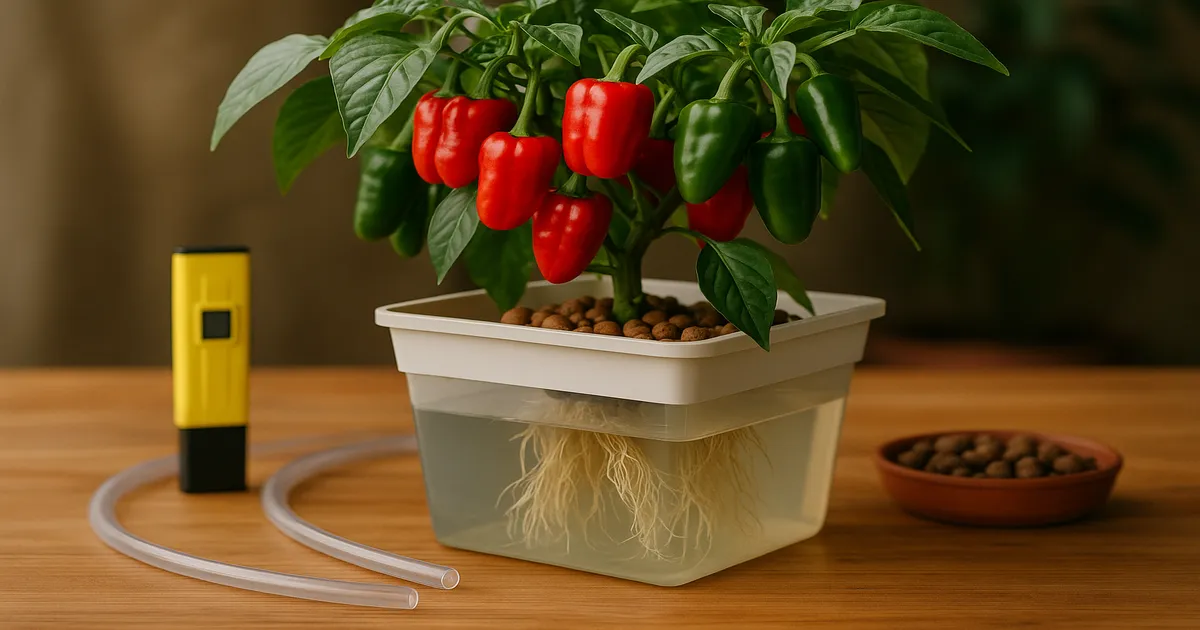
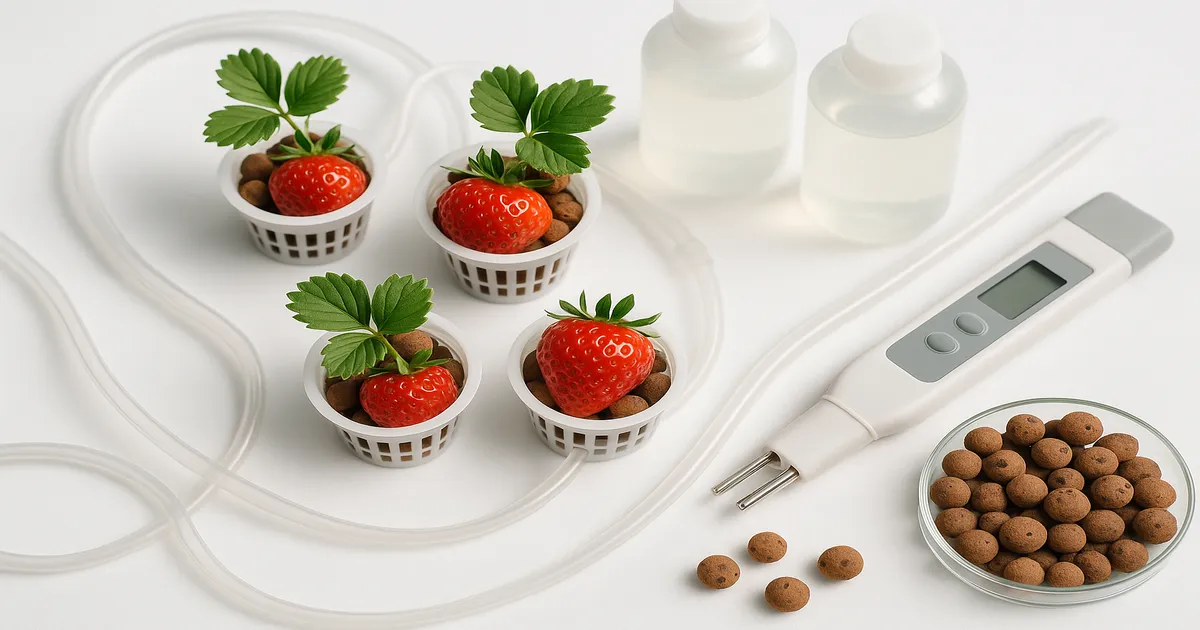
Quick Answer: Learning how to grow hydroponic strawberries at home gives you ripe berries year-round, up to 2–3× more fruit per square foot, and 70–90% less water than soil growing. NFT (Nutrient Film Technique) is the most popular system for home growers — keep your pH at 5.8–6.2, run day-neutral varieties under 14–16 hours of light, and you’ll be harvesting in as little as 60–90 days from transplant.
Learning how to grow hydroponic strawberries at home is one of the most satisfying projects a home grower can take on. The plants are compact, the setup is affordable, and the payoff — fresh, flavorful berries in the middle of February — is genuinely hard to beat. This guide covers everything: system selection, variety choice, nutrients, lighting, and troubleshooting, so you can go from bare-root crown to first harvest with confidence.
How to Grow Hydroponic Strawberries at Home: Choosing Your System
NFT (Nutrient Film Technique): The Best Starting Point
NFT is the most popular choice for home strawberry production. A thin film of nutrient solution flows continuously through sloped channels, keeping roots moist without waterlogging them — exactly what strawberry roots prefer. Channels are cheap to build from PVC pipe, and the system scales easily from a 4-plant trial to a 40-plant wall. Most commercial strawberry operations use NFT, so the technique is well-documented and beginner-friendly despite its “intermediate” label.
DWC and Kratky: Simple Beginner Options
Deep Water Culture (DWC) suspends roots directly in oxygenated nutrient solution and delivers excellent results for strawberries, as long as you keep reservoir temperatures in check. Warm water spells trouble fast.
Kratky is the passive version of DWC — no pump, no electricity, just a container with nutrient solution and an air gap above. It’s a perfect single-plant trial and requires almost zero maintenance between top-offs. The trade-off is limited scalability.
Vertical Tower Systems: Best for Small Spaces
If floor space is tight, a vertical tower solves the problem neatly. Aeroponic towers like the Tower Garden HOME fit a dozen or more plants into roughly a 2-square-foot footprint. Yields per plant run slightly lower than NFT, but yield per square foot of floor space is hard to beat.
Other Systems Worth Knowing
- Ebb & Flow works well if you already have a tray system and want to add strawberries alongside other crops.
- Dutch Buckets suit larger, established crowns and everbearing varieties that produce across multiple seasons.
- Aeroponics delivers the fastest growth of any system, but misting nozzles are finicky and setup costs are significant. Save it for after you’ve mastered the basics.
Selecting Varieties and Starting Plants
Day-Neutral vs. Short-Day: Why It Matters
Short-day varieties only flower when light drops below 12 hours — manageable outdoors, but a problem indoors where you’re running 14–16 hours of light. Day-neutral and everbearing varieties flower regardless of day length, making them the obvious choice for indoor hydroponics. Reliable options include Albion, Seascape, Tristar, and Evie-2, all of which produce continuously under a consistent light schedule.
Best Starting Material: Bare-Root Crowns
Always start with certified disease-free bare-root crowns from a reputable nursery. Plugs grown in potting mix can harbor pathogens that wreak havoc in a recirculating system. Runners from a neighbor’s garden carry the same risk. Bare-root crowns are clean, affordable, and transplant directly into net pots. Most suppliers sell them in bundles of 25 or more, keeping per-plant cost low.
Chilling Requirements
Many varieties need 200–300 hours below 45°F (7°C) — called vernalization — before they’ll fruit properly. Crowns purchased in late summer or fall have usually been chilled naturally. Out of season, look for pre-chilled crowns, or stick to day-neutral varieties, which have minimal chilling requirements. Plan for a productive lifespan of 12–18 months per plant; many growers replace crowns annually to maintain peak yields.
Step-by-Step Setup for How to Grow Hydroponic Strawberries at Home
Equipment Checklist
- NFT channels or DWC reservoir
- Submersible pump + tubing (NFT) or air pump + air stones (DWC)
- pH meter and EC/TDS meter (Apera PC60)
- pH Up (potassium hydroxide) and pH Down (phosphoric acid)
- Hydroponic nutrients (Masterblend, Jack’s 321, or GH Flora Series)
- 2-inch net pots (NFT) or 3-inch net pots (DWC) and clay pebbles
- Full-spectrum LED grow light with timer (Spider Farmer SF-2000)
- Reservoir thermometer
Key Parameters at a Glance
| Parameter | Target Range |
|---|---|
| pH | 5.8–6.2 |
| EC at transplant | 0.8–1.2 (400–600 PPM) |
| EC at peak fruiting | 2.0–2.8 (1,000–1,400 PPM) |
| Photoperiod (day-neutral) | 14–16 hours on |
| Reservoir temperature | 65–72°F (18–22°C) |
Mixing Your Nutrient Solution
The Masterblend base recipe is a favorite for its simplicity. Per gallon of water:
- Add 2.4 g calcium nitrate and stir until dissolved
- Add 2.4 g Masterblend 4-18-38 and stir
- Add 1.2 g Epsom salt (magnesium sulfate) and stir
This produces roughly 800–900 PPM (1.6–1.8 EC). Never mix calcium nitrate and sulfates together as a dry concentrate — they react and lock out nutrients before they ever hit the water. Adjust pH to 5.8–6.2 after mixing, not before.
Transplanting Bare-Root Crowns
- Rinse crowns thoroughly under clean water
- Trim dead or mushy roots; leave healthy white ones intact
- Position the crown so its base sits at medium level — not buried, not fully exposed
- Start with 400–600 PPM (0.8–1.2 EC) for the first week to minimize transplant shock
- Increase EC gradually over 7–10 days as plants establish
Reservoir Temperature
Keep your reservoir between 65–72°F (18–22°C). Above 75°F (24°C), dissolved oxygen drops sharply and Pythium root rot becomes a serious threat. Below 60°F (15°C), uptake of phosphorus and calcium slows significantly. In warm rooms, wrap the reservoir in reflective insulation or use an aquarium chiller . It’s one of the highest-impact upgrades you can make.
Nutrients and Feeding Schedule
EC and PPM by Growth Stage
| Stage | PPM | EC |
|---|---|---|
| Transplant/Establishment | 400–600 | 0.8–1.2 |
| Vegetative Growth | 700–900 | 1.4–1.8 |
| Flowering | 900–1,100 | 1.8–2.2 |
| Fruiting/Ripening | 1,000–1,400 | 2.0–2.8 |
| Late Season/Runners | 600–800 | 1.2–1.6 |
Never exceed 1,600 PPM (3.2 EC). Strawberries are more sensitive to high EC than tomatoes or cucumbers — pushing past that threshold causes tip scorch and nutrient burn.
N-P-K Ratios: Veg vs. Fruiting
Nitrogen drives leaf and crown development during vegetative growth. Once flowering begins, the priority shifts hard toward potassium. Aim for a K:N ratio of roughly 2:1 during fruiting — this directly affects sugar content (Brix), flavor, and berry firmness. Reduce nitrogen slightly at this stage; too much pushes leafy growth at the expense of fruit quality.
Calcium, Magnesium, and Key Micronutrients
Calcium (150–200 PPM) is essential for cell wall integrity. Deficiency shows up as tip burn on young leaves and, in severe cases, blossom end rot. Magnesium (40–60 PPM) supports chlorophyll production; deficiency causes interveinal yellowing on older leaves.
Among micronutrients, watch these three closely:
- Iron (2–4 PPM): Use chelated iron (Fe-EDTA or Fe-DTPA); the most critical micro for strawberries
- Boron (0.3–0.5 PPM): Directly affects pollination and fruit set — deficiency causes hollow or misshapen berries
- Manganese (0.5–1.0 PPM): Deficiency causes interveinal chlorosis on young leaves
Fruiting Boost
At peak fruiting, scale up the Masterblend recipe slightly:
- Increase Masterblend to 3.0 g/gallon
- Increase calcium nitrate to 3.0 g/gallon
- Add 0.5 g/gallon potassium sulfate for an extra potassium push
- Target: 1,100–1,300 PPM (2.2–2.6 EC)
pH and EC Management
Why Strawberries Are pH-Sensitive
The 5.8–6.2 window is a hard boundary, not a suggestion. Above pH 6.5, iron and manganese become chemically unavailable even if they’re present in solution. Below pH 5.5, calcium and magnesium absorption drops off sharply. Either direction produces deficiency symptoms that look like nutrient problems but are actually pH problems. Check pH at least once daily — twice during active fruiting or hot weather.
Calibrating Your Meters
Calibrate your pH meter weekly using pH 4.0 and 7.0 buffer solutions. Rinse the probe with distilled water before and after each use, and store it in probe storage solution — never distilled water, which degrades the electrode. Calibrate your EC meter monthly with a 1,413 µS/cm calibration solution, and confirm which PPM scale your meter uses (500 or 700 scale) since this affects how your readings compare to the targets in this guide.
Adjusting pH Safely
- pH below 5.8: Add pH Up (potassium hydroxide) in 1–2 mL increments per 10 gallons, stir, wait 15 minutes, recheck
- pH above 6.2: Add pH Down (phosphoric acid) using the same small-increment approach
Always add adjusters to the reservoir with the pump running so they disperse evenly. Never pour them into concentrated nutrient mix.
Reservoir Maintenance Schedule
- Daily: Top off with plain pH-adjusted water to maintain volume
- Every 7–10 days: Replace 25–50% of the reservoir with fresh nutrient solution
- Every 2–3 weeks: Full flush and complete reservoir replacement
- Between crop cycles: Clean the entire system with plain water before introducing new plants
Lighting for Indoor Hydroponic Strawberries
PPFD and DLI Targets
| Stage | PPFD (µmol/m²/s) | DLI (mol/m²/day) |
|---|---|---|
| Transplant | 100–200 | 8–12 |
| Vegetative | 200–400 | 12–18 |
| Flowering | 400–600 | 18–25 |
| Fruiting | 500–800 | 22–30 |
Strawberries are moderate-light crops — far less demanding than tomatoes. A quality home LED panel can hit these targets without a huge electricity bill.
Spectrum and Photoperiod
During vegetative growth, blue-dominant light (4,000–6,500K) promotes compact plants with strong roots. When flowering begins, shift toward a warmer, red-heavy spectrum (2,700–3,500K) to drive fruit development. UV-A light (315–400 nm) is worth adding during fruiting if your fixture supports it — it boosts anthocyanin production, which translates to deeper color, better flavor, and higher antioxidant content.
Run 14–16 hours on / 8–10 hours off for day-neutral varieties. Consistency matters more than the exact split. Plants need at least 6 uninterrupted hours of darkness, so use a reliable timer and don’t change the schedule mid-cycle. Avoid exceeding 900 PPFD without CO₂ supplementation — beyond that point, photosynthesis plateaus and you’re just generating heat.
Troubleshooting Common Problems
Nutrient Deficiency Quick Reference
| Symptom | Likely Cause | Fix |
|---|---|---|
| Interveinal yellowing, older leaves | Magnesium deficiency | Add Epsom salt; check pH |
| Interveinal yellowing, young leaves | Iron or manganese lockout | Lower pH to 5.8–6.0; use chelated iron |
| Brown leaf tips, tip burn | Calcium deficiency | Check pH; increase calcium nitrate |
| Stunted growth, pale new leaves | Iron lockout (high pH) | Lower pH immediately |
Most deficiency symptoms in hydroponics are pH problems in disguise. Always check pH before adjusting nutrients.
Root Rot (Pythium)
Brown, slimy roots and a sudden pH crash are the classic warning signs. The cause is almost always warm reservoir water combined with low dissolved oxygen. Prevention is straightforward: keep the reservoir below 72°F (22°C), run strong aeration, and add beneficial bacteria like Botanicare Hydroguard at transplant and with each reservoir change. Caught early, a full flush followed by Hydroguard treatment can save the crop. Late-stage root rot usually means starting over.
pH Swings and EC Instability
Rapid pH rise usually points to high-bicarbonate tap water or CO₂ uptake by a large plant canopy. A sudden pH crash is a red flag for microbial activity — check roots immediately. If EC rises without you adding nutrients, plants are drinking water but not nutrients, often due to heat stress; top off with plain water and address the temperature issue.
Poor Fruit Set
If flowers appear but fruit doesn’t develop, the most common culprits are low boron, insufficient light during flowering (aim for at least 400 PPFD), or inadequate pollination. Indoors, there are no bees, so gently shake flowering stems daily or use a soft paintbrush to transfer pollen between flowers.
Frequently Asked Questions
How long does it take to grow hydroponic strawberries? From transplanting a bare-root crown, expect your first ripe berries in 60–90 days. Plants reach peak production around months 3–6 and remain productive for 12–18 months before yields decline.
Can I grow hydroponic strawberries without a grow light? Only if you have a south-facing window that delivers consistent, bright light for 14–16 hours a day — which is rare. For reliable year-round production, a dedicated grow light is essentially required.
What is the easiest hydroponic system for strawberries? Kratky (passive DWC) is the simplest to set up and requires no pump or electricity. For larger grows, NFT is the most practical and widely used system, with plenty of beginner-friendly documentation available.
Why are my hydroponic strawberries not flowering? The most common reasons are insufficient light (below 400 PPFD during the flowering stage), a photoperiod that’s too short, or using a short-day variety under long-day lighting conditions. Confirm your variety is day-neutral and that your light schedule is consistent.
How much does it cost to set up a home hydroponic strawberry system? A basic NFT or DWC setup for 12–20 plants typically costs $150–$400, including channels or reservoir, pump, pH and EC meters, nutrients, and a starter LED panel. Ongoing costs are mainly nutrients and electricity — usually $20–$40 per month depending on system size.