Quick Answer: Deep water culture (DWC) hydroponics suspends plant roots directly in an oxygenated, nutrient-rich solution — no soil needed. It’s one of the easiest hydroponic systems to build and maintain, and plants typically grow 30–50% faster than in soil. This guide covers everything a beginner needs: system setup, nutrients, pH management, lighting, and troubleshooting.
If you’ve been curious about deep water culture hydroponics for beginners, you’re in the right place. DWC is where most new hydroponic growers start — and for good reason. The setup is simple, the equipment is affordable, and results come fast enough to keep you motivated through your first grow.
What Is Deep Water Culture Hydroponics?
How DWC Works in 60 Seconds
Plants sit in net pots set into holes cut in a reservoir lid. Their roots hang down into a nutrient solution below. An air pump pushes air through air stones at the reservoir floor, keeping the water heavily oxygenated so roots don’t drown. A small 1–2 inch air gap between the water surface and the underside of the lid lets the upper root zone breathe.
That’s genuinely it. No timed pumps, no grow medium to saturate and drain. Just roots, water, oxygen, and nutrients — working around the clock.
How Much Faster Do Plants Grow in DWC?
Expect 30–50% faster growth compared to soil. Roots have constant, uninterrupted access to water, oxygen, and nutrients simultaneously — no searching through soil, no dry periods between waterings. Lettuce that takes 60–70 days in a garden bed often reaches harvest in 30–35 days in DWC.
DWC System Types: Which One Should You Start With?
| Variant | Description | Best For |
|---|---|---|
| Classic Bucket DWC | Single 5-gallon bucket per plant, air pump, air stones | Beginners, tomatoes, large plants |
| Kratky Method | Passive; no air pump; air gap grows as roots develop | Ultra-beginners, leafy greens, tiny spaces |
| Bubbleponics | DWC with a top-feed drip ring during early growth | Faster seedling establishment |
| Recirculating DWC (RDWC) | Multiple buckets linked to a central reservoir | Intermediate growers, scaling up |
| Commercial Raft/Float | Foam rafts on shallow channels | Large-scale lettuce and herb production |
Classic Bucket DWC (Best for Most Beginners)
A single 5-gallon bucket per plant is the ideal starting point. It’s self-contained, easy to monitor, and forgiving of beginner mistakes. When something goes wrong — and something always does the first time — you only affect one plant.
Kratky Method: Passive DWC With No Air Pump
The Kratky method removes the air pump entirely. Fill the reservoir, plant your seedling, and let the roots grow downward as the plant consumes the solution — naturally creating an air gap as the water level drops. It’s nearly foolproof for lettuce and herbs, though it doesn’t scale well to fruiting crops that need more oxygen at the root zone.
Bubbleponics: Faster Seedling Establishment
Bubbleponics adds a small top-feed drip ring that keeps the net pot and young roots moist before they reach the main reservoir. It noticeably accelerates the first week or two of growth. Worth considering if you’re starting from seed rather than clones.
Recirculating DWC (RDWC): When You’re Ready to Scale
RDWC connects multiple plant buckets to a central reservoir via tubing, making it easy to manage nutrients for an entire garden at once. It’s more efficient at scale but introduces more complexity — pumps, fittings, and the risk of one reservoir problem affecting every plant. Stick with single-bucket DWC for your first grow.
How to Set Up a Deep Water Culture System Step by Step
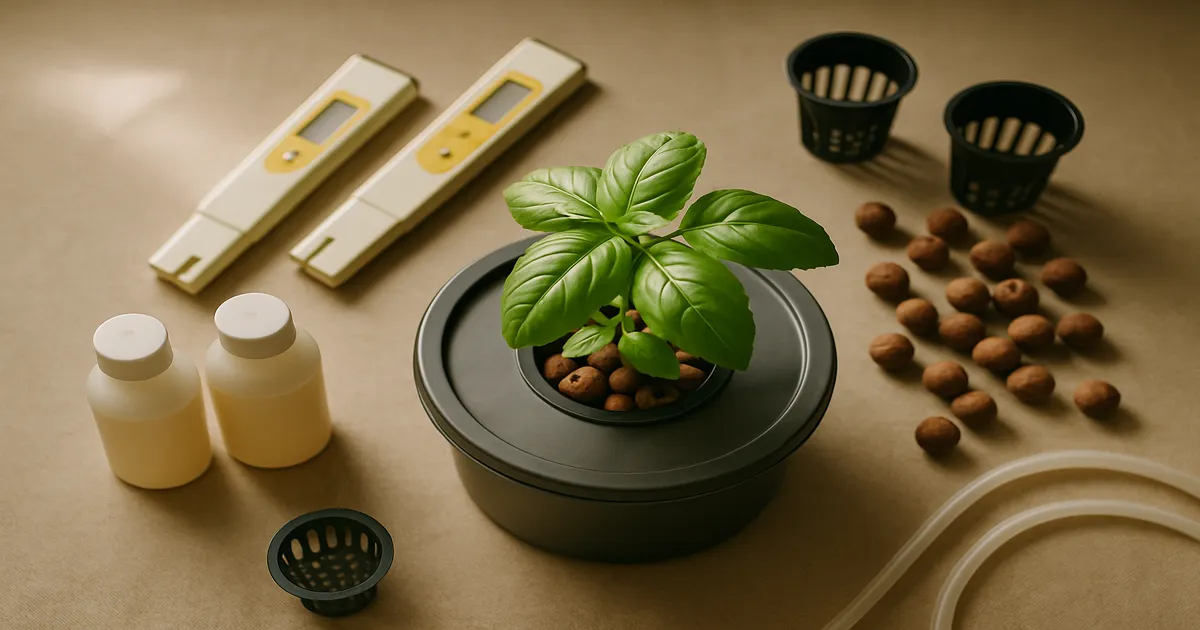
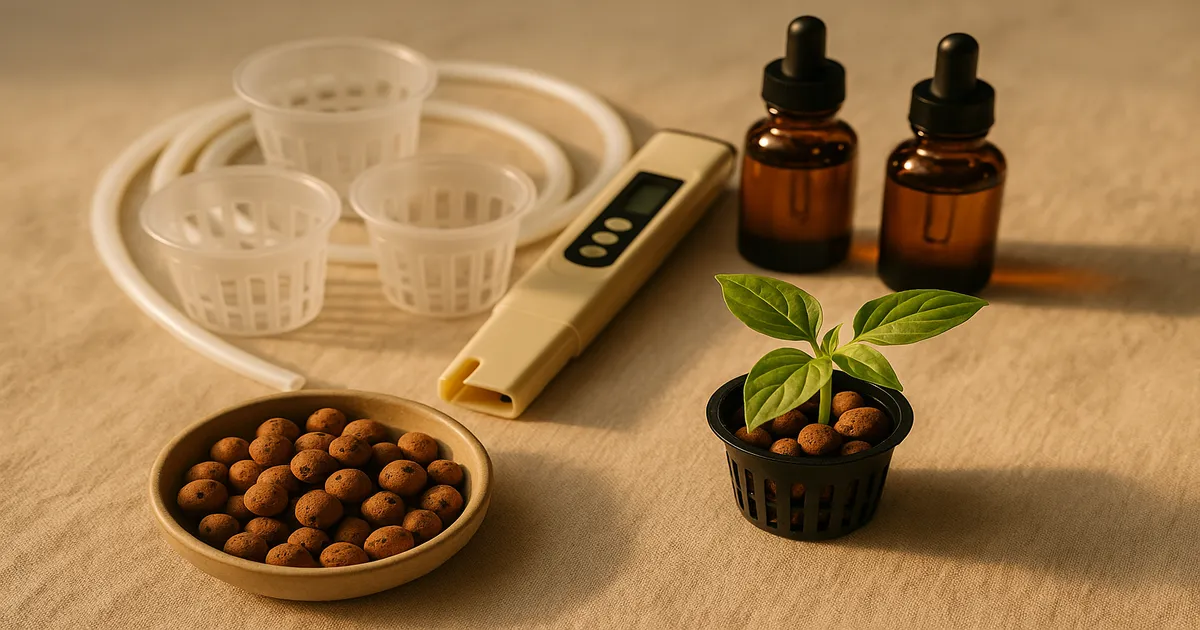
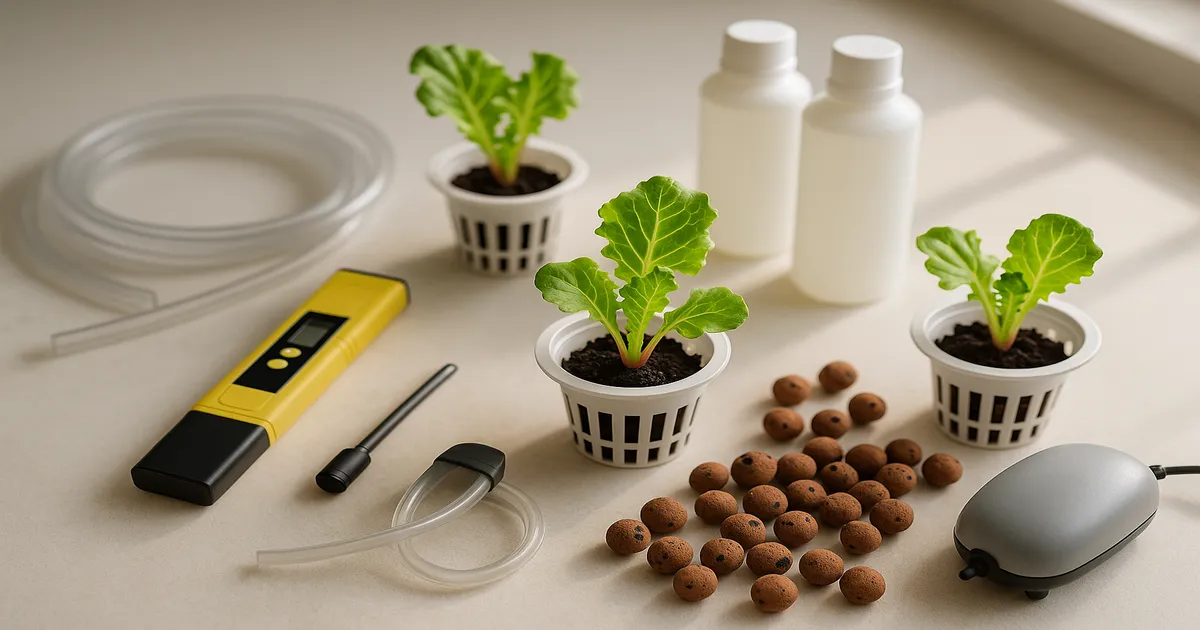
Equipment You Need (Beginner Shopping List)
- 5-gallon opaque bucket with lid (one per plant)
- 2–3 inch net pots
- Air pump (minimum 1 watt per gallon of reservoir volume)
- Air stones and flexible airline tubing
- Digital pH pen
- EC/TDS meter
- pH Up and pH Down solutions
- Hydroponic nutrient solution (see next section)
- Growing medium for net pots (clay pebbles or rockwool cubes)
- Black electrical tape or opaque spray paint to light-proof the bucket
Preparing Your Reservoir
Use a minimum 5-gallon container per plant — larger reservoirs are more stable and forgive missed top-offs. The most important detail is opacity: any light reaching the nutrient solution will trigger algae growth. If your bucket isn’t already black or fully opaque, wrap it with tape or paint it. Cut net pot holes in the lid to match your net pot diameter exactly so pots sit snugly without falling through.
Installing the Air Pump and Air Stones
Place one or two air stones on the reservoir floor and run tubing up through a small hole in the lid to your air pump. Keep the pump positioned above the water level, or install a check valve in the tubing to prevent back-siphoning if the pump loses power. Run the air pump 24 hours a day — oxygen is not optional in DWC.
Mixing Your First Nutrient Solution
Fill the reservoir with water first, then add nutrients according to the manufacturer’s directions. Mix thoroughly, then check and adjust pH. Never add pH Up or Down directly to concentrated nutrient solution — always dilute in water first, add in small increments, stir well, and retest.
Transplanting Seedlings Into Net Pots
Start seeds in rockwool cubes or rapid rooter plugs before transferring to net pots. Once roots are visibly poking out of the plug — usually 5–10 days after germination — you’re ready to transplant. Nestle the plug into the net pot and fill around it with rinsed clay pebbles for support.
Setting the Correct Water Level and Air Gap
For young seedlings, set the water level so it just touches the bottom of the net pot. As roots develop and reach the solution, lower the level to maintain a 1–2 inch air gap between the water surface and the underside of the lid. This gap is critical: it lets the upper root zone access oxygen directly and helps prevent stem rot.
DWC Nutrients: What to Feed Your Plants
NPK Ratios by Growth Stage
Plants need different nutrient ratios as they develop. Nitrogen drives leafy growth, phosphorus drives roots and flowers, and potassium supports overall health and fruit quality.
- Seedling: Light, balanced formula (e.g., 2-1-2)
- Vegetative: Nitrogen-forward (e.g., 3-1-2)
- Flowering/Fruiting: Phosphorus-forward (e.g., 1-3-2)
- Late Flower: Low or zero nitrogen (e.g., 0-3-3)
Calcium, Magnesium, and Sulfur
These secondary macronutrients cause some of the most common deficiency symptoms, yet beginners often overlook them. Target 150–200 PPM calcium, 30–50 PPM magnesium, and 50–80 PPM sulfur. A CalMag supplement is the easiest way to hit these targets, especially if you’re using reverse osmosis (RO) water, which strips out naturally occurring minerals.
Chelated Iron: Why It Matters in DWC
Iron deficiency — yellowing new growth while leaf veins stay green — is the most common micronutrient problem in DWC. Use chelated iron (Fe-EDTA or Fe-DTPA) rather than non-chelated forms; it stays plant-available across a wider pH range. Most quality hydroponic nutrient lines already include chelated micronutrients.
Three Nutrient Options for Beginners
General Hydroponics Flora Series (3-Part): The industry standard. Well-documented, widely available, and balanced for every growth stage. A simple starting schedule:
- Seedling: 5 mL Micro + 5 mL Bloom per gallon
- Vegetative: 10 mL Grow + 5 mL Micro + 5 mL Bloom per gallon
- Flowering: 5 mL Grow + 5 mL Micro + 10 mL Bloom per gallon
MaxiGro and MaxiBloom (Single-Part Powder): Even simpler. Mix 7g MaxiGro per gallon for vegetative growth (~800 PPM / 1.6 EC), then switch to 7g MaxiBloom per gallon for flowering (~900 PPM / 1.8 EC). Two products, zero confusion.
DIY Master Blend Recipe (Budget Option): For 5 gallons of water, combine 12g MasterBlend 4-18-38, 12g calcium nitrate (15.5-0-0), and 6g magnesium sulfate (Epsom salt). This yields approximately 700–800 PPM (1.4–1.6 EC) and costs a fraction of pre-mixed solutions at scale. You’ll need an accurate digital scale.
PPM and EC Targets by Growth Stage
| Growth Stage | PPM (500 scale) | EC |
|---|---|---|
| Seedling / Clone | 100–250 | 0.2–0.5 |
| Early Vegetative | 400–600 | 0.8–1.2 |
| Late Vegetative | 700–900 | 1.4–1.8 |
| Early Flowering | 900–1100 | 1.8–2.2 |
| Peak Flowering | 1000–1400 | 2.0–2.8 |
| Late Flower / Pre-Harvest | 600–800 | 1.2–1.6 |
| Lettuce / Herbs (full cycle) | 560–840 | 1.1–1.7 |
Note: These values use the 500 scale, standard in North America. Some meters use the 700 scale — check your meter’s manual before comparing readings.
Water Quality: RO vs. Tap
Start with RO water or tap water under 150 PPM baseline. High-mineral tap water (200+ PPM) throws off your nutrient ratios before you add a single drop of fertilizer. If you’re using tap water, let it sit 24 hours to off-gas chlorine. If your municipality uses chloramine instead, you’ll need an activated carbon filter or an ascorbic acid treatment — sitting overnight won’t remove chloramine.
pH and EC Management in Deep Water Culture
Why pH Is the Most Critical Variable
pH is the single most common cause of nutrient deficiencies in DWC — more common than actually running out of nutrients. A swing of just 0.5 units can lock out iron, calcium, or phosphorus entirely, making plants look starved even when the solution is perfectly dosed.
Optimal pH Range for DWC
The accepted range is 5.5–6.5, but the practical sweet spot is 5.8–6.2. Lettuce and leafy greens tolerate up to 6.5. Fruiting crops like tomatoes, peppers, and cannabis prefer 5.8–6.0. When in doubt, aim for 5.8 and let it drift naturally upward before correcting.
Nutrient Availability by pH
| Nutrient | Optimal pH Range |
|---|---|
| Nitrogen | 5.5–8.0 |
| Phosphorus | 5.5–7.0 |
| Potassium | 5.5–8.0 |
| Calcium | 6.0–8.0 |
| Magnesium | 6.0–8.0 |
| Iron | 5.5–6.5 |
| Manganese | 5.5–6.5 |
| Zinc | 5.5–6.5 |
Calcium and magnesium become restricted below pH 6.0, while iron and trace elements lock out above pH 6.5. The 5.8–6.2 range threads the needle for most crops.
How to Calibrate Your pH Meter
- Rinse the probe with distilled water.
- Submerge in pH 7.0 buffer solution and calibrate to 7.0.
- Rinse again, submerge in pH 4.0 buffer, and calibrate to 4.0.
- Rinse and store in probe storage solution — not distilled water, which degrades the electrode.
Calibrate before first use and at least once a week. A well-maintained probe lasts 12–18 months before needing replacement.
Adjusting pH Safely
Add pH Down (phosphoric acid) or pH Up (potassium hydroxide) in small increments — 0.5–1 mL per 5 gallons at a time. Stir thoroughly, wait 15 minutes, then retest. Overshooting is easy, especially with pH Up, which is highly concentrated.
Reading and Responding to EC
- EC rising: Plants are consuming more water than nutrients. Top off with plain pH-adjusted water only.
- EC dropping: Plants are eating nutrients fast. Top off with fresh nutrient solution at your target PPM.
Check EC daily alongside pH, and use a meter with automatic temperature compensation (ATC) — EC readings shift noticeably with water temperature.
Reservoir Management Schedule
- Daily: Check pH and EC; top off as needed
- Weekly: Check water temperature; inspect roots; clean air stones
- Every 7–14 days: Full reservoir change — drain, rinse, refill with fresh solution
Water Temperature: Keep It 65–72°F
Dissolved oxygen drops sharply as water warms. Above 72°F (22°C), roots become oxygen-starved and highly vulnerable to root rot pathogens like Pythium. Keep your reservoir between 65–72°F (18–22°C). This is one of the most overlooked variables in DWC, especially during summer grows. A small aquarium chiller or frozen water bottles can help in warm climates.
Lighting for Deep Water Culture Beginners
Light Is the Number One Performance Limiter
DWC optimizes everything below the lid — but photosynthesis still happens above it. A perfect nutrient solution under a weak light still produces weak plants. Getting your lighting right is just as important as dialing in your nutrients.
PPFD, DLI, and Photoperiod Explained Simply
PPFD (Photosynthetic Photon Flux Density) measures light intensity in µmol/m²/s — how many photons hit your canopy per second. DLI (Daily Light Integral) measures the total light delivered over a full day.
DLI formula: DLI = PPFD × hours of light × 0.0036
A light delivering 300 PPFD for 16 hours gives a DLI of 17.3 mol/m²/day — ideal for lettuce and herbs.
PPFD and DLI Targets by Crop
| Crop | PPFD (µmol/m²/s) | DLI (mol/m²/day) | Photoperiod |
|---|---|---|---|
| Lettuce / Spinach | 150–250 | 12–17 | 16–18 hrs |
| Herbs (basil, cilantro) | 200–400 | 15–20 | 16–18 hrs |
| Tomatoes (vegetative) | 400–600 | 20–30 | 18 hrs |
| Tomatoes (fruiting) | 600–1000 | 30–40 | 12–16 hrs |
| Peppers | 400–700 | 20–35 | 16–18 hrs |
| Cannabis (vegetative) | 400–600 | 20–30 | 18 hrs |
| Cannabis (flowering) | 600–1000 | 35–45 | 12 hrs |
Choosing a Grow Light: Budget to Mid-Range
Full-spectrum white LEDs are the easiest choice for beginners — no need to swap fixtures between growth stages. For a small 2×2 ft space, lights in the $50–$150 range are genuinely capable:
- Mars Hydro TS-1000: Full-spectrum quantum board covering a 2×2 ft area well; solid for lettuce, herbs, and small vegetative grows.
- Spider Farmer SF-1000: Efficient Samsung diodes with excellent light quality for the price.
- Viparspectra XS1000: Reliable entry-level option with good coverage uniformity.
When you’re ready to grow fruiting crops or expand your canopy, step up to a 3×3 or 2×4 ft fixture like the Mars Hydro FC-E3000, Spider Farmer SF-2000, or the AC Infinity IONBOARD S33 — dimmable, app-controlled, and well-built for growers who are getting serious.
Positioning Your Light
Follow the manufacturer’s recommended hanging height — typically 18–24 inches above the canopy for most quantum boards. If center plants grow faster than edge plants, raise the light slightly to widen the spread. A free light meter app on your phone gives a rough PPFD estimate; a dedicated quantum flux meter gives an accurate one.
Troubleshooting Common DWC Problems
| Symptom | Likely Cause | Fix |
|---|---|---|
| Yellowing older leaves | Nitrogen deficiency or pH lockout | Check pH first; increase N if pH is correct |
| Yellowing new growth, green veins | Iron deficiency | Lower pH to 5.8–6.0; confirm chelated iron in nutrient mix |
| Brown, slimy roots | Root rot (Pythium) | Lower water temp below 72°F; add beneficial bacteria (e.g., Hydroguard) |
| White crusty deposits on net pots | Salt buildup | Rinse net pots; do a full reservoir change |
| Stunted growth, wilting | Oxygen deficiency or root rot | Check air pump output; inspect roots; lower water temp |
| Algae in reservoir | Light leak | Seal all light gaps; ensure bucket is fully opaque |
Frequently Asked Questions
How often should I change the water in a DWC system? Change the full reservoir every 7–14 days. Between changes, top off daily with pH-adjusted water or dilute nutrient solution depending on whether your EC is rising or falling. Frequent full changes prevent salt buildup and pathogen accumulation.
Can I grow tomatoes or peppers in a DWC system as a beginner? Yes, but they’re more demanding than lettuce or herbs. Fruiting crops need higher light intensity (600–1000 PPFD), more precise nutrient management, and careful temperature control. Start with leafy greens to learn the system, then move to fruiting crops once you’re comfortable.
What’s the difference between DWC and the Kratky method? Both suspend roots in nutrient solution, but DWC uses an air pump to continuously oxygenate the water. The Kratky method is passive — no pump, no electricity for aeration. Kratky works well for lettuce and herbs but is not suitable for fruiting crops that demand higher oxygen levels at the root zone.
Do I need a grow tent for deep water culture hydroponics? Not strictly, but a grow tent makes light management, temperature control, and odor containment much easier. For a single-bucket setup, a 2×2 ft tent is sufficient. If you’re growing multiple buckets, a 4×4 ft tent gives you room to work.
Why are my plants growing slowly even though I set everything up correctly? The most common culprits are insufficient light, water temperature above 72°F, or a pH that’s drifted out of the 5.8–6.2 range. Check all three before adjusting nutrients. Most slow-growth problems in DWC trace back to one of these three variables, not a nutrient deficiency.