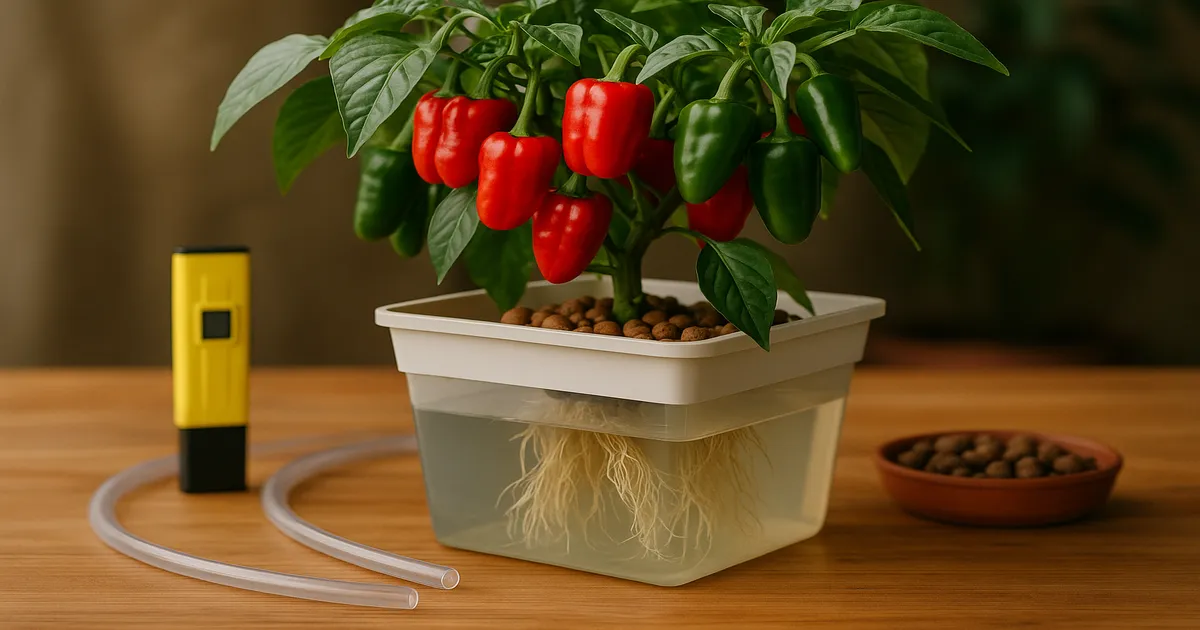
Quick Answer: Growing peppers hydroponically indoors is a rewarding moderate-to-advanced project. Expect 90–150 days from seed to first harvest, with plants that can keep producing for 12–24 months. Nail your pH, EC, lighting, and calcium levels, and you’ll grow better peppers indoors than most people ever manage in soil.
Learning how to grow peppers hydroponically indoors opens up year-round production of any variety you want — from sweet bells to ghost peppers — without soil-borne disease, weather, or seasons getting in the way. Peppers adapt beautifully to hydro systems, but they’re not as forgiving as lettuce. They’re heavy feeders, they need strong light, and they’re picky about calcium. Get those three things right and everything else falls into place.
What to Expect at a Glance
| Parameter | Target |
|---|---|
| pH (vegetative) | 5.8–6.2 |
| pH (flowering/fruiting) | 6.0–6.5 |
| EC (seedling) | 0.7–1.0 mS/cm (350–500 PPM) |
| EC (heavy fruiting) | 2.8–3.5 mS/cm (1,400–1,750 PPM) |
| PPFD (fruiting) | 800–1,200 μmol/m²/s |
| Photoperiod | 18/6 veg → 16/8 fruiting |
| Water temperature | 65–72°F (18–22°C) |
| Seed to harvest | 90–150 days |
| Plant lifespan | 12–24 months |
Is Hydroponics Right for Your Pepper Grow?
If you want fresh peppers year-round, access to rare varieties, or simply faster growth than soil allows, hydroponics is a strong choice. That said, peppers demand more attention than leafy greens — daily pH and EC checks during fruiting, consistent temperatures, and proactive calcium management. Budget at least 15–20 minutes a day during peak production.
How to Grow Peppers Hydroponically Indoors: Choosing the Right System
Not every system suits peppers equally. They grow tall, drink heavily during fruiting, and need excellent root oxygenation. Here’s how the main options stack up.
| System | Suitability | Cost | Complexity |
|---|---|---|---|
| Dutch Bucket | ★★★★★ | Medium | Intermediate |
| Deep Water Culture | ★★★★★ | Low–Medium | Beginner–Intermediate |
| Drip System | ★★★★☆ | Medium | Intermediate |
| NFT | ★★★☆☆ | Medium | Intermediate |
| Ebb & Flow | ★★★★☆ | Medium | Beginner |
| Kratky (passive) | ★★★☆☆ | Very Low | Beginner |
| Aeroponics | ★★★☆☆ | High | Advanced |
Deep Water Culture (DWC): Best for Single Plants and Small Setups
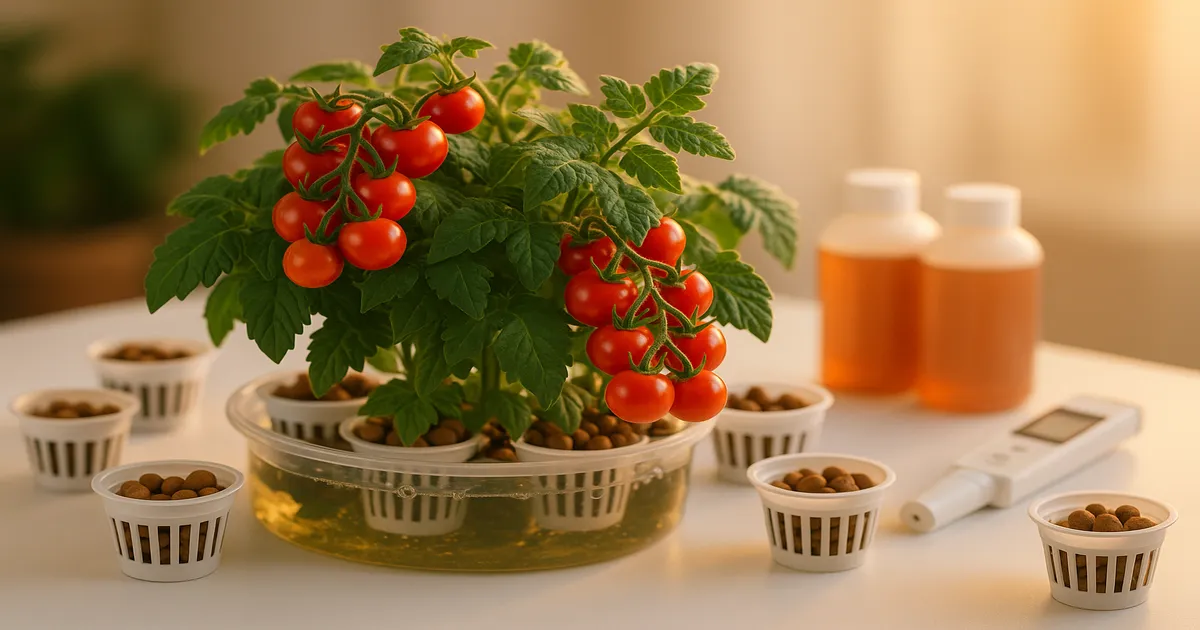
DWC suspends roots directly in oxygenated nutrient solution, which peppers love. Growth rates are fast, setup is simple, and you can build a single-bucket system for under $30. The main limitation is scale — managing multiple large buckets gets unwieldy, and a pump failure can crash your plants quickly. A reliable air pump is essential; the AC Infinity AIRTAP T4 is a quiet, durable option that handles two to four buckets comfortably.
Dutch Bucket (Bato Bucket): The Commercial Standard for Peppers
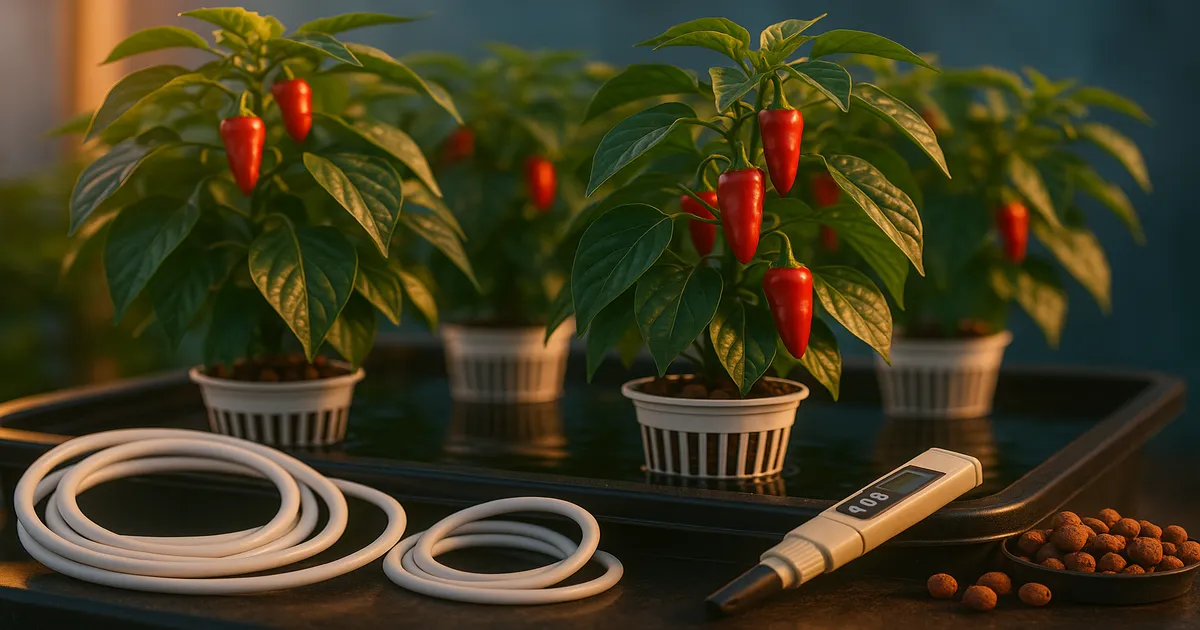
Walk into any commercial hydroponic pepper greenhouse and you’ll almost certainly see Dutch buckets. Each plant gets its own bucket filled with perlite or clay pebbles, with a drip feed delivering nutrients and a drain cycling back to the reservoir. This system handles tall, vining pepper plants beautifully, scales easily, and gives you per-plant control. It’s the best choice if you’re growing more than four plants or working with indeterminate varieties.
NFT, Ebb and Flow, and Other Options
NFT runs a thin stream of nutrient solution continuously over bare roots in sloped channels. It works for medium-sized pepper plants, but tall vining varieties can get top-heavy and destabilize in the channels — which is why NFT earns only three stars here despite being popular for other crops. Flow rate management also matters: too slow and roots dry out, too fast and oxygen drops.
Ebb and Flow periodically floods a grow tray with nutrient solution, then drains it back to the reservoir. The wet-dry cycle promotes excellent root oxygenation and the system tolerates a range of growing media. It’s forgiving enough for beginners while still handling multiple plants comfortably. Drip systems dominate commercial operations because they’re easy to automate and scale, but for fewer than eight plants at home, the added plumbing complexity is usually overkill.
Which System Should You Choose?
- One to two plants, tight budget: DWC or Kratky (compact varieties only)
- Two to six plants, home grower: Ebb and Flow or NFT
- Tall/vining varieties or serious production: Dutch Bucket
- Scaling up: Drip system
Setting Up Your Indoor Hydroponic Pepper Garden
Selecting the Right Pepper Varieties
Compact determinate varieties like Lunchbox, Shishito, and Cayenne thrive in smaller setups. Indeterminate types — bell peppers, jalapeños, habaneros — grow tall and produce for longer, but they need support and more vertical space. Superhots like Carolina Reapers and Ghost Peppers are absolutely viable hydroponically and actually benefit from the controlled environment, producing more consistent heat levels.
For most home growers, a grow tent keeps your environment contained and your light efficient. The AC Infinity CLOUDLAB 744 (4×4 ft) gives enough room for four to six Dutch Bucket plants with space for a trellis.
Germinating Pepper Seeds
Superhots in particular can take 2–4 weeks to germinate, so patience is key. Pre-soak seeds in room-temperature water for 8–12 hours before planting. Use a humidity dome and a heat mat set to 80–85°F (27–29°C) — this alone dramatically improves germination rates. Once seedlings show their first true leaves, they’re ready to transition into your system.
Choosing a Growing Medium
- Rockwool cubes: The go-to for germination and early seedling stages; pre-soak in pH 5.5 water for at least one hour before use
- Hydroton (clay pebbles): Excellent drainage and reusability; ideal for Dutch Bucket and Ebb & Flow
- Coco coir: Retains moisture well and feels familiar to soil growers, but binds calcium — always supplement Cal-Mag when using coco
Transplanting and Reservoir Setup
Transplant when seedlings have 2–3 sets of true leaves and roots are just beginning to emerge from the starter cube. Handle gently — pepper roots are fragile at this stage. Drop your nutrient solution to seedling-level EC (0.7–1.0 mS/cm) for the first week after transplant to reduce stress.
Bigger reservoirs mean more stable pH and EC. A 20-gallon reservoir serving two plants will drift far less than a 5-gallon bucket. Keep water between 65–72°F (18–22°C) — warmer water holds less dissolved oxygen and creates ideal conditions for Pythium (root rot). Cover your reservoir completely to block light and prevent algae.
Hydroponic Nutrient Requirements for Peppers
EC and PPM Targets by Growth Stage
| Growth Stage | PPM (500 scale) | EC (mS/cm) |
|---|---|---|
| Seedling (0–3 weeks) | 350–500 | 0.7–1.0 |
| Early vegetative (3–6 weeks) | 600–900 | 1.2–1.8 |
| Late vegetative (6–10 weeks) | 900–1,200 | 1.8–2.4 |
| Flowering (10–14 weeks) | 1,200–1,600 | 2.4–3.2 |
| Heavy fruiting | 1,400–1,750 | 2.8–3.5 |
| Late fruiting/ripening | 1,200–1,600 | 2.4–3.2 |
Note on EC ceiling: The original article listed heavy-fruiting EC up to 4.0 mS/cm (2,000 PPM). In practice, most pepper varieties show osmotic stress and reduced fruit set above 3.5 mS/cm. Commercial growers targeting maximum yield typically stay at 2.8–3.5 mS/cm. Push higher only if you’re deliberately stressing superhots for heat intensity and are monitoring plants closely.
N-P-K Ratios: Adjusting from Vegetative to Fruiting
During vegetative growth, keep nitrogen high (roughly 3:1:2 N:P:K) to drive leaf and stem development. As soon as flower buds appear, back off the nitrogen and boost phosphorus (1:3:2) to support bloom initiation. During heavy fruiting, shift to a potassium-dominant ratio (1:1:3) for fruit sizing and sugar development.
The most common beginner mistake is keeping nitrogen too high into fruiting. The result is lush, beautiful plants that produce almost nothing.
Calcium and Magnesium: Preventing Blossom End Rot
Calcium is non-negotiable for peppers. Target 150–200 PPM calcium and 50–75 PPM magnesium, maintaining roughly a 3:1 Ca:Mg ratio. Calcium deficiency is the primary cause of blossom end rot (BER) — that sunken, leathery patch on the bottom of your peppers — as well as tip burn and fruit cracking. Magnesium deficiency shows up as interveinal chlorosis on older leaves.
If you’re using reverse osmosis water, add a Cal-Mag supplement from the start. General Hydroponics CALiMAGic dosed at 2–5 mL per gallon is a reliable, widely available option.
Essential Micronutrients
- Iron (Fe): 2–5 PPM — deficiency causes yellowing of new growth
- Boron (B): 0.3–0.5 PPM — critical for pollen viability; deficiency leads to hollow fruit and poor fruit set
- Zinc (Zn): 0.3–0.5 PPM — deficiency produces small, distorted leaves
- Manganese (Mn): 0.5–1.0 PPM
Most complete nutrient formulas cover these, but iron and boron are worth watching if you see symptoms.
Best Nutrient Products for Hydroponic Peppers
The General Hydroponics Flora Series is the most beginner-friendly option — a three-part system you adjust by stage. For fruiting, run roughly 5 mL/gal FloraMicro + 1 mL/gal FloraGro + 10 mL/gal FloraBloom. Jack’s Nutrients 321 is a cost-effective two-part powder that performs exceptionally well with fruiting crops.
For growers who want to mix their own, the Masterblend system is extremely popular for its low cost and reliability. Per gallon of RO water: 2.4 g Masterblend 4-18-38 , 2.4 g Calcium Nitrate (15.5-0-0), and 1.2 g Magnesium Sulfate (Epsom Salt). This recipe hits the right Ca:Mg ratio automatically and scales proportionally as plants mature.
Managing pH and EC
Ideal pH Range by Growth Stage
Keep pH at 5.8–6.2 during vegetative growth. Once flowering begins, nudge it up to 6.0–6.5 — the slightly higher range improves calcium and phosphorus uptake right when your plants need both most. Never let pH drop below 5.5 or rise above 7.0; both extremes cause nutrient lockout regardless of how much nutrient is in your reservoir.
Measuring and Adjusting pH Accurately
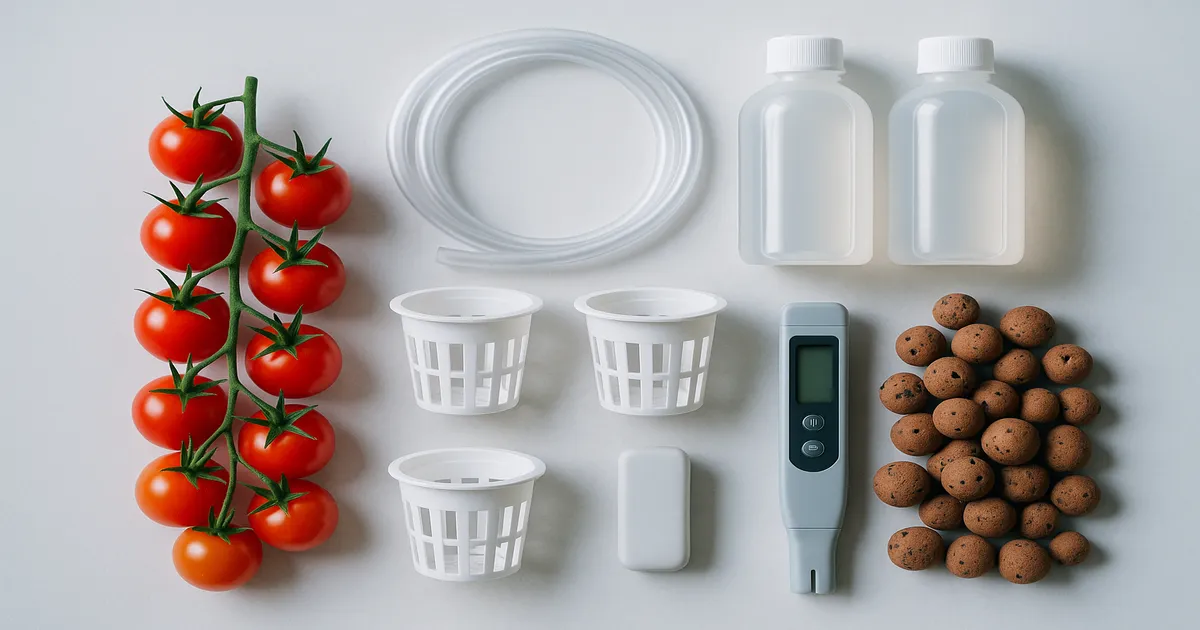
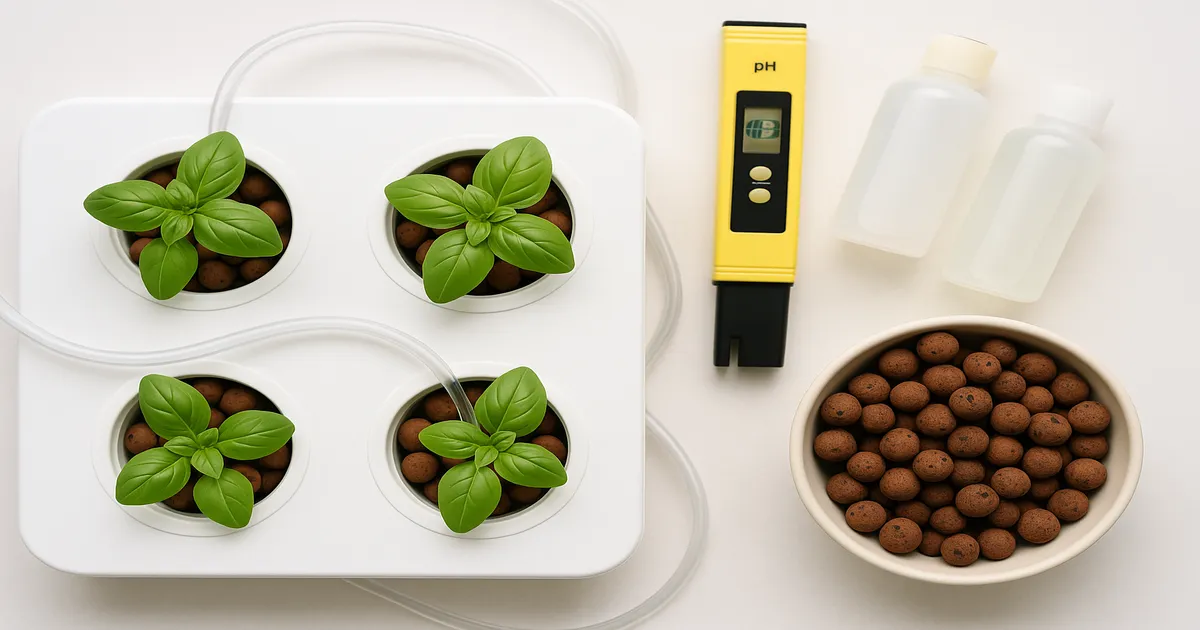
A reliable pH meter is the single most important piece of equipment in your setup. The Apera PH20 ($40) is waterproof, accurate, and hard to kill — a great budget pick. Step up to the Bluelab pH Pen ($80) for the industry-standard hobbyist tool. Calibrate every 1–2 weeks using pH 4.0 and 7.0 buffer solutions, and store the probe in storage solution — never let it dry out or sit in plain water.
To raise pH: Add a KOH-based pH Up solution in 0.5–1 mL increments per 5 gallons. Stir, wait 15 minutes, retest.
To lower pH: Use phosphoric acid-based pH Down, added drop by drop. Note that phosphoric acid contributes phosphorus to your solution — account for this during heavy fruiting when phosphorus is already elevated.
Reservoir Management
- Full change: Every 7–14 days during vegetative growth; every 5–7 days during heavy fruiting
- Top-off: When reservoir level drops 10–20%, refill with plain pH-adjusted water — not nutrient solution — to avoid EC creep
Hard tap water naturally pushes pH upward over time due to alkalinity. RO water has almost no buffering capacity, so pH can swing dramatically from a small nutrient addition. With RO water, add silica first before any other nutrients — it raises pH and buffers the solution — then build your nutrient mix on top.
Lighting Your Indoor Hydroponic Pepper Plants
PPFD, DLI, and Spectrum
During vegetative growth, blue-dominant light (5,000–6,500K) keeps plants compact and drives strong leaf development. As plants transition to flowering and fruiting, shift toward red and far-red wavelengths (620–750 nm) to maximize photosynthetic efficiency. For superhot growers, UV-A exposure stimulates capsaicin production — some modern LEDs include this range.
| Growth Stage | PPFD Target | DLI Target |
|---|---|---|
| Seedling | 100–250 μmol/m²/s | — |
| Early vegetative | 250–400 μmol/m²/s | 20–25 mol/m²/day |
| Late vegetative | 400–600 μmol/m²/s | 25–30 mol/m²/day |
| Flowering | 600–800 μmol/m²/s | 30–38 mol/m²/day |
| Heavy fruiting | 800–1,200 μmol/m²/s | 35–45 mol/m²/day |
DLI = PPFD × hours of light × 0.0036. For example: 700 μmol/m²/s × 16 hours × 0.0036 = 40.3 mol/m²/day — right in the fruiting sweet spot.
Photoperiod: How Many Hours Do Peppers Need?
Peppers are day-neutral, so they don’t need a specific photoperiod trigger to flower. Run 18/6 during vegetative growth, then drop to 16/8 once fruiting begins — it slightly encourages flowering in some varieties and cuts your electricity bill. Never run 24/0; peppers need a dark period for respiration, and continuous light causes leaf curl and stress. Don’t go below 14 hours or yield will suffer.
Best LED Grow Lights for Hydroponic Peppers
Budget ($50–$150):
- Mars Hydro TS 1000 — solid 2×2 ft coverage, reliable for one to two plants
- Spider Farmer SF-1000 — Samsung LM301B diodes, efficient quantum board design
Mid-range ($150–$400):
- Spider Farmer SF-2000 — covers 3×3 ft, excellent for two to four pepper plants
- HLG 200 Rspec — premium efficiency at 2.8 μmol/J, outstanding for fruiting crops
Professional ($400+):
- HLG 350R — industry-leading efficiency for serious hobbyists
- Fluence SPYDR 2i — commercial-grade, used in large-scale pepper production
CO₂ Supplementation
Without CO₂ enrichment, peppers hit their light saturation point around 800–1,000 μmol/m²/s. If you’re running lights at the high end of the fruiting range, supplementing CO₂ to 1,000–1,200 PPM can push yields noticeably higher — but only if temperature, humidity, and nutrients are already dialled in. CO₂ supplementation amplifies whatever conditions exist, good or bad.
Frequently Asked Questions
How long does it take to grow peppers hydroponically indoors? Most varieties take 90–150 days from seed to first harvest. Sweet bell peppers tend toward the longer end; cayennes and smaller hot peppers are often ready closer to 90 days. Once established, plants can keep producing for 12–24 months with proper care.
What is the best hydroponic system for growing peppers indoors? Deep Water Culture is the easiest starting point for one or two plants. Dutch Bucket is the best all-around choice for serious growers — it handles tall, vining varieties, scales well, and mirrors what commercial pepper producers use worldwide.
Why are my hydroponic pepper plants flowering but not setting fruit? The most common causes are insufficient pollination, temperatures above 90°F (32°C) or below 55°F (13°C) during flowering, or boron deficiency. Indoors, you need to hand-pollinate by gently shaking flowering stems daily or using a small electric toothbrush on open flowers. Check boron levels if fruit set remains poor despite good temperatures.
How do I prevent blossom end rot in hydroponic peppers? Blossom end rot is caused by calcium deficiency at the developing fruit, even when calcium is present in the reservoir. The fix is twofold: maintain calcium at 150–200 PPM and keep pH in the 6.0–6.5 range during fruiting so calcium stays available. Avoid large, sudden EC swings, which disrupt calcium uptake even when levels are technically adequate.
Can I grow superhot peppers like Ghost Peppers or Carolina Reapers hydroponically indoors? Yes — and they actually perform very well in controlled hydroponic environments. Consistent temperatures, precise nutrition, and strong light produce more reliable heat levels than outdoor soil growing. Germination can take 3–4 weeks, so start seeds early and use a heat mat. Expect a longer time to first harvest (120–150+ days) compared to milder varieties.