Quick Answer: Dill foliage is ready to harvest in 40–60 days from seed, with seeds following at 90–120 days. It’s a cool-season herb that bolts quickly in heat or long days, so temperature and photoperiod management are your biggest jobs. You can grow it successfully in garden soil, containers, or most hydroponic systems — Fernleaf is the best variety for indoor and small-space setups.
Learning how to grow your own dill is one of the most rewarding herb projects you can take on, whether you’re working with a backyard raised bed or a compact indoor hydroponic setup. Dill is fast, productive, and genuinely useful in the kitchen — but it has a few quirks that trip up new growers. Get those right and you’ll have more fresh dill than you know what to do with.
How to Grow Your Own Dill: Key Facts at a Glance
- Foliage harvest: 40–60 days from seed
- Seed harvest: 90–120 days from seed
- Bolting triggers: Temperatures above 75°F (24°C) or day length exceeding 14 hours
- Taproot sensitivity: Direct sowing is strongly preferred over transplanting
- Best succession strategy: Sow new seeds every 2–3 weeks for continuous harvest
Soil vs. Hydroponics: Which Method Is Right for You?
Soil growing — in-ground, raised beds, or containers — is the more forgiving starting point. You have more buffer against pH swings and nutrient imbalances, and dill’s taproot has room to develop naturally.
Hydroponics offers faster growth and year-round indoor production, but requires active monitoring of pH, EC, and water temperature. DWC and Kratky are the most accessible systems for home growers. Both methods produce excellent dill; the right choice depends on your space, budget, and how hands-on you want to be.
Choosing the Best Dill Variety for Your Setup
Fernleaf: Best for Containers and Hydroponics
Fernleaf is the clear top choice for indoor growers and anyone working in a confined space. It stays compact at 18–24 inches — compared to 3–5 feet for standard varieties — produces dense feathery foliage, and bolts significantly more slowly than other varieties. Expect harvest in 40–55 days.
Bouquet: The All-Purpose Standard
Bouquet is the variety you’ll find at most garden centers. It reaches 2–3 feet, has moderate bolt resistance, and works equally well for foliage and seed production. It’s a solid choice for raised beds and larger hydroponic systems where height isn’t a constraint.
Other Varieties Worth Considering
- ‘Dukat’ — high essential oil content, excellent flavor, moderately slow to bolt
- ‘Mammoth’ — tall variety (4–5 ft) grown primarily for seed and flower production; not ideal for indoor growing
- ‘Superdukat’ — improved Dukat with even higher aromatic oil content; good for culinary focus
Variety Comparison
| Variety | Height | Days to Harvest | Bolt Resistance | Best Use |
|---|---|---|---|---|
| Fernleaf | 18–24 in | 40–55 days | High | Containers, hydroponics |
| Bouquet | 24–36 in | 40–60 days | Moderate | All-purpose, soil/hydro |
| Dukat | 24–30 in | 45–60 days | Moderate-High | Culinary foliage |
| Mammoth | 48–60 in | 60–70 days | Low | Seed/flower production |
Growing Dill in Soil, Containers, and Raised Beds
Direct Sowing vs. Transplanting
Dill develops a long taproot early in its life, and disturbing that root — even carefully — causes setbacks that slow growth and stress the plant. Always direct sow outdoors or into your final container. If you must start indoors, use biodegradable peat or coir pots that can be planted whole without disturbing the roots.
In-Ground and Raised Bed Growing
Prepare your bed with well-draining, loose soil at pH 5.8–6.5. Dill doesn’t need rich soil — too much organic matter can actually reduce aromatic oil content. Sow seeds ¼ inch deep, thin to 12–18 inches apart once seedlings reach 2 inches tall, and water consistently but avoid waterlogging. Raised beds are ideal because they drain well, warm up faster in spring, and make succession planting easy.
Container Growing: Minimum Depth and Soil Mix
Use a container at least 12 inches deep to accommodate the taproot — shallower pots cause stunted growth and accelerate bolting. A 12–16 inch pot works well for one or two plants. Use a mix of quality potting soil, perlite (20–30%), and a small amount of coarse sand for drainage. Avoid heavy, peat-dense mixes that stay wet. Water when the top inch of soil feels dry.
Companion Planting
Good neighbors: Brassicas (cabbage, broccoli, kale), cucumbers, and lettuce all pair well with dill. Dill repels cabbage moths and aphids, making it especially useful near brassicas.
Keep dill away from: Fennel — the two cross-pollinate easily and contaminate each other’s flavor. Also avoid planting near carrots, as dill can inhibit carrot growth and the plants cross-pollinate when both are flowering.
Succession Planting
A single dill plant bolts and declines quickly once it flowers. Sow a new batch of seeds every 2–3 weeks throughout the growing season to stagger your harvest and always have young, flavorful foliage ready to cut.
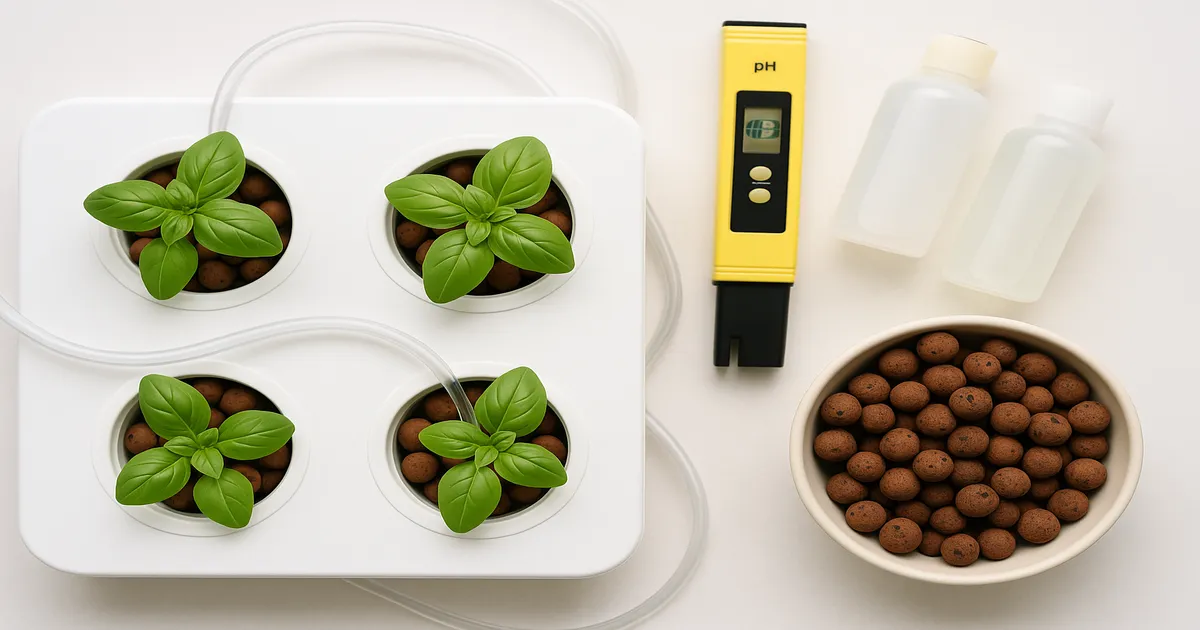
How to Grow Dill Hydroponically
Choosing a System
Deep Water Culture (DWC) is the fastest option for leaf production. Roots sit directly in an aerated nutrient solution, and growth is noticeably quicker than in soil. Keep water temperature at 65–72°F (18–22°C) and dissolved oxygen high. An air pump and air stone are essential — without adequate aeration, roots suffocate and rot within days.
Kratky is DWC without the pump. You fill a reservoir, let the plant drink down the solution, and a natural air gap forms above the roots as the level drops. It’s the most beginner-friendly hydroponic option for dill and works best for foliage production. Top up or replace the solution every 2–3 weeks.
NFT (Nutrient Film Technique) runs a thin film of nutrient solution continuously over bare roots in a channel. It’s water-efficient and scales well. Keep flow rates consistent — dill roots don’t tolerate drying out between cycles, and even brief interruptions in flow can cause wilting.
Ebb and Flow periodically floods a grow tray with nutrient solution, then drains it back to the reservoir. This gives roots both nutrition and oxygen, and the system handles dill’s moderate nutrient demands without much fuss. It’s a good choice if you’re growing multiple herb varieties in the same setup.
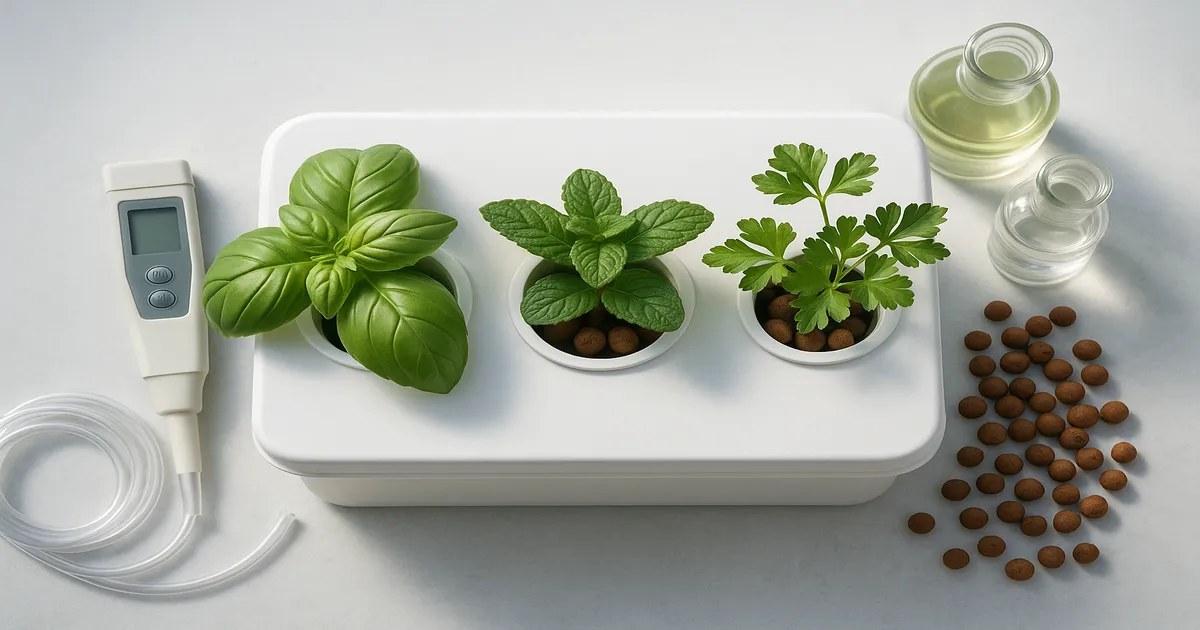
Starting Dill in Net Pots
To protect the taproot, germinate dill directly in its final net pot rather than in a seedling tray. Good media options:
- Coco coir — excellent moisture retention and root support; most popular choice
- Hydroton (expanded clay pebbles) — great drainage and reusable; combine with coco for germination
- Rockwool cubes — reliable germination; pre-soak to pH 5.5 before use
Place 3–4 seeds per net pot and thin to the strongest seedling once it reaches 2 inches. Keep media moist but not saturated during germination — roots need oxygen from the start.
Dill Nutrient Requirements
Macronutrients by Growth Stage
During the vegetative stage, dill wants a high-nitrogen formula at roughly a 3:1:2 N:P:K ratio. Nitrogen drives the lush, aromatic leaf growth you’re harvesting. Once plants approach flowering or you’re growing for seed, shift to a 1:2:3 ratio — more phosphorus and potassium support flower and seed development without pushing excessive leafy growth.
Potassium deserves special attention: it directly supports essential oil synthesis, which has a measurable effect on dill’s flavor intensity.
Micronutrients That Affect Flavor and Aroma
- Sulfur (S): Contributes to dill’s characteristic aroma compounds
- Zinc (Zn): Supports terpene and essential oil production; directly affects flavor quality
- Iron (Fe): Deficiency shows up as yellowing new growth, usually when pH drifts too high
- Boron (B): Required for cell division and pollen viability — important if you’re growing to seed
Most complete hydroponic nutrient formulas cover these adequately. The main risk is pH drift causing lockout, not actual nutrient absence.
EC and PPM Targets by Growth Stage
| Growth Stage | PPM | EC (mS/cm) |
|---|---|---|
| Seedling (0–2 weeks) | 400–600 | 0.8–1.2 |
| Vegetative / Leaf Production | 800–1,200 | 1.6–2.4 |
| Pre-Flower / Bolting | 1,000–1,400 | 2.0–2.8 |
| Seed Development | 1,200–1,600 | 2.4–3.2 |
Don’t exceed 1,600 PPM (3.2 EC) — above that threshold you risk tip burn, salt stress, and reduced aromatic oil content.
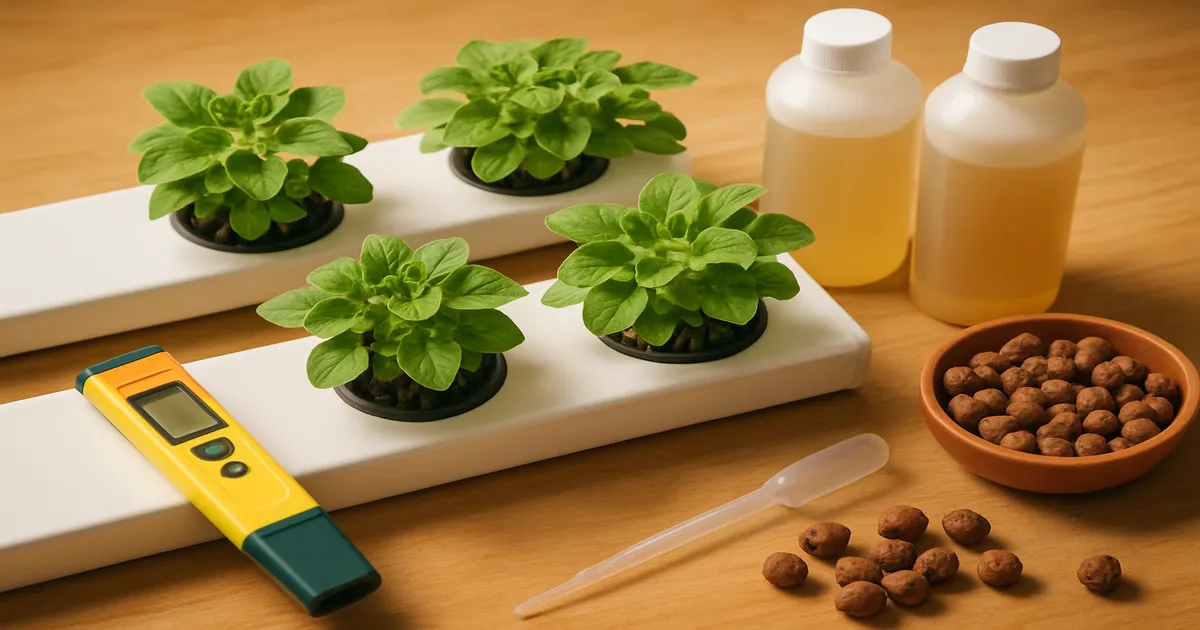
Recommended Nutrients
Beginners: The General Hydroponics Flora Series three-part system is hard to beat. Follow the “Grow” schedule, diluted to 800–1,000 PPM (1.6–2.0 EC) for vegetative growth.
Intermediate growers: MaxiGro (7-11-14) at 5–7 g/gallon targeting 900–1,100 PPM (1.8–2.2 EC) is a clean, simple one-part formula that works well for dill.
If you’re using reverse osmosis or soft water, add a Cal-Mag supplement at 1–2 mL/gallon to bring calcium up by 50–100 PPM before adding your base nutrients.
pH and EC Management
Ideal pH Ranges
- Soil: pH 5.8–6.5 (optimum around 6.0–6.2)
- Hydroponics: pH 5.8–6.2 (tighter range needed for nutrient availability)
Below pH 5.5, calcium and magnesium become unavailable regardless of how much is in the solution. Above pH 6.5, iron and manganese lock out — showing up as yellowing new leaves. Staying in range prevents most deficiency problems before they start.
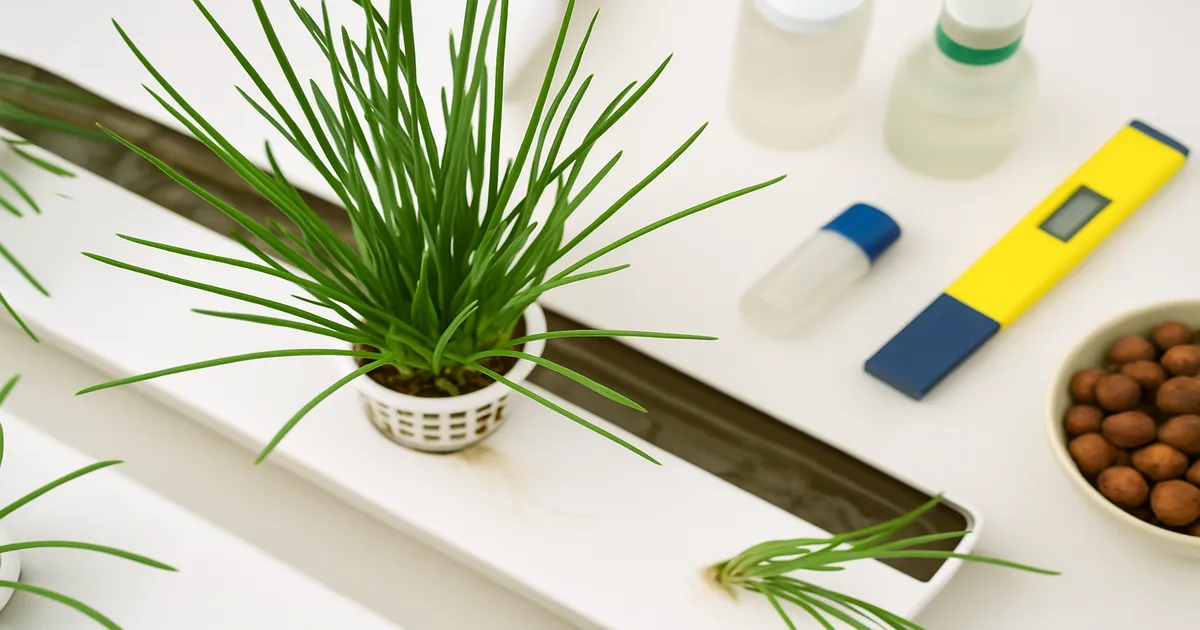
Monitoring Tools and Frequency
A digital pH meter is non-negotiable. The Apera PH20 and Bluelab pH Pen are both reliable and reasonably priced — calibrate weekly using pH 4.0 and 7.0 buffer solutions. For EC, the Bluelab Truncheon or Apera EC60 are solid choices.
Check pH and EC every 24–48 hours in DWC and NFT systems. Kratky and ebb-and-flow are more forgiving — every 3–5 days is adequate.
Adjusting pH
Use phosphoric acid-based pH Down to lower pH and potassium hydroxide-based pH Up to raise it. Add adjusters in small increments — about 1 mL per 5 gallons — stir, and recheck after 15 minutes. Never adjust more than 0.5 pH units per hour to avoid shocking the root zone.
Always add nutrients to water before adjusting pH. Nutrients change the final pH of the solution, so adjusting first wastes product and gives you an inaccurate reading.
Managing EC Drift
As plants drink, water evaporates and EC naturally rises. Top off with plain pH-adjusted water — not nutrient solution — to bring the level back up. Do a full reservoir change every 7–14 days in active systems to prevent salt buildup and nutrient imbalances.
Keep reservoir water at 65–72°F (18–22°C). Warmer water holds less dissolved oxygen and favors root pathogens — this is the primary cause of root rot in DWC. Use an opaque reservoir to block light and prevent algae growth.
Lighting for Indoor Dill
Spectrum and Intensity
Blue light (400–500 nm) is your priority during vegetative growth — it promotes compact plants and increases essential oil content. Red light (600–700 nm) drives photosynthesis efficiency and becomes more important during flowering and seed development. Keep far-red light minimal during the foliage stage, as it triggers shade-avoidance elongation and can accelerate bolting.
| Growth Stage | PPFD (µmol/m²/s) | DLI (mol/m²/day) |
|---|---|---|
| Seedling | 100–200 | 8–12 |
| Vegetative / Leaf Production | 200–400 | 14–20 |
| Flowering / Seed Development | 300–500 | 18–25 |
Dill doesn’t need the intense light levels of fruiting crops. Pushing past 600 PPFD without CO₂ supplementation gives diminishing returns and adds unnecessary heat.
Photoperiod Management: The Key to Preventing Bolting
This is the most critical lighting decision you’ll make when growing dill indoors. Keep your photoperiod at 14 hours or less during foliage production. Dill is a long-day plant — once day length exceeds 14 hours, bolting is triggered. Many indoor growers use a 12/12 schedule to build in a safety margin, accepting slightly slower growth in exchange for a longer harvest window.
To encourage flowering and seed set, extend to 16–18 hours. Never run continuous light (24/0) — it stresses plants, reduces essential oil content, and causes unpredictable bolting.
Recommended Grow Lights
Budget tier:
- Barrina T5 LED strips — low heat, easy to mount, excellent for countertop setups
- Mars Hydro TS-600 (~$60–80) — covers a 2×2 ft area at vegetative intensity
Mid-range:
- Spider Farmer SF-1000 (~$100–120) — full-spectrum, efficient, covers 4–6 plants comfortably
- Mars Hydro FC-3000 (~$280–320) — Samsung LM301B diodes; excellent spectrum for herbs
Light Distance Guidelines
- Seedlings: 24–30 inches from canopy
- Vegetative growth: 18–24 inches from canopy
- If plants are stretching toward the light, move it closer. If leaf edges are curling or showing bleaching, raise it.
Harvesting and Storing Your Dill
When and How to Harvest Foliage
Begin harvesting once plants reach 8–10 inches tall. Snip fronds from the outside of the plant, leaving the central growing tip intact — this encourages the plant to keep producing rather than triggering early bolting. Never remove more than one-third of the plant at a time.
Harvest in the morning after any dew has dried but before the heat of the day. Essential oil content is highest at this point, which means better flavor.
Harvesting Dill Seed
Allow the plant to flower and set seed. Once the seed heads turn brown and the seeds begin to dry on the plant, cut the entire stem and place it upside down in a paper bag. The seeds will fall into the bag as they dry — usually within 1–2 weeks. Store in an airtight container away from light and heat.
Storage Tips
Fresh dill keeps for up to a week in the refrigerator, stems placed in a glass of water like cut flowers and loosely covered with a plastic bag. For longer storage, freeze whole fronds on a baking sheet, then transfer to a freezer bag — frozen dill retains flavor well for up to 3 months. Drying is the least effective method; dill loses most of its volatile oils when dried at room temperature.
Frequently Asked Questions
How long does it take to grow dill from seed? Dill foliage is ready to harvest in 40–60 days from seed. Fernleaf, the most compact variety, often comes in at the faster end — around 40–55 days. Seeds for culinary use take 90–120 days from sowing.
Can you grow dill hydroponically? Yes. Dill grows well in DWC, Kratky, NFT, and ebb-and-flow systems. The main adjustments are germinating directly in net pots to protect the taproot, keeping water temperature at 65–72°F, and limiting photoperiod to 14 hours or less to delay bolting.
Why is my dill bolting so fast? The two most common causes are temperatures above 75°F (24°C) and day length exceeding 14 hours. Indoors, check that your light timer is set correctly. Outdoors, switch to Fernleaf variety and use succession planting to stay ahead of bolting plants.
Can I regrow dill after cutting? Yes, if you harvest correctly. Always cut fronds from the outside and leave the central growing tip intact. The plant will continue producing new growth. Once the central stem sends up a flower stalk, regrowth slows significantly — at that point, pull the plant and start a new succession.
What’s the best hydroponic system for growing dill at home? Kratky is the easiest starting point — no pump, no timer, minimal equipment. For faster growth and continuous production, DWC with a reliable air pump is the better long-term choice. Both systems work well with Fernleaf dill in a small indoor setup.