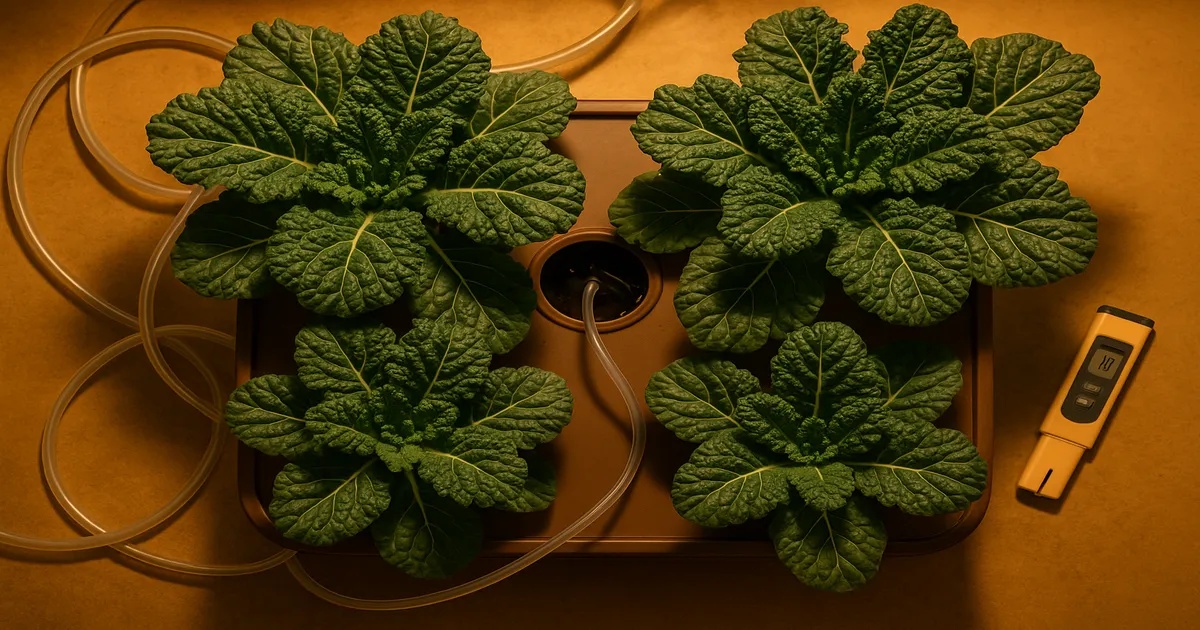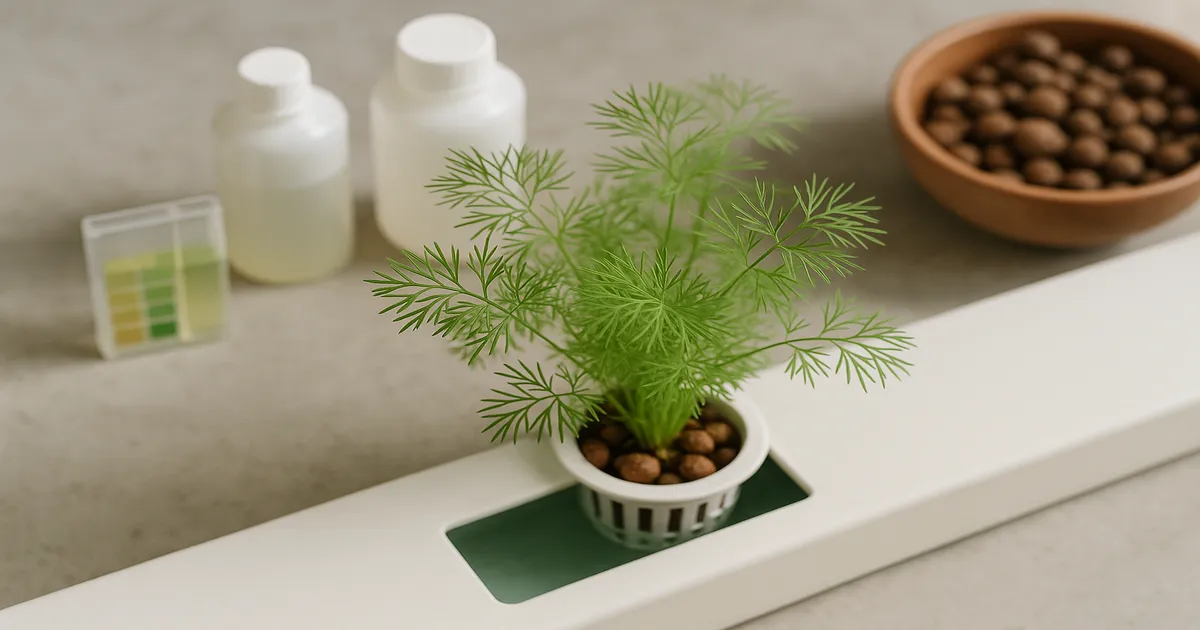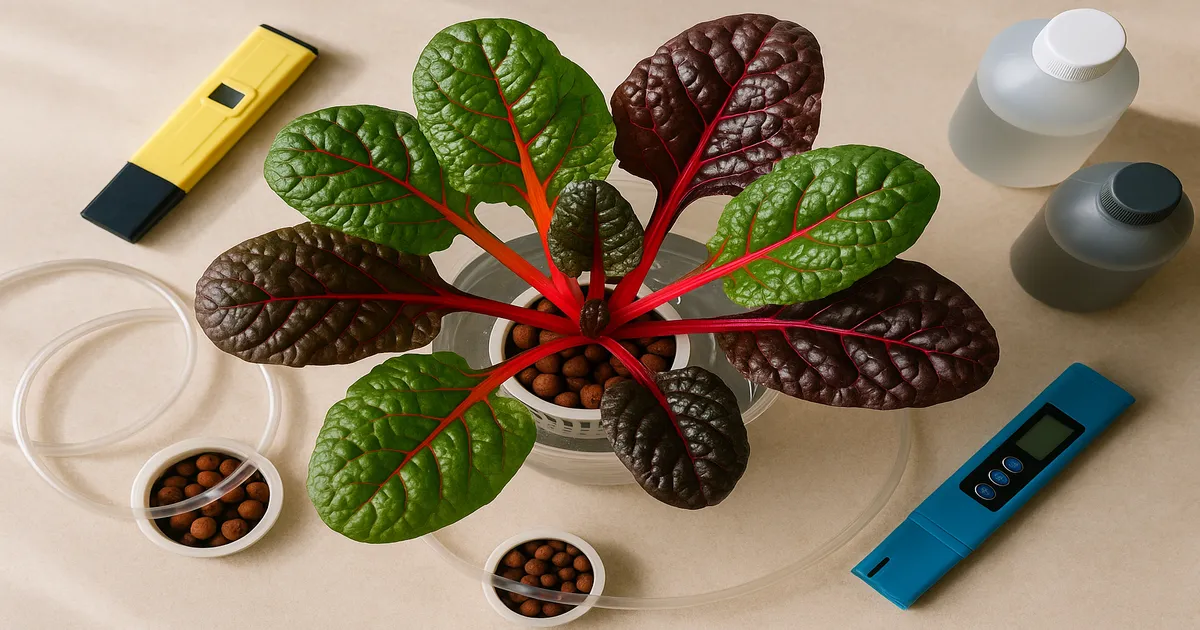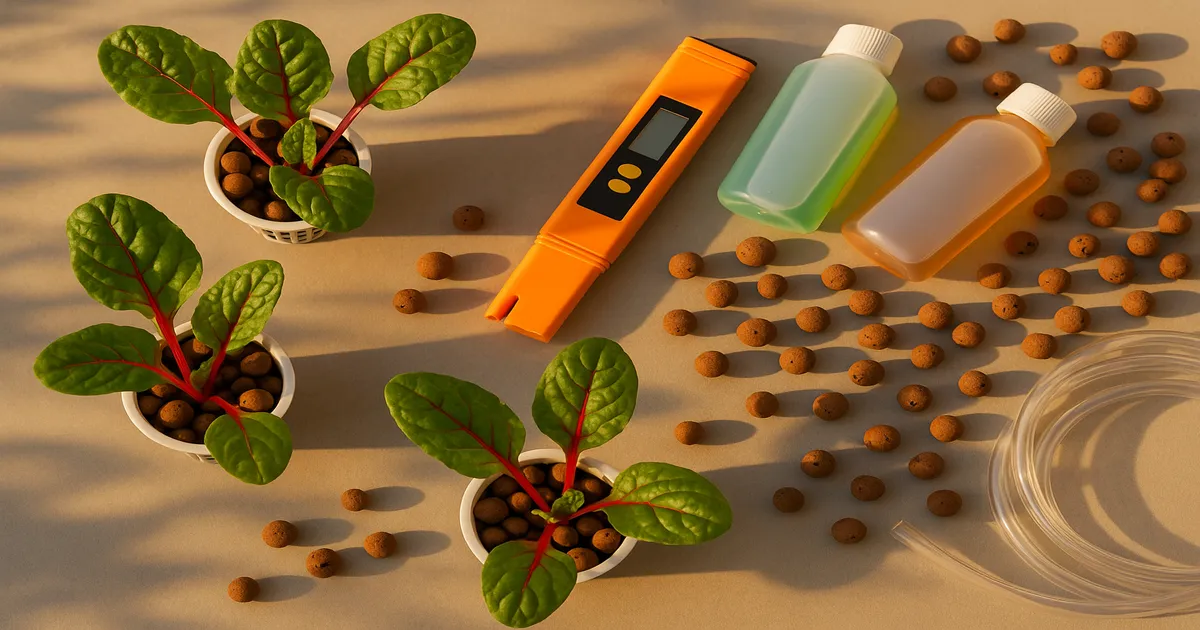
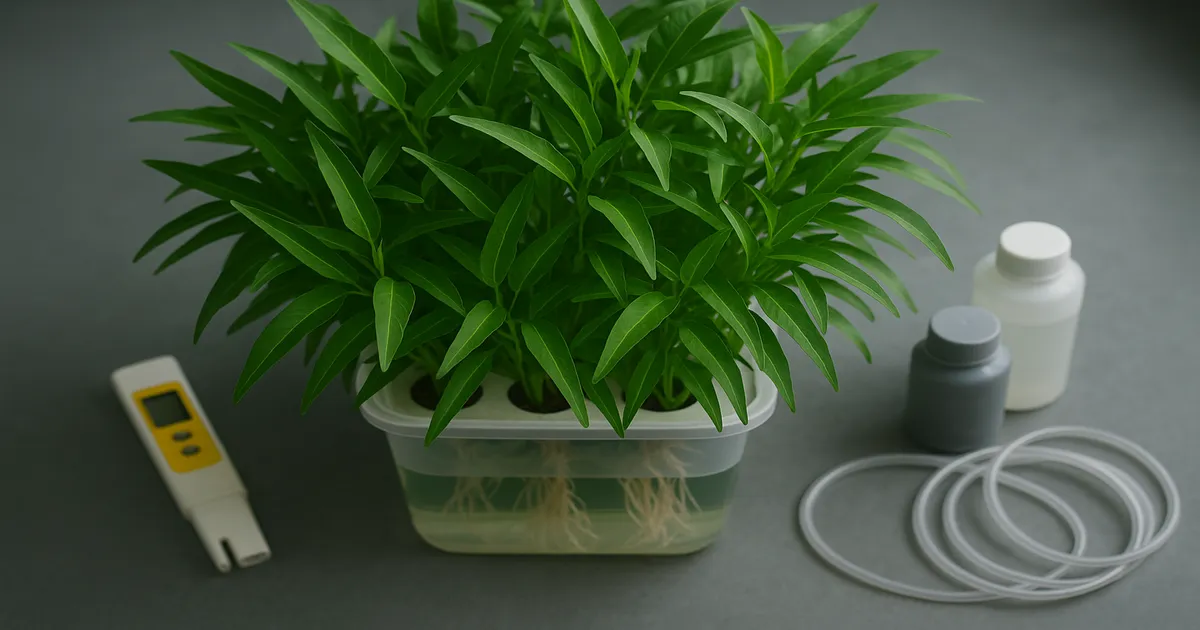
Quick Answer: Water spinach (Ipomoea aquatica, also called kangkong) thrives in hydroponic systems because its semi-aquatic nature makes DWC and Kratky a natural fit. Expect tender shoots in 21–30 days. Keep pH at 6.0–7.0 (optimal 6.5), EC at 1.6–2.4 (800–1,200 PPM), and run a 16/8 light cycle to prevent flowering. U.S. growers: check local regulations first — water spinach is a federally listed noxious weed in several states.
How to Grow Water Spinach Hydroponically: System Selection
Water spinach (Ipomoea aquatica) evolved in flooded paddies and shallow waterways. Put its roots in nutrient solution and you’re not fighting the plant — you’re working with it. Growth rates in hydroponics run 2–3× faster than in soil, driven by direct nutrient access and the plant’s naturally high transpiration rate.
One important note for U.S. growers: Ipomoea aquatica is classified as a Federal Noxious Weed. Florida, Texas, and Hawaii have particularly strict rules. Indoor hydroponic cultivation is generally permissible, but verify with your state’s department of agriculture before you start.
Deep Water Culture (DWC): The Top Choice
DWC is the best system for water spinach. Roots sit in continuously aerated nutrient solution, which mirrors the plant’s natural wetland habitat almost perfectly. It’s scalable, inexpensive, and delivers the fastest growth of any system.
The key variable to watch is dissolved oxygen. Keep an air stone running at all times — a reliable air pump like the Vivosun 317–950 GPH keeps oxygen levels high without breaking the bank. Reservoir temperature should stay below 72°F (22°C) to prevent root rot.
Kratky Method: Best for Beginners
Kratky is passive DWC — no pump, no electricity for the reservoir. Fill a container with nutrient solution, suspend plants in net pots, and let roots grow down into the liquid as the level drops. Water spinach handles the lower-oxygen Kratky environment better than most crops, making this an ideal beginner setup. A 5-gallon bucket, 2-inch net pots, and a bag of nutrients is genuinely all you need to start.
NFT, Ebb & Flow, and Aquaponics
NFT works well at commercial scale. Use faster-than-usual flow rates — water spinach wants more moisture contact than a standard lettuce NFT setup.
Ebb & Flow is another solid option. Program flood cycles every 2–3 hours during the light period to keep the root zone consistently moist. Water spinach tolerates frequent flooding far better than most crops.
Aquaponics is where this plant has centuries of history across Southeast Asia. It pairs well with tilapia, catfish, or goldfish at 0.5–1 lb of fish per gallon of system water, which typically delivers 200–600 PPM of natural nutrients. Iron and potassium are the most common gaps — supplement with chelated iron if new leaves start yellowing.
Beginner recommendation: Start with Kratky or DWC. Both are low-cost, forgiving, and perfectly matched to how this plant naturally grows.
Starting Water Spinach: Seeds, Cuttings, and Transplanting
Seeds vs. Stem Cuttings
You have two reliable options:
- Seeds: Pre-soak for 12–24 hours in room-temperature water to soften the hard seed coat. Expect sprouts in 3–5 days.
- Stem cuttings: Cut a 4–6 inch section with at least two nodes, strip the lower leaves, and place it directly in water or a net pot with growing media. Roots emerge in 5–7 days — faster than seeds if you already have a plant to cut from.
Germination Setup
Start seeds in rockwool cubes or rapid rooter plugs. Keep light low (100–200 µmol/m²/s) and use a dilute nutrient solution of 350–500 PPM (0.7–1.0 EC) to avoid burning tender roots. Temperature should sit between 75–85°F (24–29°C) for best germination.
Transplanting and Spacing
Transplant once roots extend 1–2 inches from the media. Step nutrient concentration up gradually to 600–900 PPM (1.2–1.8 EC) over the first week. Use 2-inch or 3-inch net pots for most systems.
Spacing matters more than most growers expect. Overcrowding causes rapid pH swings as plants compete and drive up nutrient uptake rates.
- Reservoir volume: 1–2 gallons per mature plant minimum
- DWC or media beds: 6–8 inches between plants
- NFT channels: One plant per 6-inch channel section
Nutrient Requirements for Hydroponic Water Spinach
Macronutrients: Nitrogen First
Water spinach is a heavy nitrogen feeder. Target an N:P:K ratio of 3:1:2 to 4:1:3, with 70–80% of nitrogen coming from nitrate (NO₃⁻) rather than ammoniacal forms. Too much ammoniacal nitrogen destabilizes pH and risks toxicity at higher concentrations.
Potassium demand is also high, especially in warm environments. Calcium should land at 150–200 PPM to prevent tip burn, and magnesium at 40–60 PPM, maintaining a Ca:Mg ratio of roughly 3:1 to 4:1.
EC and PPM Targets by Growth Stage
| Growth Stage | PPM | EC |
|---|---|---|
| Seedling (0–10 days) | 350–500 | 0.7–1.0 |
| Early vegetative (10–21 days) | 600–900 | 1.2–1.8 |
| Active harvest (21+ days) | 800–1,200 | 1.6–2.4 |
| High-yield push | 1,200–1,600 | 2.4–3.2 |
Micronutrients: Iron, Manganese, and Boron
Iron is the micronutrient most likely to cause visible problems. Target 2–5 PPM and always use chelated iron (Fe-EDTA or Fe-DTPA) — non-chelated iron precipitates quickly above pH 6.5 and becomes unavailable. Manganese (0.5–1.0 PPM) supports photosynthesis, boron (0.3–0.5 PPM) keeps new growth healthy, and zinc (0.05–0.3 PPM) deficiency shows up as small, distorted leaves.
Nutrient Solutions: Beginner and Intermediate Options
For beginners, a standard 3-part formula works well right out of the box. The General Hydroponics Flora Series is a reliable choice — follow the vegetative/grow stage ratios on the label and increase the Grow (nitrogen-heavy) component by 10–15% above the standard recommendation. Target 800–1,100 PPM (1.6–2.2 EC) for mature plants.
For more control at lower cost, the Masterblend system is hard to beat. Per gallon of water:
- Masterblend 4-18-38: 2.4 g
- Calcium Nitrate (15.5-0-0): 2.4 g
- Magnesium Sulfate (Epsom Salt): 1.2 g
This yields approximately 800–950 PPM (1.6–1.9 EC). Scale proportionally to hit higher EC targets during the active harvest stage.
pH and EC Management
Ideal pH Range
The optimal pH for hydroponic water spinach is 6.5, with an acceptable range of 6.0–7.0. Water spinach tolerates brief excursions to 5.5 or 7.5 better than most crops, but staying near 6.5 keeps all macro and micronutrients at peak availability.
Monitoring Tools
A reliable digital meter is non-negotiable. The Apera PC60 handles both pH and EC in one unit and is a strong value for home growers. If you prefer dedicated meters, the Bluelab pH Pen paired with the Bluelab Truncheon EC meter is a durable, calibration-free EC option. Calibrate your pH meter with 4.0 and 7.0 buffer solutions at least once a week.
Check pH daily during active growth — twice daily in warm environments. Check EC every 1–2 days.
Adjusting pH
- To raise pH: Use potassium hydroxide (KOH) or a commercial pH Up solution. KOH adds a small potassium benefit alongside the correction. Add 1–2 mL per 10 gallons, stir, wait 15 minutes, then retest.
- To lower pH: Use phosphoric acid (H₃PO₄) or a commercial pH Down product. Add in small increments. Avoid citric acid in recirculating systems — it degrades quickly and causes instability.
Understanding pH Drift
In water spinach systems, pH almost always drifts upward. The plant absorbs nitrate at a high rate and releases hydroxide ions in exchange, raising solution pH by 0.2–0.5 units per day in a healthy system. This is normal — just correct it daily. If you’re using RO or very soft water, add a small amount of calcium carbonate or a commercial pH buffer to introduce 80–120 PPM of bicarbonate alkalinity and smooth out daily swings.
EC Management
- EC rising: Plants are drinking more water than nutrients. Top off with plain pH-adjusted water.
- EC falling: Plants are consuming nutrients faster than water. Add a small amount of concentrated nutrient solution.
- Full reservoir changes: Every 7–14 days for systems under 20 gallons, or immediately if EC climbs more than 30% above target.
Lighting for Indoor Water Spinach
Spectrum and PPFD Targets
Water spinach responds best to broad-spectrum light with strong blue (400–500 nm) and red (600–700 nm) output. Blue light keeps growth compact and leafy; red drives photosynthetic efficiency. A full-spectrum LED rated 4,000–6,500K covers both well.
| Growth Stage | PPFD (µmol/m²/s) |
|---|---|
| Seedling | 100–200 |
| Early vegetative | 200–400 |
| Active growth / harvest | 400–600 |
| High-yield / commercial | 600–800 |
Above 800 µmol/m²/s you’ll hit diminishing returns at ambient CO₂. With CO₂ supplementation at 1,000–1,500 PPM, you can push to 1,000–1,200 µmol/m²/s productively.
Photoperiod: Preventing Bolting
This is the most important lighting decision you’ll make. Water spinach is a short-day plant — it flowers when day length drops below roughly 12 hours. Flowering diverts energy from shoot production and degrades leaf quality. The fix is simple: keep lights on for 14–18 hours per day. 16 hours on / 8 hours off is the sweet spot for indoor production.
For home growers, the Spider Farmer SF-2000 delivers excellent full-spectrum output across a 2×4 ft footprint at a reasonable price. It runs cool and draws modest wattage — a practical choice for a dedicated water spinach setup.
DLI formula: DLI = (PPFD × photoperiod hours × 3,600) ÷ 1,000,000
Example: 500 µmol/m²/s × 16 hours × 3,600 ÷ 1,000,000 = 28.8 mol/m²/day — solidly in the commercial range.
Harvesting and Maintaining Continuous Yields
When and How to Harvest
Shoots are ready 21–30 days after transplant. Look for tender stems 8–12 inches long with young, fully opened leaves. Don’t wait — older stems turn fibrous quickly. Cut with clean scissors at a 45-degree angle to discourage water pooling on the cut surface.
Cut-and-Come-Again Technique
Cut stems 4–6 inches above the base node. Each cut stimulates two or more lateral shoots, and yield compounds over time. Once established, you can harvest every 1–2 weeks continuously. The more you cut, the bushier and more productive the plant becomes.
Between harvests, keep nitrogen in the upper range of your target EC (closer to 1,200 PPM / 2.4 EC) to fuel rapid regrowth, and remove any yellowing or woody stems to redirect energy to new growth.
System Longevity
Individual plants produce well for 2–4 months before stems become increasingly woody and regrowth slows. When new leaves are noticeably smaller or regrowth takes longer than two weeks, replace the plant. Stagger plantings by 2–3 weeks to keep harvests continuous rather than boom-and-bust.
Troubleshooting Common Problems
Yellowing Leaves: Nitrogen or Iron Deficiency?
Location tells you everything. Yellowing on older (lower) leaves points to nitrogen deficiency — nitrogen is mobile in plants and gets pulled from old tissue when supply runs short. Raise your nutrient concentration or check that pH isn’t locking out nitrogen uptake.
Yellowing on new (upper) leaves with green veins is classic iron deficiency. Switch to chelated Fe-EDTA and verify pH is below 7.0 — iron becomes nearly unavailable above that threshold.
Interveinal Chlorosis on Older Leaves: Magnesium Deficiency
Yellow patches between the veins on older leaves, while veins stay green, indicate magnesium deficiency. Add Epsom salt at 1–2 g per gallon to bring magnesium up to 40–60 PPM. Check your Ca:Mg ratio — excess calcium can compete with magnesium uptake.
Root Rot
Slimy, brown roots with a foul smell signal root rot, usually caused by Pythium species. Causes include reservoir temperatures above 72°F, insufficient aeration, or light leaks into the reservoir. Drop reservoir temperature, increase air stone output, and treat with a beneficial bacteria product like Hydroguard. Remove and discard severely affected roots.
Slow Growth or Small Leaves
If growth stalls after a strong start, check EC first — plants may have depleted nutrients faster than expected. Also verify your photoperiod hasn’t accidentally dropped below 14 hours, which can trigger early flowering and redirect energy away from shoot production.
Tip Burn
Brown, crispy leaf edges are usually a calcium deficiency or a low-transpiration problem. Increase airflow around the canopy, verify calcium is at 150–200 PPM, and check that EC isn’t so high it’s limiting water uptake.
Frequently Asked Questions
Can I grow water spinach hydroponically indoors year-round? Yes. With a controlled light cycle of 16/8 and stable temperatures between 75–85°F, water spinach produces continuously indoors regardless of season. The 16-hour photoperiod keeps plants in vegetative mode and prevents flowering.
How long does it take to harvest water spinach hydroponically? Expect your first harvest 21–30 days after transplanting seedlings. With the cut-and-come-again method, subsequent harvests follow every 1–2 weeks for 2–4 months per plant.
Is water spinach legal to grow hydroponically in the U.S.? Ipomoea aquatica is classified as a Federal Noxious Weed. Indoor cultivation for personal use is generally permitted in most states, but Florida, Texas, and Hawaii have stricter rules. Always confirm with your state’s department of agriculture before growing.
What’s the easiest hydroponic system for water spinach? The Kratky method is the simplest entry point — no pump, no electricity, minimal equipment. DWC is the next step up and delivers faster growth with the addition of an air pump.
Why are my water spinach leaves turning yellow? Yellowing on lower leaves usually means nitrogen deficiency. Yellowing on upper leaves with green veins points to iron deficiency — switch to chelated iron and verify pH is below 7.0. Interveinal yellowing on older leaves suggests magnesium deficiency; add Epsom salt at 1–2 g per gallon.