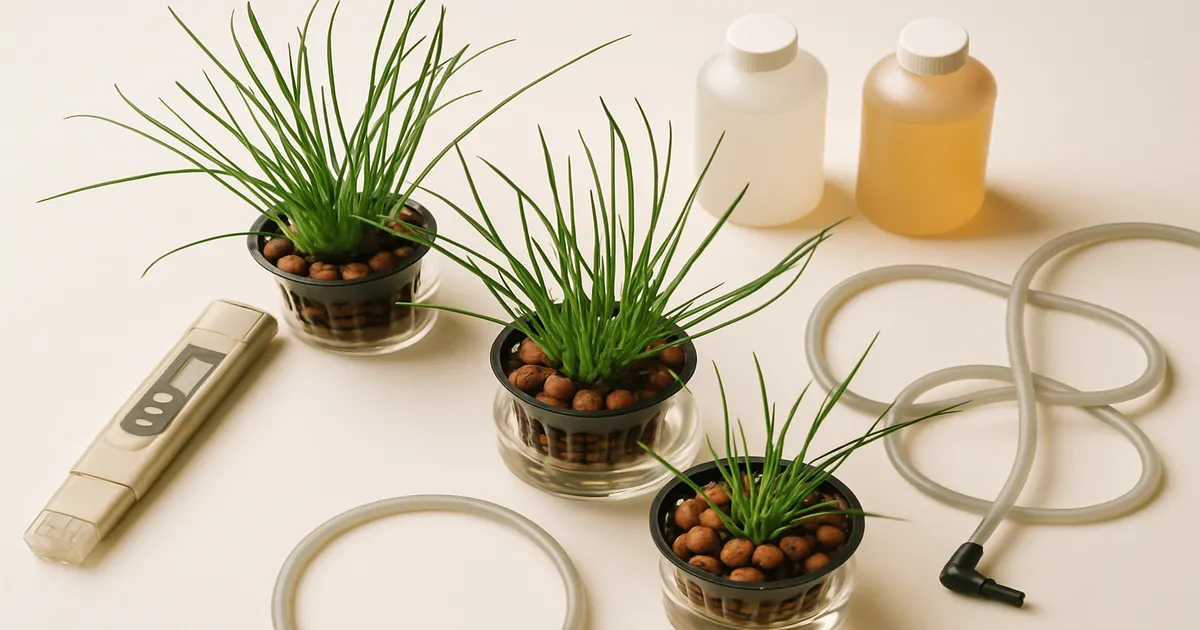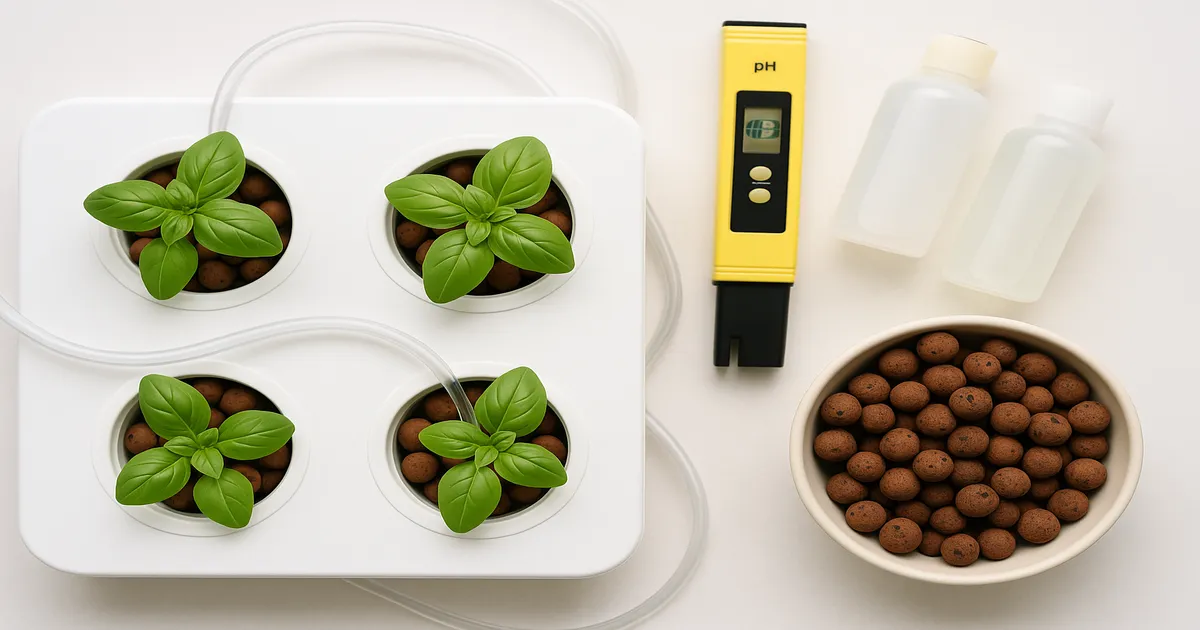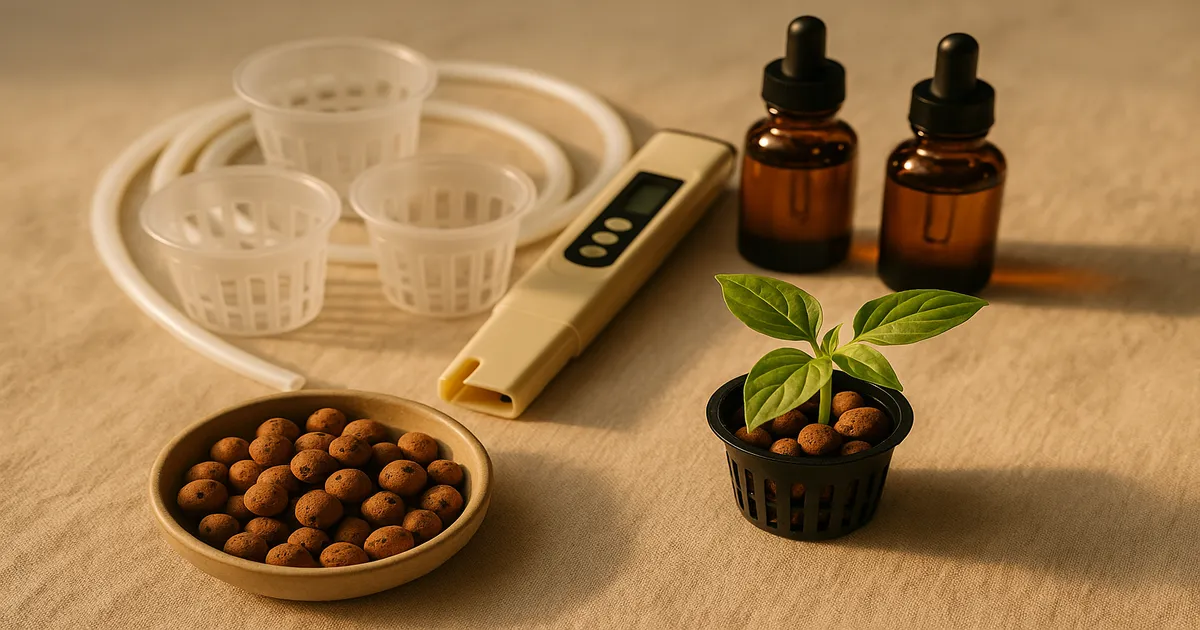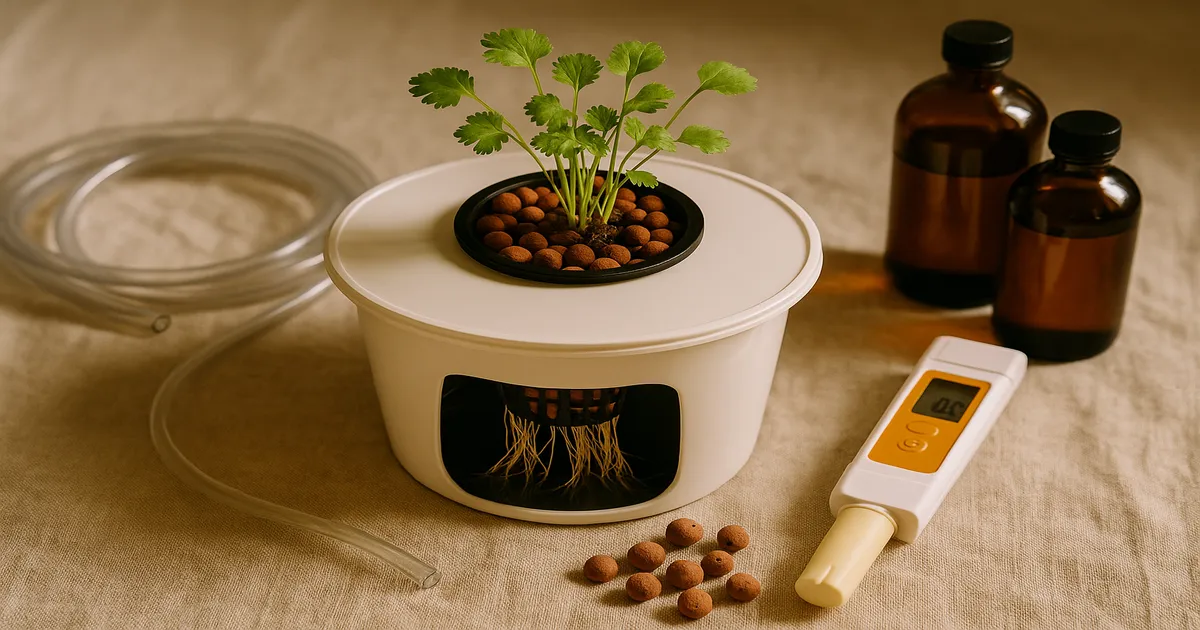
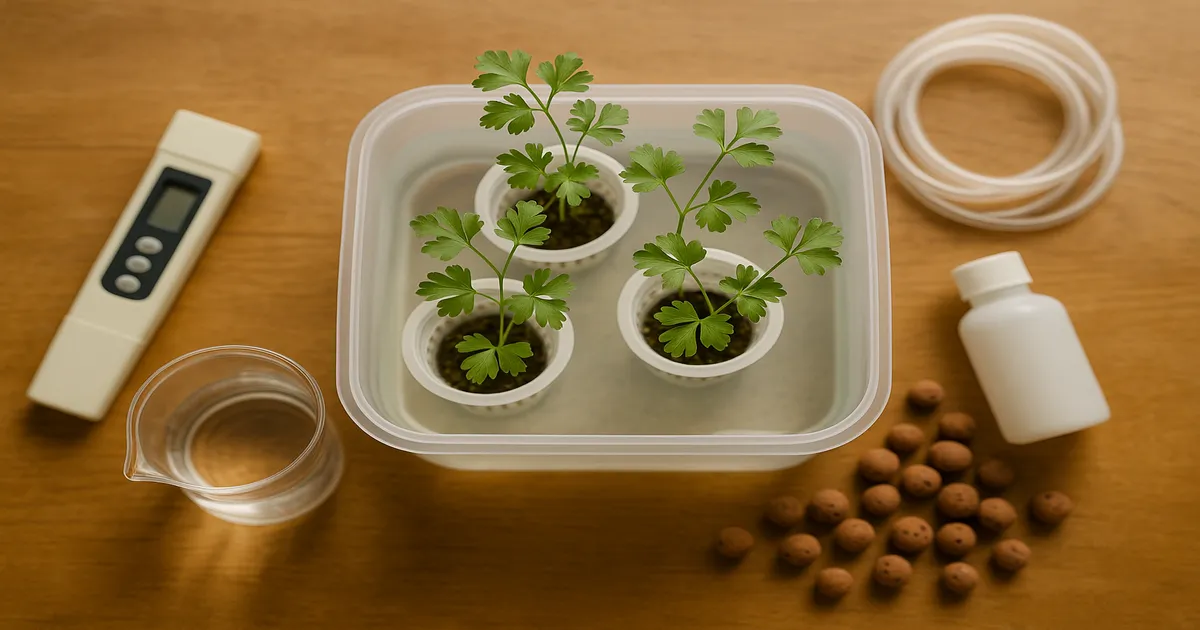
Quick Answer: You can grow parsley in water two ways — root cuttings in a plain glass of water on your windowsill, or run a full hydroponic setup with nutrient solution for faster, bigger yields. Either way, keep pH at 5.8–6.2, provide 14–16 hours of light, and expect your first harvest 3–4 weeks after transplanting (or 10–14 weeks from seed).
Growing parsley in water is one of the most satisfying kitchen garden projects you can take on. Whether you’re propping a stem cutting in a mason jar or running a proper Kratky reservoir, the core principles are the same: give the roots clean water, the right nutrients at the right time, and enough light. Parsley is slower than basil and a touch more demanding than lettuce, but it’s absolutely manageable — even for complete beginners.
Growing Parsley in Water: Two Methods at a Glance
Cuttings in a Jar vs. Full Hydroponics
The windowsill jar method is exactly what it sounds like — a 4–6 inch cutting placed in a glass of plain water. No nutrients, no equipment, no fuss. Roots appear in 1–2 weeks, and you can harvest lightly within a month. It’s semi-hydroponic and perfect if you just want to keep a supermarket bunch alive and producing.
Full hydroponics (Kratky, DWC, NFT, and similar systems) uses a formulated nutrient solution instead of plain water. Growth is faster, yields are higher, and you have far more control over the plant’s environment. This is the route to take if you want a continuous, productive herb supply rather than a single jar on the counter.
Key Numbers to Know Before You Start
| Parameter | Target |
|---|---|
| pH | 5.8–6.2 |
| EC — Seedling | 0.7–1.0 (350–500 PPM) |
| EC — Vegetative | 1.2–1.8 (600–900 PPM) |
| EC — Mature/Harvest | 1.6–2.4 (800–1,200 PPM) |
| Water temperature | 65–72°F (18–22°C) |
| Light (photoperiod) | 14–16 hours |
| Time to harvest (from transplant) | 3–4 weeks |
| Time to harvest (from seed) | 10–14 weeks |
Choosing the Right System
Windowsill Jar Method: Best for Beginners
A clean glass jar, a cutting, and tap water. That’s it. This method won’t produce the volume a proper hydroponic setup will, but it’s a zero-cost way to propagate parsley and keep it growing on a kitchen counter. Once roots are established, you can either keep it in the jar with dilute nutrients or transplant it into a proper system.
Kratky (Passive DWC): No Pump, No Fuss
The Kratky method is the sweet spot for home herb growers. Fill an opaque container with nutrient solution, suspend a net pot above it, and let the plant drink down the reservoir naturally. As the level drops, an air gap forms — this is intentional, and it provides the oxygen the roots need. No pump, no electricity beyond your grow light, no timers to fuss with. It’s the easiest “real” hydroponic system for parsley.
Deep Water Culture (DWC): Fastest Growth
DWC works the same as Kratky but adds an aquarium air pump to keep the solution continuously oxygenated. That extra oxygen at the root zone noticeably accelerates growth. If you want the fastest possible yields and don’t mind a little more equipment, DWC is a worthwhile upgrade. An entry-level pump like the Vivosun Air Pump handles a single-bucket setup easily.
NFT, Ebb & Flow, and Wick Systems
NFT (Nutrient Film Technique) works well for continuous parsley harvests — a thin film of nutrient solution flows constantly over the roots, keeping them moist and oxygenated. Ebb & Flow suits larger setups where you’re growing parsley alongside other herbs. Wick systems are ultra-simple but slow; nutrient delivery is limited by how fast the wick can move solution, and growth rates reflect that.
All-in-One Herb Kits
Countertop units like the AeroGarden Harvest handle lighting and nutrient delivery automatically. They’re genuinely excellent for parsley — pods are pre-seeded, light schedules are built in, and the learning curve is nearly flat. The cost per harvest is higher than DIY, but for convenience they’re hard to beat.
System comparison:
| System | Complexity | Cost | Best For |
|---|---|---|---|
| Windowsill jar | ★☆☆☆☆ | Free | Cuttings, beginners |
| Kratky | ★★☆☆☆ | $10–30 | Beginners, small batches |
| DWC | ★★★☆☆ | $30–80 | Faster growth, intermediate |
| NFT | ★★★★☆ | $50–150+ | Continuous harvests |
| All-in-one kit | ★★☆☆☆ | $50–150 | Plug-and-play convenience |
| Wick | ★☆☆☆☆ | $5–15 | Ultra-simple, slow growth |
How to Grow Parsley in Water: Step-by-Step Setup
Starting from Cuttings vs. Seed
Cuttings are faster — you skip the notoriously slow germination phase and get a rooted plant in 1–2 weeks. Seeds give you more variety options and a longer-lived plant, but parsley seeds can take 10–14 days to sprout even under ideal conditions. Pre-soaking seeds in warm water for 24 hours and keeping germination temperature at 65–75°F (18–24°C) speeds things up considerably.
Rooting Parsley Cuttings in Water
- Select a healthy stem, 4–6 inches long, from an established plant or a fresh supermarket bunch.
- Strip the lower leaves, leaving only the top 2–3 leaf clusters.
- Place the stem in a clean glass with 2–3 inches of room-temperature water — the stripped portion submerged, the leaves above the waterline.
- Set the glass in a bright spot (a south-facing window is ideal) or under a grow light.
- Change the water every 2–3 days to prevent bacterial buildup.
- Roots typically appear within 7–14 days. Once they reach 1–2 inches long, you can introduce dilute nutrients or transplant into a hydroponic system.
Setting Up a Kratky or DWC Container
- Use an opaque container — a 5-quart bucket, dark storage tote, or painted mason jar — to block light and prevent algae.
- Cut a hole in the lid sized to fit a 2-inch net pot snugly.
- Fill with nutrient solution to just below the bottom of the net pot, or touching it slightly at the very start.
- For DWC, run an airline from an aquarium pump to an air stone at the bottom of the reservoir.
- Add your growing media (hydroton clay pebbles or a rockwool cube) and plant your seedling or rooted cutting.
Transplanting Seedlings
Seedlings started in rockwool or a peat plug go straight into a net pot. Seedlings started in soil need a gentle rinse to remove all soil from the roots before transplanting — any soil left behind introduces pathogens. Keep EC low during the first week after transplant (0.7–1.0 EC / 350–500 PPM) to reduce transplant stress.
Water Quality: Tap, Filtered, or RO?
Tap water works fine for most growers. Let it sit uncovered for 24 hours to off-gas chlorine, or use a dechlorinator if you’re in a hurry. If your municipality uses chloramine instead of chlorine (check your water quality report), it won’t off-gas — you’ll need a carbon filter or a few drops of sodium thiosulfate. Reverse osmosis water gives you the most control but strips out all minerals, so Cal-Mag supplementation is essential.
Nutrient Solution for Water-Grown Parsley
When to Add Nutrients
Cuttings in plain water don’t need nutrients for the first 1–2 weeks — the plant is focused on root development, not feeding. Introducing nutrients too early can actually inhibit rooting. Wait until you see 1–2 inches of white roots before you start feeding.
EC and PPM Targets by Growth Stage
- Seedling: 0.7–1.0 EC (350–500 PPM)
- Vegetative: 1.2–1.8 EC (600–900 PPM)
- Mature/Harvest: 1.6–2.4 EC (800–1,200 PPM)
These values use the 500 scale (TDS factor 0.5), standard for most consumer TDS meters. If your meter uses the 700 scale, readings will be higher for the same solution — check your meter’s manual.
Beginner Option: General Hydroponics Flora Series
The Flora Series three-part system is reliable, widely available, and well-documented. Always add FloraMicro to water first, then the other parts, to avoid precipitation.
- Seedling: FloraMicro 1.25 mL/gal + FloraGro 2.5 mL/gal + FloraBloom 1.25 mL/gal
- Vegetative: FloraMicro 2 mL/gal + FloraGro 3 mL/gal + FloraBloom 1 mL/gal
- Mature/Harvest: FloraMicro 2 mL/gal + FloraGro 2 mL/gal + FloraBloom 2 mL/gal
Intermediate Option: Masterblend 4-18-38
Per gallon of water at full vegetative strength:
- Masterblend 4-18-38: 2.4 g
- Calcium Nitrate (15.5-0-0): 2.4 g
- Epsom Salt (MgSO₄): 1.2 g
This hits approximately 800–1,000 PPM (1.6–2.0 EC). Halve the amounts for seedlings. (Masterblend 4-18-38 Tomato Formula)
Windowsill Jar Option: Dilute Liquid Fertiliser
Once your jar-grown cuttings have roots, add a balanced liquid fertiliser at quarter to half strength — roughly 300–500 PPM (0.6–1.0 EC). Fox Farm Grow Big at ¼ strength or a balanced 10-10-10 liquid at ½ teaspoon per gallon both work well.
Nutrient Priorities for Parsley
Parsley is a leafy herb, so nitrogen drives most of its growth. Favour nitrate-nitrogen (NO₃⁻) over ammoniacal nitrogen (NH₄⁺) — keep ammoniacal N below 25–30% of total nitrogen to avoid root toxicity. Potassium demand rises at the mature stage, supporting both cell structure and the flavour compounds that make parsley worth growing. Calcium is the other one to watch: deficiency shows up as tip burn on new leaves. If you’re using RO water or your tap water is soft, a Cal-Mag supplement is not optional.
pH and EC Management
Optimal pH Range
At pH 5.8–6.2, all the major nutrients parsley needs are available and soluble. Drift above 6.5 and iron, manganese, and zinc become locked out — you’ll see yellowing on new leaves. Drop below 5.5 and calcium and magnesium uptake suffers, plus roots start to take damage. The window isn’t wide, but it’s easy to maintain once you’re checking regularly.
Testing and Adjusting pH
A digital pH meter is worth the investment. The Apera PH60 and Bluelab pH Pen are both reliable choices for home growers. Calibrate weekly using pH 4.0 and 7.0 buffer solutions — an uncalibrated meter is worse than no meter at all.
- To raise pH: Add pH Up (potassium hydroxide solution) drop by drop, stir, and retest.
- To lower pH: Add pH Down (phosphoric acid) the same way.
Always adjust pH after mixing nutrients. Add in small increments and wait 15–30 minutes before retesting. (General Hydroponics pH Control Kit)
Monitoring EC
Check EC every 2–3 days in active systems, weekly in Kratky or jar setups. If EC rises over time, plants are drinking more water than nutrients — top off with plain pH-adjusted water. If EC drops quickly, plants are feeding hard — a good sign, but top up with fresh nutrient solution to keep levels in range.
Reservoir Maintenance Schedule
- Every 2–3 days: Top off with plain pH-adjusted water as needed.
- Every 7–10 days: Replace 25–30% of the reservoir with fresh nutrient solution.
- Every 2–3 weeks: Full reservoir change to prevent salt buildup and pathogen accumulation.
- Between crop cycles: Flush and sterilise the system with dilute hydrogen peroxide (3 mL of 3% H₂O₂ per litre) or a dilute bleach rinse, then flush thoroughly with clean water before refilling.
Common pH and EC Problems
| Problem | Likely Cause | Fix |
|---|---|---|
| pH drifts up daily | Nitrate uptake; algae | Increase pH Down frequency; block light from reservoir |
| pH crashes suddenly | Root rot; bacterial bloom | Full reservoir change; sterilise system |
| EC rises over time | Evaporation concentrating nutrients | Top off with plain water |
| EC drops rapidly | High plant uptake | Top up with full-strength nutrient solution |
| pH swings >0.5/day | Soft or RO water, poor buffering | Add Cal-Mag; consider potassium silicate |
Lighting for Indoor Water-Grown Parsley
Natural Light vs. Grow Lights
A south-facing window in summer can provide enough light for parsley to grow reasonably well. In winter, or in north-facing rooms, you’ll almost certainly need supplemental lighting — day length drops below the 12-hour minimum and intensity through glass is significantly reduced. If your parsley looks pale and leggy, light is almost always the first thing to address.
Spectrum, PPFD, and DLI
Full-spectrum LED lights covering 400–700 nm are the standard recommendation. Parsley responds well to a red:blue ratio of roughly 3:1 to 5:1 — blue light keeps growth compact and leafy, while red drives overall photosynthesis. Some premium fixtures include UV-A, which can enhance essential oil content and flavour intensity. It’s a nice bonus, not a necessity.
| Stage | PPFD | DLI |
|---|---|---|
| Seedling | 100–200 µmol/m²/s | 6–10 mol/m²/day |
| Vegetative | 200–400 µmol/m²/s | 12–16 mol/m²/day |
| Mature/Harvest | 300–500 µmol/m²/s | 14–20 mol/m²/day |
DLI calculation: DLI = PPFD × hours × 0.0036. At 300 PPFD × 16 hours × 0.0036 = 17.3 mol/m²/day — right in the sweet spot for mature parsley.
Photoperiod and Timers
Run 14–16 hours of light per day. Don’t run 24-hour light — parsley needs a dark period for metabolic rest, and continuous light often causes tip burn and stress. A plug-in digital timer keeps everything consistent without any daily effort.
For a single plant or small jar setup, a compact clip-on LED is plenty. For a dedicated herb shelf, a full-spectrum panel gives better coverage and intensity. Look for fixtures that publish PPFD data at your growing distance — marketing lumens are nearly meaningless for plant growth. (Spider Farmer SF-1000)
Care, Harvesting, and Troubleshooting
Temperature and Humidity
Parsley prefers 60–75°F (15–24°C) with humidity in the 40–70% range. Growth slows noticeably below 55°F (13°C). Good airflow around the foliage helps prevent fungal issues — a small USB fan pointed nearby does the job without over-drying the leaves.
How to Harvest Parsley Grown in Water
Use the cut-and-come-again method: always harvest the outer stems first, cutting close to the base. Never remove more than one-third of the plant at a single harvest — this keeps the plant productive rather than sending it into recovery mode. Expect your first real harvest 3–4 weeks after transplanting a rooted cutting, with continuous harvests possible for many months afterward.
Preventing Algae
Algae needs two things: light and nutrients. Block both from your reservoir and you block algae. Use an opaque container, cover any exposed tubing, and never leave the lid off longer than necessary. If algae does appear, do a full reservoir change, scrub the container with dilute hydrogen peroxide, and improve your light-blocking before refilling.
Common Problems and Fixes
| Problem | Likely Cause | Fix |
|---|---|---|
| Yellow lower leaves | Normal senescence or nitrogen deficiency | Check EC; increase N if low |
| Leggy, pale growth | Insufficient light | Move closer to light source or increase photoperiod |
| Slimy roots (root rot) | Poor oxygenation; high water temp | Add air pump; lower reservoir temp to below 72°F |
| Tip burn on new leaves | Calcium deficiency or low transpiration | Add Cal-Mag; improve airflow |
| Slow germination | Cold temps or old seed | Soak seeds 24 hrs; keep at 70°F+ |
Frequently Asked Questions
Can you grow parsley in water indefinitely? Parsley is a biennial — it completes its life cycle over two years. In a hydroponic system, a healthy plant can produce continuously for 12–18 months before it bolts (goes to seed) or declines. Once it bolts, flavour drops sharply; start a new cutting or seedling at that point.
Does parsley need nutrients in plain water? For the first 1–2 weeks while roots are forming, plain water is fine. After that, yes — plain water contains no nitrogen, calcium, or the other minerals parsley needs to grow. Without nutrients, the plant will slowly exhaust itself and stall. Even a dilute liquid fertiliser at quarter strength makes a significant difference.
Why are my parsley cuttings not rooting in water? The most common causes are water that’s too cold (below 65°F), stems that are too mature or woody, and water that isn’t changed frequently enough. Use young, green stems, keep the water at room temperature, and change it every 2–3 days. Rooting typically takes 7–14 days — give it the full two weeks before giving up.
Can I use tap water directly for hydroponics? Yes, with one caveat. If your tap water contains chlorine, let it sit uncovered for 24 hours before use. If it contains chloramine (check your municipal water report), you’ll need a carbon filter or sodium thiosulfate drops — chloramine doesn’t off-gas on its own. Always check and adjust pH after treating the water.
What’s the difference between curly and flat-leaf parsley in hydroponics? Both grow equally well in water. Flat-leaf (Italian) parsley tends to grow slightly faster and is generally considered more flavourful for cooking. Curly parsley is more compact, which can be an advantage in smaller setups. Nutrient requirements, pH targets, and light needs are identical for both types.