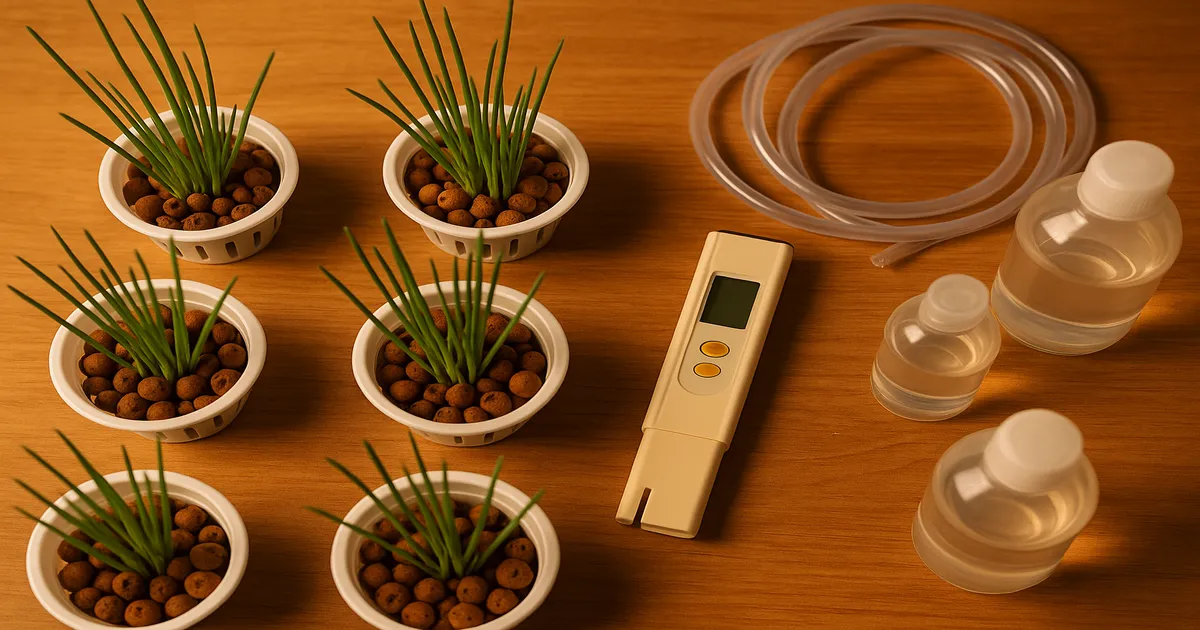
Quick Answer: To grow more chives, harvest every 3–4 weeks by cutting to 2 inches above the base, divide clumps every 2–3 years, and keep nitrogen levels high. In hydroponics, a well-tuned DWC or NFT system cuts seed-to-harvest time nearly in half compared to soil — from 60–90 days down to 45–60 days.
How to Grow More Chives: The Four Core Principles
Whether you’re growing in a backyard bed or a hydroponic channel, more chives comes down to four fundamentals:
- Harvest frequently. Cutting every 3–4 weeks keeps plants in active vegetative mode instead of wasting energy on flowers and seeds.
- Divide regularly. Splitting mature clumps every 2–3 years multiplies your plant count for free and reinvigorates growth.
- Optimize nutrition. Chives are nitrogen-hungry leafy plants. Keep N levels up and your EC in the right range.
- Control the environment. Temperature, light duration, and humidity all affect how fast chives bounce back after a cut.
Soil vs. Hydroponics: Which Grows More Chives?
Hydroponics wins on speed; soil wins on simplicity. Here’s how the main systems compare:
| System | Yield Potential | Difficulty | Best For |
|---|---|---|---|
| In-ground soil beds | Moderate–High | Easy | Perennial outdoor production |
| Raised beds | High | Easy | Drainage control, year-round extension |
| Container/windowsill | Moderate | Easy | Small spaces, beginners |
| Kratky (passive hydro) | Moderate | Easy | Hydro beginners, no pump needed |
| NFT | High | Moderate | Efficient water use, continuous harvest |
| DWC | Very High | Moderate | Fastest growth, indoor year-round |
| Aeroponics | Very High | Advanced | Commercial scale, highest investment |
Choosing the Best Growing System for Chives
In-Ground Beds and Raised Beds
In-ground beds are the classic choice. Chives are perennial in Zones 3–9, so once established they return every spring without replanting. Raised beds offer an edge — better drainage, warmer soil, and easier weed control all translate into faster regrowth after harvest. Space plants 6–8 inches apart, amend with compost before planting, and you’ll have a productive bed for years.
Container and Windowsill Growing
A 6–8 inch pot is the minimum for a single clump; a 12-inch container holds 3–4 divisions and produces a steady kitchen supply. Use a well-draining potting mix — chives hate soggy roots — and place in the sunniest south-facing window you have, or supplement with a grow light. Containers dry out faster than in-ground beds, so water and feed more consistently.
Deep Water Culture (DWC) for Chives
DWC is the workhorse of indoor herb production. Roots suspend directly in an oxygenated, nutrient-rich solution, giving plants near-constant access to everything they need. Expect seed-to-harvest in 45–60 days versus 60–90 days in soil, with regrowth cycles of just 2–3 weeks after cutting.
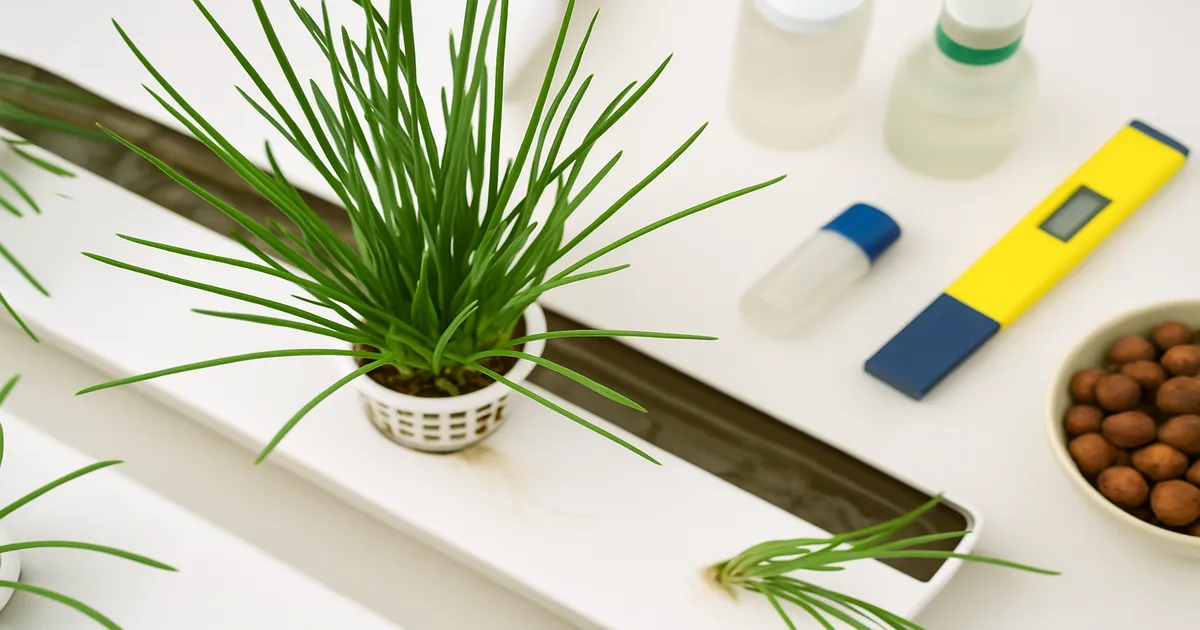
You’ll need a reservoir, net pots, an air pump with air stones, and a reliable pH and EC meter. For the air pump, the Vivosun 317–793 GPH Commercial Air Pump handles most small-to-medium DWC setups reliably. The investment pays off quickly if you’re harvesting on a regular schedule.
Nutrient Film Technique (NFT) Setup
NFT runs a thin, continuous film of nutrient solution over roots in angled channels — highly efficient on both water and nutrients. Commercial herb growers favor it because you can fit 4–6 chive plants per linear foot of channel and harvest sections on a rolling schedule. Keep the pump running without interruption; even a brief outage stresses roots. A backup timer is cheap insurance.
Kratky Passive Hydroponics for Beginners
Kratky is the gentlest entry into hydroponics — no pump, no timer, no electricity required. Fill a reservoir, suspend your net pot, and the plant drinks down the solution while drawing in oxygen through the air gap above the waterline. Yield is moderate rather than exceptional, but for someone growing chives on a shelf without a full setup, Kratky is genuinely impressive for the effort involved.
Best Chive Varieties to Grow More Chives Faster
| Variety | Growth Rate | Flavor | Best System |
|---|---|---|---|
| Common Chives | Fast | Classic mild onion | All systems |
| Staro | Very Fast | Mild, delicate | Commercial hydroponics |
| Grolau | Very Fast | Mild | Indoor/hydroponic forcing |
| Garlic Chives | Moderate | Garlic-forward | Soil, containers, warm climates |
| Profusion | Fast | Standard | Containers, edible landscapes |
Grolau is the standout for indoor and hydroponic growing. It was bred specifically for forcing — it performs exceptionally well under artificial light and regrows noticeably faster than common varieties after cutting. Staro produces fine, uniform leaves that make it a commercial cutter’s favorite. Both are worth tracking down if maximum indoor yield is your goal.
When summer heat slows common chives, garlic chives (Allium tuberosum) keep producing. The flat, broader leaves carry a mild garlic flavor and hold up better in high temperatures — a smart secondary crop to bridge the hottest months.
Realistic yield expectations:
- Seed to first harvest: 60–90 days in soil; 45–60 days in optimized hydroponics
- Transplant to first harvest: 30–45 days
- Regrowth after cutting: 3–4 weeks in soil; 2–3 weeks in hydroponics
- Yield per mature clump: 1–3 oz (28–85 g) per cutting cycle
- NFT channel yield: 4–8 oz per linear foot per harvest cycle
Nutrients and Feeding for Maximum Chive Production
Why Nitrogen Comes First
Chives are a leafy crop — nitrogen drives the result you want. A slightly elevated N ratio (3-1-2 N-P-K) is the sweet spot. Potassium builds cell wall strength and develops the thiosulfinates responsible for that characteristic onion flavor. Keep phosphorus moderate; it matters most during root establishment, not active leaf production.
EC and PPM Targets by Growth Stage
| Stage | PPM | EC |
|---|---|---|
| Seedling (weeks 1–3) | 400–600 | 0.8–1.2 |
| Vegetative/Establishment | 800–1,200 | 1.6–2.4 |
| Active harvest/mature | 1,000–1,400 | 2.0–2.8 |
Don’t push above 1,600 PPM (3.2 EC) — chives show tip burn and salt stress before they show extra growth.
Hydroponic Nutrient Recipes
3-Part Commercial Formula (GH Flora Series):
- 5 mL/gal FloraMicro + 10 mL/gal FloraGro + 2 mL/gal FloraBloom
- Targets 1,000–1,200 PPM (2.0–2.4 EC) — ideal for the active harvest phase (General Hydroponics Flora Series 3-Part Set)
Organic Option:
- Fish emulsion (5-1-1) at 10–15 mL/gal + kelp extract for micronutrients
- Target 600–900 PPM (1.2–1.8 EC) — less precise but supports beneficial microbial life
For soil and raised beds: Apply a balanced liquid fertilizer (10-10-10) at half-strength every 2–3 weeks, or use a slow-release granular like Osmocote 14-14-14 at planting for 3–4 months of steady feeding. A 2–3 inch compost side-dressing in spring provides an excellent organic nitrogen boost.
Key Micronutrient Targets
- Calcium (Ca): 150–200 PPM — deficiency causes tip dieback
- Magnesium (Mg): 40–60 PPM — central to chlorophyll production
- Iron (Fe): 2–5 PPM chelated — chives are moderately sensitive to iron deficiency
- Manganese (Mn): 0.5–1.0 PPM
- Zinc (Zn): 0.1–0.5 PPM
- Copper (Cu): 0.05–0.1 PPM — excess is toxic; don’t overdose
pH and EC Management
Ideal pH ranges:
- Soil: 6.0–7.0, optimal around 6.5
- Hydroponics: 5.5–6.5, optimal around 6.0–6.2
Chives are more pH-tolerant than many herbs, but drifting outside these ranges causes nutrient lockout — iron and calcium become unavailable even when they’re present in solution.
Use a calibrated digital pH pen and check hydroponic reservoirs every 1–2 days. The Apera PH60 is a reliable mid-range option that holds calibration well. Calibrate weekly using pH 4.0 and 7.0 buffer solutions. To adjust, add pH Up (potassium hydroxide) or pH Down (phosphoric acid) in 1–2 mL increments per 5 gallons, then wait 15–30 minutes before retesting.
Reading EC fluctuations:
- EC rising: plants are drinking water faster than nutrients — top off with plain pH-adjusted water
- EC dropping: plants are feeding heavily — top up with fresh nutrient solution at your target PPM
Keep your reservoir between 65–72°F (18–22°C). Warmer water holds less dissolved oxygen and invites root pathogens like Pythium. Target dissolved oxygen above 6 ppm; a quality air stone running 24/7 will get you there.
Lighting for Indoor Chive Production
Blue-spectrum light (400–500 nm) is your priority — it drives the compact, leafy vegetative growth you’re harvesting. Red spectrum (600–700 nm) supports overall photosynthesis and shouldn’t be ignored, but a blue-dominant full-spectrum LED is the right tool for this crop.
PPFD and DLI targets:
| Growth Phase | PPFD (µmol/m²/s) | DLI (mol/m²/day) |
|---|---|---|
| Seedling | 100–200 | 8–12 |
| Vegetative/Harvest | 200–400 | 14–20 |
| Maximum production | 400–600 | 18–25 |
Run a 14–16 hour photoperiod. This maximizes leaf production without triggering bolting. Avoid going above 16 hours consistently — some varieties will start flowering, redirecting energy away from leaves. Eight hours of darkness supports healthy plant respiration.
Recommended grow lights:
- Budget (2×2 ft): Spider Farmer SF-1000 or Mars Hydro TS-600
- Mid-range (2×3 ft): HLG 100 V2 Quantum Board — excellent spectrum and efficiency
- Commercial scale: Fluence SPYDR 2i or Gavita Pro 1700e LED
- Windowsill supplement: Full-spectrum T5 or T8 LED strips at 2,000–4,000 lumens, positioned 4–6 inches above plants
Position LED panels 12–24 inches above the canopy and adjust using your manufacturer’s PPFD chart.
Plant Care Techniques That Multiply Your Chive Yield
How to Harvest Chives for Faster Regrowth
Cut to 2 inches (5 cm) above the base — no lower. The regrowth nodes sit just above the base, and cutting into them dramatically slows recovery. Use clean, sharp scissors and take the outermost leaves first; this encourages inner growth to push out faster. Harvest every 3–4 weeks once plants are established. Waiting longer doesn’t mean more yield per cut — it usually just means tougher leaves and slower overall production.
Deadheading and Division
Remove flower buds as soon as they appear. Flowering diverts energy into reproduction, and leaves become noticeably tougher and more pungent. The flowers are edible and attractive, so use them — just don’t let them go to seed.
Every 2–3 years, mature clumps become dense at the center and lose vigor. Division fixes this and multiplies your plants for free:
- Dig up the entire clump in early spring or fall.
- Split it into sections of 6–10 bulblets each using a sharp spade or knife.
- Replant divisions 6–8 inches apart, water well, and expect a full harvest within 4–6 weeks.
A single mature clump typically yields 4–6 healthy divisions — a significant expansion at zero cost.
Troubleshooting Common Chive Problems
Root Rot
Root rot (Pythium spp.) is the most serious threat in hydroponic systems. Look for brown, slimy roots, wilting despite adequate water, and a foul smell from the reservoir. The cause is almost always warm water (above 72°F/22°C) combined with low dissolved oxygen. Drop reservoir temperature to 65–70°F and add beneficial bacteria like Botanicare Hydroguard at 2 mL/gal. Make sure your air stones are delivering adequate oxygen.
Nutrient Deficiency Quick Reference
| Deficiency | Symptoms | Fix |
|---|---|---|
| Nitrogen (N) | Yellowing of older/lower leaves | Increase N; top-dress with compost |
| Iron (Fe) | Interveinal chlorosis on new leaves | Lower pH to 5.8–6.0; add chelated iron |
| Calcium (Ca) | Tip burn, distorted new growth | Add Cal-Mag; check pH |
| Magnesium (Mg) | Yellowing between veins on older leaves | Epsom salt at 1 tsp/gal or Cal-Mag |
| Potassium (K) | Brown leaf edges, weak stems | Increase K in nutrient solution |
Common Pests
- Thrips: Silver-streaked leaf damage — treat with spinosad or insecticidal soap
- Aphids: Clusters on new growth — blast off with water, then apply neem oil (2 tsp/gal + 1 tsp dish soap)
- Fungus gnats: Larvae damage roots in soil — let the top inch dry out, use yellow sticky traps, and apply a Bti drench (Bacillus thuringiensis israelensis)
- Spider mites: Fine webbing on leaves — raise humidity above 60%, apply neem oil or predatory mites for persistent infestations
Frequently Asked Questions
How often should I harvest chives to get the most growth? Every 3–4 weeks is the sweet spot. Cutting more frequently than that doesn’t give plants enough time to rebuild leaf mass; waiting longer results in tougher leaves and slower overall production.
Can I grow chives in hydroponics year-round? Yes. DWC and NFT systems with a 14–16 hour light cycle and temperature-controlled reservoir will produce chives continuously indoors regardless of season. Grolau and Staro varieties are best suited for this.
Why are my chive leaves turning yellow? The most common cause is nitrogen deficiency — yellowing starts on the oldest, lowest leaves. Check your EC and N ratio first. If new leaves are yellowing between the veins (interveinal chlorosis), suspect iron deficiency and lower your pH to 5.8–6.0.
How do I grow more chives from one plant? Division is the fastest method. Dig up a mature clump, split it into sections of 6–10 bulblets, and replant. One clump typically yields 4–6 new plants, each ready to harvest within 4–6 weeks.
What’s the best hydroponic system for growing chives at home? DWC is the best choice for home growers who want maximum yield with moderate complexity. Kratky is better if you want a low-maintenance setup without pumps or timers. NFT is worth considering if you plan to scale up to 10 or more plants.