Quick Answer: Learning how to grow hydroponic marijuana from seed means delivering nutrients directly to roots in a water-based solution — no soil required. Plants typically grow 30–50% faster and yield 20–50% more than soil-grown counterparts. The full seed-to-harvest window runs 8–20 weeks depending on your strain and system. Always verify your local laws before cultivating cannabis.
If you want maximum control over every input — nutrients, pH, oxygen, water temperature — learning how to grow hydroponic marijuana from seed is one of the most rewarding projects a home grower can take on. The learning curve is real, but the payoff in speed, yield, and consistency makes it worth it.
What Is Hydroponic Cannabis Cultivation?
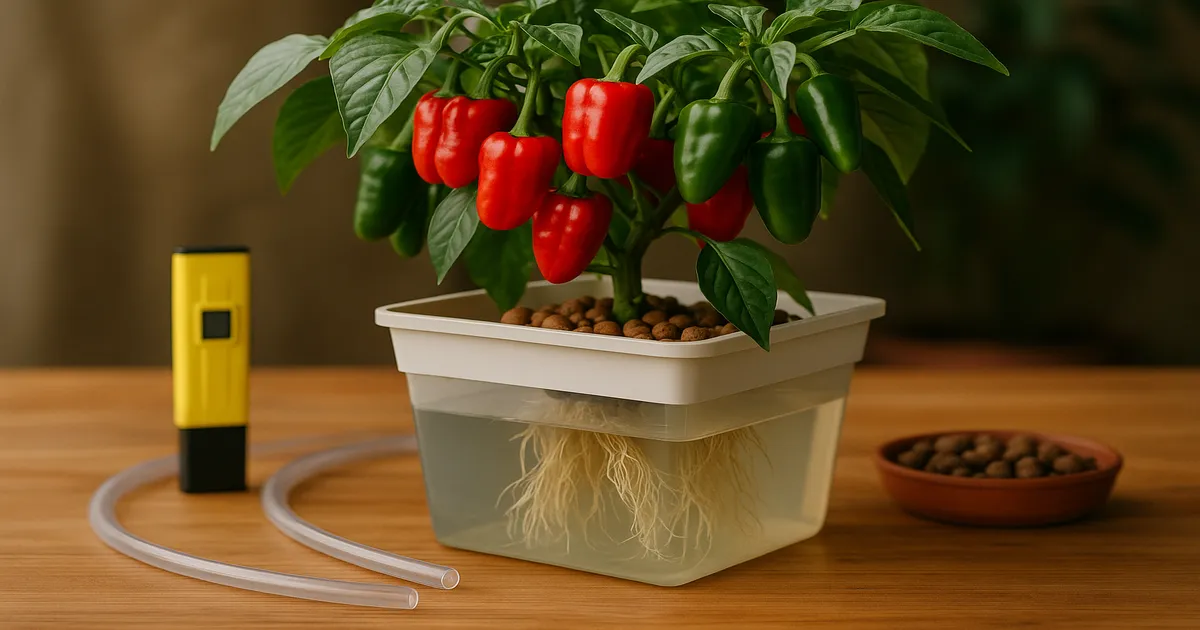
Hydroponics replaces soil with an inert growing medium — or nothing at all — and feeds plants through a pH-balanced, nutrient-rich water solution. Roots access everything they need directly, without expending energy searching through soil. The result is faster growth, bigger yields, and far fewer pest problems.
Seed-to-Harvest Timeline at a Glance
| Stage | Duration |
|---|---|
| Germination | 3–7 days |
| Seedling | 2–3 weeks |
| Vegetative | 2–8 weeks (grower-controlled for photoperiod) |
| Flowering | 7–12 weeks |
| Total | ~8–20 weeks |
Choosing the Right Hydroponic System for Cannabis
Deep Water Culture (DWC) — Best for Beginners
In DWC, plant roots hang directly into an oxygenated nutrient reservoir. It’s simple to set up, inexpensive, and delivers excellent growth rates. For most first-time hydro growers, this is the right starting point. A quality air pump — something like a commercial-grade unit with at least 1 watt of output per gallon of reservoir volume — keeps dissolved oxygen levels where they need to be.
Recirculating DWC (RDWC) — Best for Multi-Plant Grows
RDWC links multiple buckets to a central reservoir, so you manage one nutrient solution for the entire garden. There’s more plumbing upfront, but maintenance becomes much easier at scale.
Nutrient Film Technique (NFT) — Best for Sea of Green
A thin film of nutrient solution flows continuously over bare roots in sloped channels. Roots get excellent oxygen exposure and there’s virtually no growing medium to buy. NFT pairs naturally with Sea of Green (SOG) setups running many small plants.
Other Systems Worth Knowing
- Ebb & Flow (Flood & Drain): Periodically floods a tray with nutrients, then drains. Versatile, works with many media types, and easy to automate.
- Drip Systems: Precise and scalable — ideal for large canopy or SCROG grows, but more components to maintain.
- Aeroponics: Roots are misted with nutrient solution in open air. Highest oxygen exposure of any system and the fastest growth, but technically demanding and unforgiving of mistakes.
- Kratky Passive DWC: No pump, no timer, no electricity for the reservoir. Fill a container, suspend the plant above the water line, and let it grow. Ideal for micro or stealth grows, though it demands careful monitoring as the reservoir depletes.
Which System Should You Choose?
If you’re new to hydroponics, start with DWC or Kratky. Both are forgiving, cheap to set up, and teach you the fundamentals — pH management, EC monitoring, root health — without overwhelming complexity. Once you’re comfortable, RDWC or a drip system scales naturally as your grow expands.
Selecting and Germinating Cannabis Seeds
Feminized vs. Regular Seeds
Feminized seeds produce female plants 99%+ of the time. In a hydroponic system where you’re investing in nutrients, electricity, and precise environmental control, growing a male plant to maturity wastes every resource. Always use feminized seeds unless you’re intentionally breeding.
Photoperiod vs. Autoflowering Strains
Photoperiod strains flower when you switch the light schedule to 12 hours on / 12 hours off. You control when flowering begins, which means you control plant size. Autoflowering strains flower based on age — typically 70–90 days from seed — regardless of light schedule. Autos are faster and simpler to manage, but you can’t extend the vegetative stage to recover from problems.
How to Germinate Cannabis Seeds
- Paper towel method: Place seeds between two damp paper towels on a plate. Keep at 70–80°F (21–27°C) in a dark spot. Taproots appear in 24–72 hours.
- Direct to rockwool or Rapid Rooter: Soak cubes in pH 5.8 water, drop a seed ¼ inch deep, and keep moist and warm. This eliminates a transplant step.
- Once the taproot reaches ¼–½ inch long, it’s ready to move into your system.
Transplanting Seedlings into Your Hydroponic System
Place the germinated seed or seedling cube into a net pot filled with your chosen medium — hydroton, rockwool, or coco. Handle the taproot gently; never let it dry out or bend sharply. For the first two weeks, keep nutrient concentration extremely low: 100–250 PPM (0.2–0.5 EC). Seedling roots are delicate, and high EC at this stage causes tip burn and stunted growth.
How to Grow Hydroponic Marijuana from Seed: Nutrient Management
NPK Ratios by Growth Stage
Cannabis nutrient needs shift dramatically between vegetative and flowering phases.
- Vegetative (N:P:K ≈ 3:1:2): High nitrogen drives leaf and stem growth. Phosphorus supports root development. Potassium regulates water movement and enzyme function.
- Flowering (N:P:K ≈ 1:3:2): Drop nitrogen sharply after week 3 of flower. Elevated phosphorus fuels bud formation; potassium boosts resin and terpene production.
Nitrogen deficiency shows as yellowing that starts on lower, older leaves and moves upward. Too much nitrogen in flower causes dark green, clawing leaves — one of the most common beginner mistakes.
Secondary Macronutrients: Calcium, Magnesium, and Sulfur
| Nutrient | Optimal Range | Deficiency Signs |
|---|---|---|
| Calcium (Ca) | 150–200 PPM | Brown spots, distorted new growth |
| Magnesium (Mg) | 50–75 PPM | Interveinal chlorosis on older leaves |
| Sulfur (S) | 50–100 PPM | Uniform yellowing of new growth |
EC and PPM Targets from Seedling to Flush
| Stage | PPM | EC |
|---|---|---|
| Seedling (0–2 weeks) | 100–250 | 0.2–0.5 |
| Early Veg (2–4 weeks) | 400–600 | 0.8–1.2 |
| Late Veg (4–8 weeks) | 800–1,200 | 1.6–2.4 |
| Early Flower (weeks 1–4) | 1,000–1,400 | 2.0–2.8 |
| Peak Flower (weeks 4–8) | 1,200–1,600 | 2.4–3.2 |
| Late Flower / Pre-flush | 800–1,000 | 1.6–2.0 |
| Flush (final 1–2 weeks) | 0–150 | 0.0–0.3 |
EC above 3.5 causes nutrient burn. Always start lower than you think you need and dial up gradually.
Recommended Nutrient Lines
Jack’s 321 is a favourite among experienced growers for its consistency and low cost per gallon: 3.6 g/gal Jack’s Part A (5-12-26), 2.4 g/gal Calcium Nitrate (15-0-0), and 1.2 g/gal Epsom salt. This yields roughly 900–1,100 PPM (1.8–2.2 EC) — scale up or down to hit your target stage.
Other solid options include:
- General Hydroponics Flora Series — the industry-standard 3-part system, well-documented and widely available
- Advanced Nutrients pH Perfect — auto-buffering pH technology (still monitor manually)
- Canna Aqua / Canna Hydro — formulated specifically for recirculating and run-to-waste systems
- Athena Blended / Pro Line — a simple 2-part system popular in commercial operations
Cal-Mag and RO Water
If you’re using reverse osmosis water, you must add Cal-Mag before any other nutrients. RO strips out minerals, leaving your solution with nothing to work with. Target 150–200 PPM calcium and 50–75 PPM magnesium as your baseline. Skipping this step is one of the most common causes of deficiencies in otherwise well-managed hydro grows.
pH and EC Management
Why pH Is the Most Important Variable
In soil, organic matter buffers pH swings. In hydroponics, there’s no buffer — your nutrient solution is what it is. A perfectly formulated reservoir sitting at pH 7.0 will starve your plants of iron, manganese, and zinc. Get pH right first; everything else follows.
Optimal pH Ranges by Growth Stage
| Stage | pH Range |
|---|---|
| Germination / Seedling | 5.8–6.0 |
| Vegetative | 5.8–6.2 |
| Early Flower | 6.0–6.3 |
| Late Flower / Flush | 6.0–6.2 |
Intentionally letting pH drift between 5.8 and 6.3 — rather than locking it at a single number — ensures plants can access the full spectrum of nutrients over time. Many experienced growers do this deliberately.
pH and EC Meters Worth Buying
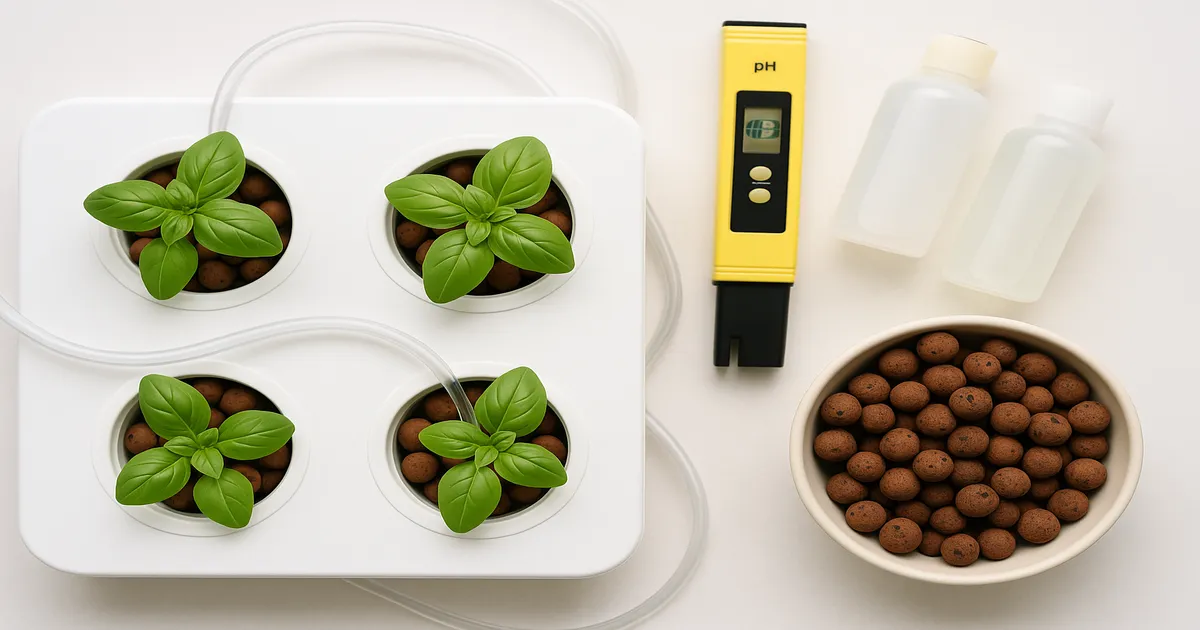
Accurate meters are non-negotiable. For pH, the Apera PH60 ($50–80) is reliable for hobbyists, while the Bluelab pH Pen ($80–100) is the industry standard. For EC, the Bluelab Truncheon (~$80) requires no calibration and is extremely durable — a worthwhile investment if you’re running multiple plants.
Calibrate your pH meter with pH 4.0 and 7.0 buffer solutions at least weekly. Store the probe in storage solution — never plain water, which degrades the electrode.
Adjusting pH Up and Down
Raising pH: Potassium hydroxide (KOH) is the standard choice — it raises pH and adds beneficial potassium. Potassium bicarbonate is a gentler alternative. Avoid sodium hydroxide in recirculating systems; sodium accumulates over time.
Lowering pH: Phosphoric acid is most common and adds phosphorus as a bonus. Citric acid works but is less stable and can promote microbial growth.
In both cases, dose in small increments — 0.5–1 mL per 5 gallons at a time. Stir thoroughly, wait 15 minutes, then retest. Dumping in large amounts creates wild swings that are hard to correct.
EC Top-Off Rules and Reservoir Change Schedule
Plants drink water faster than they consume nutrients, so EC naturally creeps up between reservoir changes. When the level drops, top off with plain pH-adjusted water — not fresh nutrient solution. This keeps concentration from spiking.
Do a full reservoir change every 7–10 days in recirculating systems to prevent salt buildup and microbial accumulation. If EC rises more than 200–300 PPM between changes, dilute accordingly.
Reservoir Guidelines
- Temperature: 65–72°F (18–22°C). Warmer water holds less dissolved oxygen and is a breeding ground for Pythium (root rot).
- Size: Minimum 1 gallon per plant for small plants; 3–5 gallons per plant in DWC for larger specimens.
- Light exclusion: Every reservoir must be 100% lightproof. Any light reaching the nutrient solution will grow algae.
- Aeration: At least 1 watt of air pump output per gallon of reservoir volume.
Lighting for Hydroponic Cannabis from Seed to Harvest
Vegetative Stage: Blue-Dominant Light
Blue-dominant light (400–500 nm, 4000–6500K) drives compact, bushy vegetative growth with thick stems and large leaf surface area. Full-spectrum white LEDs in the 4000–6500K range work excellently and are the most practical option for most home growers.
Flowering Stage: Red-Dominant Light
Switch to red-dominant light (600–700 nm) to trigger and support bud development. The most effective peaks are 630 nm and 660 nm, which directly drive photosynthesis and resin production. Most modern full-spectrum LEDs cover both ranges adequately across all growth stages.
Which Light Type Is Right for You?
- LED: Full-spectrum, energy-efficient, low heat output — the current gold standard for home grows. A mid-range panel like the Spider Farmer SF-2000 covers a 2×4 ft canopy comfortably.
- HPS: Proven and effective, especially in flower. Runs hot and consumes more electricity, but delivers excellent results.
- CMH/LEC: Broad natural spectrum including UV — a strong middle-ground option between LED and HPS.
- T5/CFL Fluorescents: Suitable only for seedlings and early veg. Insufficient intensity for flowering.
Light Schedules
- Photoperiod strains: 18 hours on / 6 hours off during veg; switch to 12/12 to trigger flowering.
- Autoflowering strains: 18–20 hours of light from seed to harvest. Some growers run 24 hours, though most plants benefit from a short dark period.
Frequently Asked Questions
Can you grow hydroponic marijuana from seed without a grow tent? Yes, but a tent makes environmental control much easier. Tents reflect light, contain odours, and simplify ventilation. For most home growers, a basic grow tent is worth the modest investment.
How often should I change my hydroponic reservoir? Every 7–10 days in recirculating systems. In Kratky or passive setups, top off with plain pH-adjusted water and do a full change when EC drifts significantly above your target range.
What’s the ideal water temperature for hydroponic cannabis? 65–72°F (18–22°C). Above 75°F, dissolved oxygen drops sharply and Pythium (root rot) becomes a serious risk. A water chiller is worth considering in warm climates.
Do I need to flush hydroponic cannabis before harvest? Most growers flush for 1–2 weeks before harvest, running plain pH-adjusted water through the system to clear residual salts. Whether flushing improves final flavour is debated, but it’s low-risk and widely practised.
What’s the easiest hydroponic system for a first-time cannabis grower? Deep Water Culture (DWC) or Kratky. Both require minimal equipment, teach you the core skills — pH, EC, root health — and are forgiving enough to survive beginner mistakes.