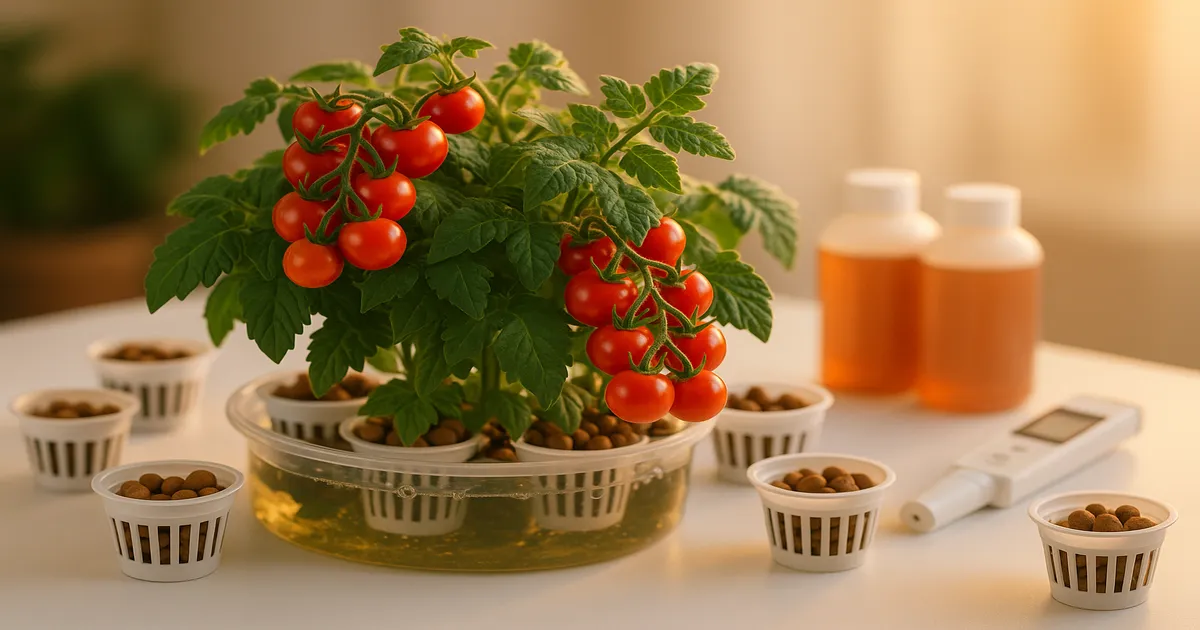
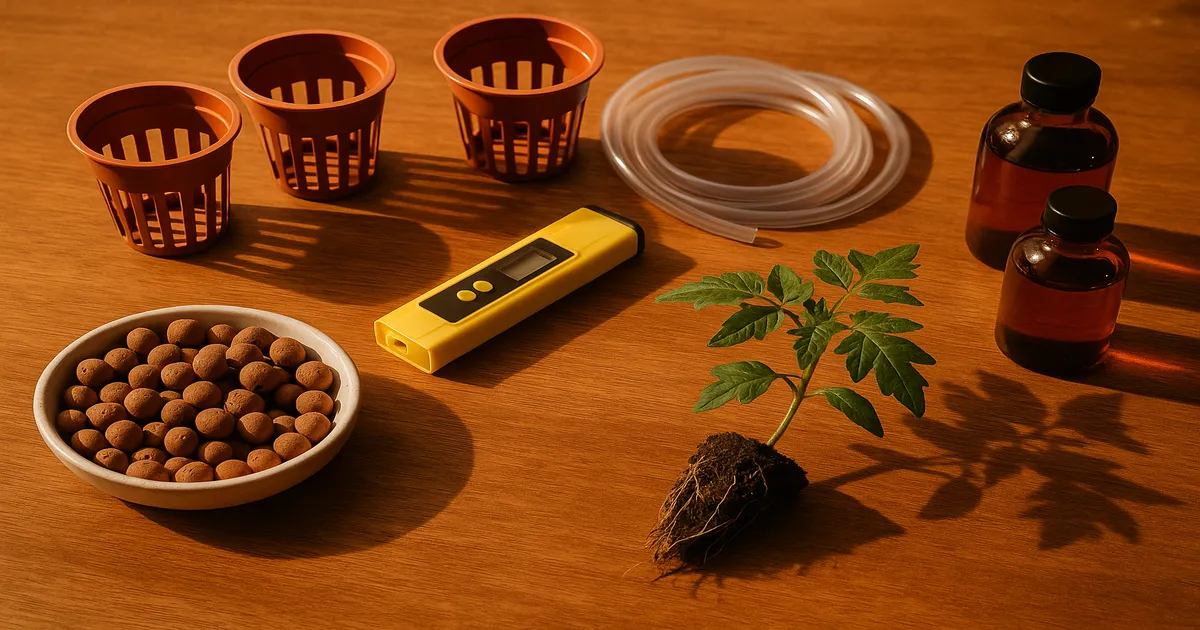
Quick Answer: Yes — almost every tomato grower needs to move their plants at least once, and most will do it 2–4 times from seed to harvest. Whether you’re upsizing containers, chasing better light, protecting plants from cold, or transitioning into a hydroponic system, knowing when and how to move them is the difference between a thriving crop and a stressed one.
If you’ve ever stood next to your pots wondering “do I need to move my tomatoes?”, the honest answer is probably yes. Tomatoes are heavy feeders with aggressive root systems that outgrow their space fast. They’re also sensitive enough to light, temperature, and nutrients that even a great spot can turn into a bad one as the season shifts. This guide covers every scenario: container upsizing, seasonal relocation, and full system transitions from soil into hydroponics.
Do You Need to Move Your Tomatoes?
The Short Answer for Soil Growers
Almost certainly. If you started from seed, you’ve already moved your plants once — from seed tray to solo cup — and you’ll likely do it at least twice more before they reach their final home. Even established outdoor plants sometimes need relocating when light angles change or cold snaps threaten.
The Short Answer for Hydroponic Growers
Yes, but usually just once after propagation. Most hydroponic setups involve starting seedlings in a small plug or rockwool cube, then transplanting into the final system — Dutch bucket, DWC, or NFT. After that, you generally don’t move them again unless something goes seriously wrong.
How Many Times Will You Move Tomatoes from Seed to Harvest?
The typical progression for a home grower looks like this:
- Seed tray or plug — germination
- Solo cup (16 oz) — first true leaves appear
- 1-gallon pot — vegetative growth, root development
- Final container or hydroponic system — 3–10 gallons depending on variety
That’s 2–4 moves total. The sections below cover every scenario where a move might be needed — and exactly how to execute each one without stressing your plants.
5 Signs Your Tomatoes Need to Be Moved Right Now
Roots Escaping the Container
If you see roots circling the bottom of the pot, poking out of drainage holes, or the plant wilts within hours of watering despite moist soil, it’s root-bound. Restricted roots can’t absorb water, oxygen, or nutrients efficiently — growth stalls and yields drop.
Wilting Despite Regular Watering
A plant that wilts even though the soil is wet is usually telling you the roots are too cramped, rotting, or struggling with compaction. Don’t water more — move it up to a bigger container.
Yellowing Leaves and Stunted Growth
Pale or yellow leaves on an otherwise well-fed plant often point to nutrient lockout caused by root restriction or pH drift. Both problems get worse the longer a plant stays in a too-small space. If your nutrients and pH check out, the container is the likely culprit.
Insufficient Light or Changing Sun Angles
The sun sits lower in the sky from late summer onward. A spot that got full sun in June may be partially shaded by August. If your outdoor plants are suddenly leaning hard toward the light or production has slowed without explanation, a better-lit location could be the fix.
Nighttime Temperatures Dropping Below 50°F (10°C)
Tomatoes genuinely don’t tolerate cold. Consistent nighttime temps below 50°F (10°C) cause chilling injury — slowed metabolism, poor fruit set, and increased disease susceptibility. Don’t wait for frost warnings; start planning the move when nights regularly dip into the low 50s.
📋 Quick Checklist — Move Your Tomatoes If:
- Roots are escaping drainage holes
- Plant wilts despite moist growing media
- Leaves are yellowing with no nutrient explanation
- The spot is now shaded for most of the day
- Nighttime temps are at or below 50°F (10°C)
When and How to Move Your Tomatoes: Container Upsizing
The Tomato Transplant Timeline: Seed to Final Pot
| Growth Stage | Container Size | Notes |
|---|---|---|
| Germination | Seed tray / 1” plug | Humidity dome recommended |
| First true leaves | Solo cup (16 oz) | Transplant when seedling has 2–3 true leaves |
| Vegetative growth | 1-gallon pot | Roots fill this in 2–3 weeks |
| Final (determinate) | 3–5 gallon | Bush varieties stay compact |
| Final (indeterminate) | 5–10 gallon | More root space = more fruit |
Don’t jump straight from a seedling to a 10-gallon pot. Oversized containers hold too much moisture around a small root system, which creates anaerobic conditions and invites root rot. Move up one or two sizes at a time, and only when the roots have colonised most of the current container.
Step-by-Step: Repotting Without Transplant Shock
- Water thoroughly 1–2 hours before repotting — moist root balls hold together better and the plant handles the move with less stress.
- Prepare the new container — fill the bottom third with fresh, pre-moistened growing media.
- Remove the plant gently — tip the old pot, support the stem at the base, and ease the root ball out without pulling.
- Set the root ball so the stem sits at the same depth, or slightly deeper — tomatoes root along buried stems.
- Backfill around the root ball, pressing lightly to eliminate air pockets.
- Water in with a dilute nutrient solution at seedling-level EC (400–600 PPM / 0.8–1.2 EC) to reduce osmotic stress.
- Keep out of intense direct sun for 24–48 hours while the plant adjusts.
Soil vs. Coco Coir: Which Is Easier for Beginners?
Standard potting soil is more forgiving of watering mistakes and doesn’t require supplemental calcium and magnesium from day one. Coco coir drains better, resists compaction, and is a natural bridge to hydroponics — but it’s inert, so you’re fully responsible for nutrients from the start. You’ll also need to supplement CalMag throughout the grow, since coco actively binds calcium and magnesium ions. (Botanicare Cal-Mag Plus)
For absolute beginners, start with a quality potting mix. If you’re planning to eventually try hydroponics, starting in coco coir makes the transition much smoother.
Moving Your Tomatoes into a Hydroponic System
Which Hydroponic System Works Best for Tomatoes?
| System | Best Use Case | Difficulty |
|---|---|---|
| Deep Water Culture (DWC) | Fast growth, indoor, small scale | Moderate |
| Dutch Bucket (Bato Bucket) | Large indeterminate varieties | Moderate |
| Nutrient Film Technique (NFT) | Commercial-style, efficient | Moderate–Hard |
| Kratky (passive) | Small/determinate varieties, no pump | Easy |
| Ebb & Flow | Flexible, multiple plants | Moderate |
| Coco Coir | Soil-to-hydro transition | Easy–Moderate |
Indeterminate varieties — Beefsteak, most cherry tomatoes, Roma — grow continuously and can reach 6–10 feet. They need Dutch Bucket or NFT systems that handle a large, long-lived root mass and support heavy vertical growth. Determinate varieties stay compact and finish fruiting in a single flush, making them ideal for DWC or Kratky where simplicity matters more than scalability.
How to Move Tomatoes from Soil into Hydroponics
Moving a soil-grown plant into a hydroponic system is doable, but it requires care. Soil particles in a hydroponic reservoir cause bacterial blooms and pH crashes.
- Remove the plant from its soil container.
- Gently shake off as much soil as possible.
- Submerge the root ball in a bucket of lukewarm water and carefully rinse away remaining soil — be patient, don’t rip roots.
- Inspect roots: trim any brown, mushy, or dead material with clean scissors.
- Place the cleaned root ball into a net pot with hydroton (clay pebbles) or directly into a coco-filled Dutch bucket.
- Start nutrients at low EC — 600–800 PPM (1.2–1.6 EC) — while the plant adjusts.
Bare-rooting (washing all media off) gives you a clean start but puts maximum stress on the plant — expect 5–10 days of recovery. Transitioning through coco coir is gentler: grow in coco first, then move the entire coco root ball into a Dutch bucket or net pot without disturbing roots at all. For most home growers, the coco route wins.
Nutrient Management Before, During, and After Moving
Adjusting EC and PPM When Transplanting
Plants under transplant stress can’t handle full-strength nutrients. A concentrated solution pulls water out of stressed roots rather than in. Drop your EC to seedling or early vegetative levels (400–800 PPM / 0.8–1.6 EC) for the first 3–5 days after any move, then ramp back up gradually.
NPK Ratios by Growth Stage
- Vegetative: High nitrogen, moderate P and K — roughly a 3-1-2 ratio. Drives leaf and stem development.
- Flowering/Fruiting: Reduced nitrogen, elevated P and K — roughly 1-3-4 to 1-2-6. Excess nitrogen at this stage pushes lush foliage at the expense of fruit.
Most bottle nutrients are labelled “Grow” and “Bloom” — those labels map directly to these stages.
Calcium and Magnesium: Critical Around Transplanting
Calcium is the single most important nutrient to get right around transplanting time. It’s responsible for cell wall integrity, and a deficiency during the stress of a move is the most common trigger for blossom end rot (BER) — that dark, sunken patch on the bottom of developing fruit. Target 150–200 PPM calcium in your solution, and always add CalMag before your base nutrients when mixing. (General Hydroponics CALiMAGic)
Magnesium deficiency shows up as yellowing between leaf veins (interveinal chlorosis). It’s especially common in coco coir and RO water setups, where both Ca and Mg are absent from the source water.
Recommended Nutrient Products
- General Hydroponics Flora Series (3-part liquid) — flexible ratios for every stage, widely available
- Jack’s 321 (dry formula: 3.6 g Part A + 2.4 g Part B + 1.1 g Epsom salt per gallon) — targets 1,000–1,200 PPM (2.0–2.4 EC), extremely cost-effective
- MaxiGro / MaxiBloom (single-part dry, 7 g per gallon) — dead simple, great for beginners
💡 CalMag Note: If you’re using RO water, soft tap water, or growing in coco coir, supplement CalMag at 150–200 PPM (0.3–0.4 EC) before adding your base nutrients. Coco naturally binds calcium and magnesium ions, so you’ll need more than standard hydro recommendations suggest.
pH and EC Management After Relocating Your Tomatoes
Ideal pH Ranges by Growing Medium
- Soil: pH 6.0–6.8 (sweet spot: 6.3–6.5)
- Coco Coir: pH 5.8–6.3 (sweet spot: 6.0–6.2)
- Hydroponic systems (DWC, NFT, Dutch Bucket): pH 5.5–6.2 (sweet spot: 5.8–6.0)
Outside these ranges, nutrients are still present in solution but the plant physically can’t absorb them — a condition called nutrient lockout.
How to Monitor and Adjust pH
Invest in a quality digital pH meter. The Bluelab pH Pen and Apera PC60 are both reliable choices. Calibrate weekly using pH 4.0 and 7.0 buffer solutions, and store the probe tip in storage solution — not plain water — to protect the electrode.
To adjust: add pH Up (potassium hydroxide) or pH Down (phosphoric acid) in 1–2 mL increments per 10 gallons. Always add in micro-doses, stir thoroughly, wait 15–30 minutes, then retest. Large corrections cause overshooting and pH swings that are harder to fix than the original problem.
Why EC and pH Shift After Transplanting
| Problem | Likely Cause | Fix |
|---|---|---|
| EC rising without adding nutrients | Evaporation concentrating solution | Top off with plain pH-adjusted water |
| EC dropping rapidly | Large root mass consuming nutrients fast | Increase nutrient concentration gradually |
| pH crashing | Microbial activity or root rot | Change reservoir; add Hydroguard; inspect roots |
| pH rising steadily | High-alkalinity source water | Switch to RO water; do partial reservoir change |
| pH swinging >0.5 in 24 hours | Small reservoir volume | Increase reservoir size; use potassium silicate buffer |
Larger reservoirs buffer fluctuations far better than small ones — aim for 20+ gallons when running multiple plants. Replace 50–100% of your reservoir every 7–10 days during active fruiting. Adding Hydroguard (Bacillus amyloliquefaciens) helps stabilise the root zone and prevents the bacterial activity that causes pH crashes.
Lighting When You Move Your Tomatoes Indoors
How Much Light Do Tomatoes Need?
| Growth Stage | PPFD (µmol/m²/s) | DLI (mol/m²/day) |
|---|---|---|
| Seedling | 100–250 | 6–12 |
| Vegetative | 400–600 | 20–30 |
| Flowering | 600–900 | 30–40 |
| Fruiting (peak) | 800–1,200+ | 40–60 |
DLI formula: PPFD × hours of light × 3.6 ÷ 1,000 = DLI. For example, 800 PPFD over 18 hours = 800 × 18 × 3.6 ÷ 1,000 = 51.8 DLI — right in the sweet spot for peak fruiting.
Choosing a Grow Light When Moving Indoors
For 1–2 plants, the Spider Farmer SF-2000 covers a 2×3 ft footprint at fruiting intensity without breaking the budget. For a 4×4 ft space, step up to the Spider Farmer SF-4000. Commercial growers rely on the Fluence SPYDR 2i — it’s expensive but sets the benchmark for tomato production lighting.
Freshly moved plants need gentler light for the first few days regardless of which fixture you use. Raise your LED 6–12 inches higher than normal, or reduce intensity if your fixture has a dimmer. Gradually lower it back to the target distance over 3–5 days as the plant stabilises.
One thing that surprises many growers: moving a plant from dim outdoor shade into a powerful grow light can cause light shock just as easily as the reverse. Pale, bleached, or crispy leaf tips after moving indoors usually mean the light is too intense too fast. Acclimate over 5–7 days by starting at maximum height or minimum intensity, then stepping it down gradually.
Troubleshooting Problems That Appear After Moving Tomatoes
Transplant Shock: Symptoms and Recovery
Transplant shock shows up as wilting, slight leaf curl, and temporarily slowed growth — usually within 24–48 hours of a move. It’s caused by root disturbance disrupting water uptake. Most healthy plants bounce back within 3–7 days if you keep conditions stable: moderate light, reduced EC, consistent temperature (65–75°F / 18–24°C), and no additional stressors.
Mild wilting in the first 1–2 days is normal. If wilting persists beyond 3–4 days or the plant doesn’t recover overnight, investigate further — check for root damage, overwatering, or a pH problem. Don’t reflexively water more; soggy roots in a stressed plant invite rot.
Yellowing Leaves After Moving: Stress or Deficiency?
Yellowing in the first week after transplanting is usually stress-related, not a true deficiency. The plant’s uptake is temporarily disrupted, so even a well-fed root zone can show pale leaves. Hold off on increasing nutrients for the first 3–5 days. If yellowing continues or worsens after that window, check pH first — lockout is far more common than an actual shortage of nutrients in the solution.
Blossom Drop After Transplanting
If your tomatoes were already flowering when you moved them, don’t be surprised if a few blossoms drop in the days that follow. Transplant stress temporarily redirects the plant’s energy away from reproduction. Keep temperatures between 65–85°F (18–29°C) during the day and above 55°F (13°C) at night, and avoid large swings in EC or pH. Most plants resume normal flowering within 7–10 days.
FAQ: Do I Need to Move My Tomatoes?
Q: Can I skip the intermediate pot sizes and go straight to a large container? A: It’s not recommended. A small root system in a large pot leaves too much wet, uncolonised media around the roots, which creates low-oxygen conditions and root rot risk. Move up one or two sizes at a time for best results.
Q: How long does transplant shock last in tomatoes? A: Typically 3–7 days for a healthy plant moved carefully. If shock symptoms — wilting, leaf curl, stalled growth — persist beyond a week, check for root damage, pH problems, or overwatering.
Q: Do I need to move my tomatoes if they’re already in a large outdoor container? A: Not necessarily. If the plant is thriving, producing well, and the roots aren’t escaping the pot, leave it alone. The most common reasons to move an established outdoor plant are cold temperatures, shifting light, or a failing growing medium.
Q: Can I move tomatoes that are already fruiting? A: Yes, but do it carefully and expect some temporary stress. Water well beforehand, disturb the roots as little as possible, reduce EC for a few days after the move, and provide shade for 24–48 hours. Some blossom or small fruit drop is possible but the plant will recover.
Q: What’s the best time of day to move tomato plants? A: Early morning or evening, when temperatures are cooler and the plant is less likely to be heat-stressed. Avoid moving plants in the middle of a hot, sunny afternoon — the combination of root disturbance and heat stress is hard on even healthy plants.