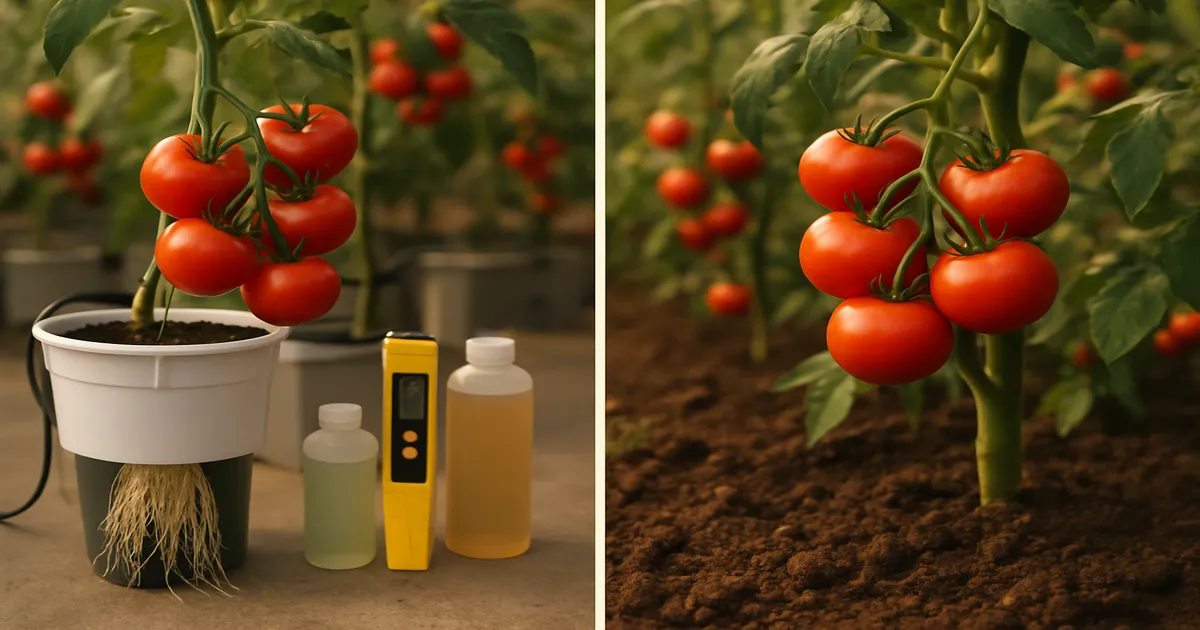
Quick Answer: To get the best tomato yield indoors, the Dutch Bucket system is the top choice — it’s the industry standard for large vining tomatoes and can produce 10–25 lbs per plant when paired with a quality LED like the HLG 600R Rspec. If you’re just starting out, a Deep Water Culture (DWC) setup paired with the Spider Farmer SF-4000 gives you fast growth and strong yields with far less complexity.
Getting the best tomato yield indoors comes down to decisions made before you plant a single seed. System type, light intensity, nutrient precision, and variety selection all interact — and a weak link in any one area will cap your harvest regardless of how well you manage everything else. This guide covers the best hydroponic systems and supporting gear for indoor tomato production, so you can build a setup that actually delivers.
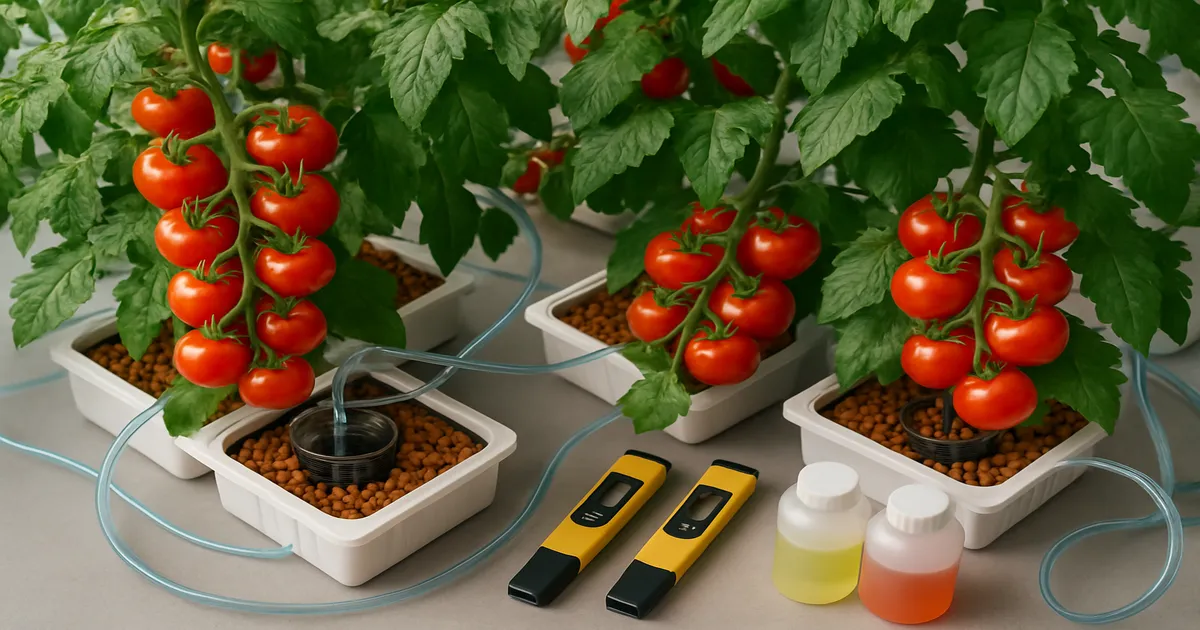
Best Systems for Maximum Indoor Tomato Yield
Top Pick: Dutch Bucket System
The Dutch Bucket (Bato Bucket) system is the gold standard for growing large, indeterminate tomato varieties indoors. Each plant gets its own media-filled bucket drip-fed from a shared reservoir, so individual plant problems stay contained. Pair it with the HLG 600R Rspec LED and MasterBlend 4-18-38 nutrients, and you have a setup capable of 10–25 lbs per plant per season.
Runner-Up for Beginners: Deep Water Culture (DWC)
DWC suspends roots in a continuously aerated nutrient solution. It’s simple to build, easy to monitor, and delivers fast, vigorous growth. It suits determinate and cherry tomato varieties better than large vining types. The Spider Farmer SF-4000 is a natural companion: full-spectrum coverage from seedling to harvest at a price that makes sense for a first serious setup.
What to Look For in an Indoor Tomato Growing Setup
System Type and Root Zone Oxygenation
Root zone oxygen separates high-yield systems from mediocre ones. Tomato roots need constant access to oxygen — without it, growth stalls and root rot sets in fast. Dutch Bucket uses air pockets in the media between drip cycles. DWC relies on an air pump and airstone to keep dissolved oxygen high. Both approaches work well; the right choice depends on your variety and experience level.
Light Output: PPFD, DLI, and Spectrum
This is the single biggest yield lever in indoor growing. Fruiting tomatoes need 900–1,200 µmol/m²/s PPFD and a Daily Light Integral (DLI) of 25–35 mol/m²/day for maximum yield — 20 mol/m²/day is a workable minimum, but yields will be noticeably lower. Look for red and far-red emphasis (660 nm and 730 nm) during flowering and fruiting, and run a 16–18 hour photoperiod. No nutrient or system upgrade compensates for inadequate light.
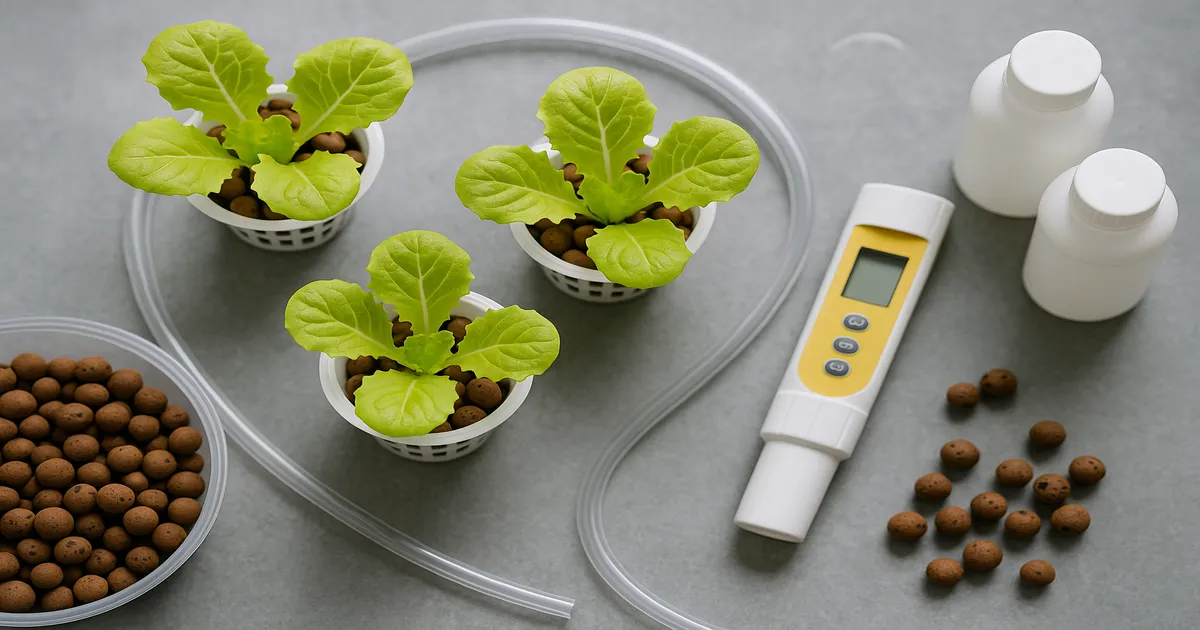
Nutrient Precision and EC/pH Control
Tomatoes are heavy feeders that shift their nutritional needs between growth stages. During fruiting, target 1,600–2,400 PPM (3.2–4.8 EC) with reduced nitrogen and elevated potassium and calcium. Keep pH between 5.8–6.3 throughout — drifting outside this range locks out key nutrients regardless of what’s in your reservoir. A reliable digital pH meter and EC meter are non-negotiable. (Apera PH20)
Variety Compatibility: Determinate vs. Indeterminate
This matters more than most beginners expect. Indeterminate varieties (Beefsteak, Cherokee Purple, most heirlooms) grow continuously and need systems that support large root masses and tall canopies — Dutch Bucket is built for this. Determinate and compact varieties (cherry tomatoes, Tumbling Tom, Bush Early Girl) work well in DWC, Kratky, or Ebb and Flow without the same infrastructure demands. Matching your variety to your system is one of the easiest yield wins available.
Budget vs. Long-Term Yield ROI
Entry-level setups — a DIY DWC bucket, a mid-range LED, and a nutrient kit — can be assembled for around $200–300. A premium Dutch Bucket rig with a quality LED and professional nutrients will run $1,000 or more. The premium setup pays for itself faster than you’d think if you’re growing consistently, but a well-managed budget setup beats a neglected premium one every time.
How to Get the Best Tomato Yield Indoors: System Comparison
| Product | Best For | System Type | Best Variety Match | Est. Yield/Plant | Difficulty | Price | Companion LED |
|---|---|---|---|---|---|---|---|
| Dutch Bucket System | Max yield, indeterminate vines | Drip/media | Beefsteak, heirlooms | 10–25 lbs | Intermediate | $$$ | HLG 600R Rspec |
| Deep Water Culture (DWC) | Beginners, cherry tomatoes | Recirculating | Cherry, determinate | 5–12 lbs | Easy | $ | Spider Farmer SF-4000 |
| NFT System | Experienced, commercial-style | Recirculating film | Semi-determinate | 6–15 lbs | Advanced | $$ | Gavita Pro 1700e |
| Ebb and Flow System | Multi-plant, media flexibility | Flood/drain | Determinate, compact | 5–10 lbs | Intermediate | $$ | Spider Farmer SF-2000 |
| Kratky (passive DWC) | Single plant, small spaces | Passive/static | Cherry, compact | 3–6 lbs | Easy | $ | Mars Hydro TS-1000 |
| HLG 600R Rspec LED | Fruiting yield focus | — | All types | — | — | $$$ | — |
| Spider Farmer SF-4000 LED | All-stage versatility | — | All types | — | — | $$ | — |
| MasterBlend 4-18-38 Kit | Professional-grade nutrition | — | All types | — | — | $ | — |
Dutch Bucket (Bato Bucket) System
The Dutch Bucket system is the industry benchmark for large, indeterminate tomato vines indoors. Each plant lives in its own bucket filled with coco coir or perlite, drip-fed on a timer from a central reservoir. If one plant develops a problem, it stays contained. You can start with two buckets and expand to twenty without redesigning your system.
Key specs:
- Growing media: coco coir or perlite
- Scalable: 2 to 20+ buckets from a single reservoir
- Drip-fed on timer; 2–4 cycles per day during fruiting
- Fruiting EC: 1,600–2,400 PPM (3.2–4.8 EC)
- pH: 5.8–6.3
Pros
- Best yield potential of any home system — 10–25 lbs per plant is realistic
- Scalable without overhauling your setup
- Individual buckets make plant management and problem isolation easy
- Compatible with every nutrient line on the market
Cons
- Higher upfront cost than DWC or Kratky
- Requires a pump, timer, and more plumbing to set up
- More maintenance touchpoints than simpler systems
Best for: Serious home growers chasing maximum indoor tomato yield from large indeterminate varieties.
Deep Water Culture (DWC) System
DWC is the most beginner-friendly hydroponic system that still delivers genuinely impressive yields. Roots hang directly into an oxygenated nutrient reservoir — no media to manage, no drip lines to clog, and pH and EC are easy to check with a single dip of your meters. It’s not the right tool for a sprawling indeterminate vine, but for cherry tomatoes and compact determinate varieties, it’s hard to beat.
Key specs:
- Roots submerged in oxygenated reservoir
- Air pump and airstone required
- Best for determinate and cherry varieties
- Fruiting EC: 1,200–2,000 PPM (2.4–4.0 EC)
- Reservoir change every 7–14 days; pH 5.8–6.3
Pros
- Very low cost — DIY builds under $50 are common
- Fast vegetative growth due to constant root access to oxygen and nutrients
- Simple to monitor and adjust pH and EC
- Minimal plumbing; great starting point for new growers
Cons
- Not well-suited to large indeterminate vines with heavy root masses
- pH drift is common and requires daily monitoring
- Pump failure leads to rapid plant stress and root rot
- Limited scalability compared to Dutch Bucket
Best for: Beginners growing cherry or compact tomato varieties who want strong yields without a steep learning curve.
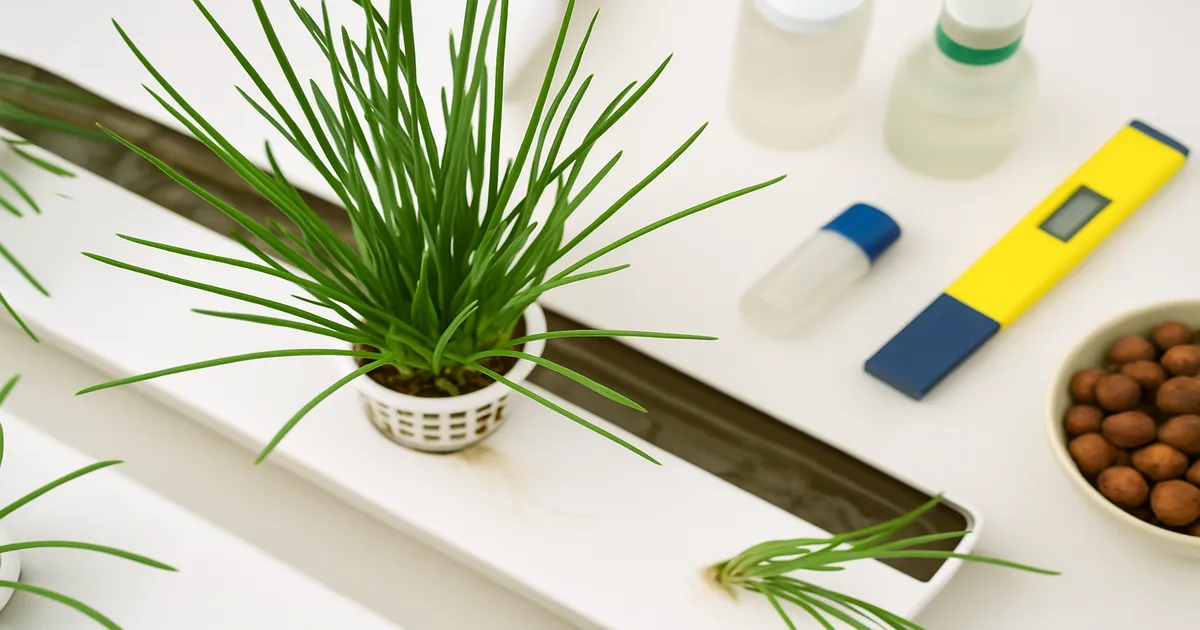
Nutrient Film Technique (NFT) System
NFT runs a thin, continuous film of nutrient solution over bare roots in angled channels — no growing media, minimal water use, and roots that are easy to inspect at any time. It’s been the backbone of commercial hydroponic production for decades. The trade-off is that it’s unforgiving: pump failure starves roots within hours, and heavy fruiting vines can overwhelm shallow channels.
Key specs:
- Thin nutrient film in sloped channels; no growing media
- Highly water-efficient
- Best for semi-determinate varieties
- Fruiting EC: 1,200–2,400 PPM (2.4–4.8 EC)
- Requires consistent, uninterrupted pump operation; pH 5.8–6.3
Pros
- Exceptional water efficiency compared to media-based systems
- Clean, professional setup with easy root inspection
- Fast growth rates; commercially proven at scale
- No media cost or disposal
Cons
- Zero tolerance for pump failure — plants stress within hours
- Not ideal for heavy-fruiting indeterminate vines; large root masses can block channels
- Steeper learning curve than DWC or Ebb and Flow
Best for: Experienced growers who can monitor systems consistently and want a commercial-style setup for semi-determinate varieties.
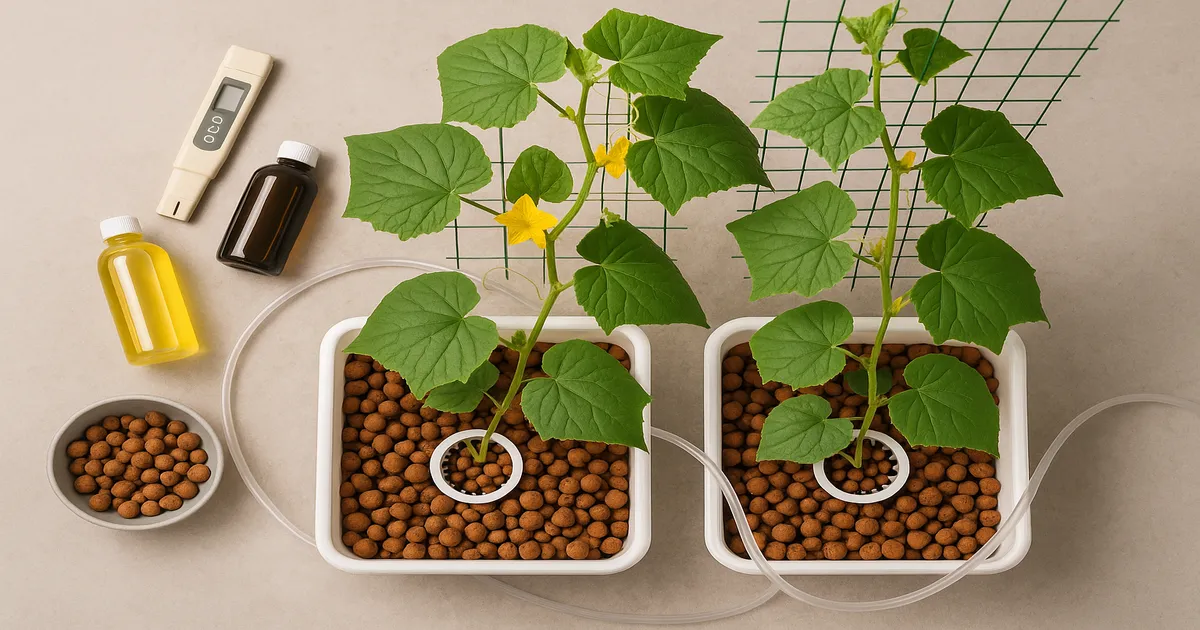
Ebb and Flow (Flood and Drain) System
Ebb and Flow periodically floods a grow tray with nutrient solution before draining it back to the reservoir, giving roots the wet/dry cycling that promotes both nutrient uptake and oxygen exposure. It’s one of the most versatile systems available — run it with coco coir, perlite, or clay pebbles depending on your goals and budget. Multi-plant trays make it practical for growing several compact varieties at once.
Key specs:
- Timed flood/drain cycles: 4–6 times daily during fruiting
- Compatible with coco coir, perlite, or clay pebbles
- Supports multiple plants per tray
- Fruiting EC: 1,200–2,400 PPM (2.4–4.8 EC)
- Requires a reliable timer; pH 5.8–6.3
Pros
- Flexible media options to suit different varieties and budgets
- Good for multi-plant setups in a single tray
- Wet/dry cycling naturally promotes root oxygenation
- Easy to automate with a basic timer
Cons
- Timer failure can lead to waterlogged or drought-stressed roots quickly
- Nutrient distribution can be uneven across large trays
- Higher media cost compared to NFT or DWC
- Less water-efficient than NFT
Best for: Growers who want media flexibility and multi-plant capacity in a mid-tier setup.
HLG 600R Rspec LED Grow Light
The HLG 600R Rspec is purpose-built for fruiting crops. Its R-spec diode configuration emphasizes 660 nm red and 730 nm far-red wavelengths — the exact spectrum that drives flowering, fruit set, and ripening in tomatoes. At 2.7+ µmol/J efficiency, it delivers serious output without the electricity bill of older HID fixtures. The dimmable driver lets you dial back intensity during early veg or seedling stages.
Key specs:
- ~600W real power draw
- Coverage: 4×4 to 5×5 ft
- R-spec diodes: 660 nm red + 730 nm far-red
- Efficacy: 2.7+ µmol/J
- Dimmable driver included
Pros
- Exceptional fruiting spectrum — best red/far-red emphasis in its price class
- High efficiency means lower operating costs over a full season
- Dimmable for flexible use across growth stages
- Industry-respected brand with strong long-term reliability
Cons
- Premium price ($500–600) puts it out of reach for budget-conscious growers
- Limited blue spectrum makes it less ideal as a standalone light during seedling and early veg stages
- No UV output
Best for: Growers prioritizing fruiting yield above all else who are ready to invest in the best mid-range LED available.
Spider Farmer SF-4000 LED Grow Light
The Spider Farmer SF-4000 is the LED most home growers should probably buy. Samsung LM301B diodes deliver full-spectrum coverage — 3000K, 5000K, 660 nm, and 760 nm — which means one light handles seedlings, vegetative growth, and fruiting without swapping fixtures. It hits 2.7 µmol/J efficiency at a price point roughly $150–200 below the HLG 600R, making it genuinely competitive for the money.
Key specs:
- ~450W real power draw
- Coverage: 4×4 ft
- Samsung LM301B diodes; full spectrum
- Efficacy: 2.7 µmol/J
- Dimmable; fanless on bar-style version
Pros
- Full-spectrum versatility from seedling through harvest — no fixture swapping
- Competitive price (~$350–400) for Samsung-diode quality
- Good canopy penetration across a 4×4 ft footprint
- Dimmable driver for stage-appropriate intensity
Cons
- Slightly lower red/far-red emphasis than the HLG Rspec — a real but modest disadvantage during fruiting
- Build quality and heat management are a step below HLG
- Some older bar-style units report fan noise
Best for: Home growers who want a single, capable, full-spectrum LED from seedling to harvest without spending HLG money.
MasterBlend 4-18-38 Tomato Nutrient Kit
MasterBlend 4-18-38 paired with Calcium Nitrate and Epsom Salt is the nutrient system professional hydroponic tomato growers have relied on for decades — and it’s shockingly affordable. The three-part system gives you precise control over N-P-K ratios at every growth stage. A single kit typically costs $30–50 and lasts multiple growing seasons.
Key specs:
- MasterBlend 4-18-38 + Calcium Nitrate + Epsom Salt
- Standard mix ratio: 2.4g MasterBlend + 2.4g Calcium Nitrate + 1.2g Epsom Salt per gallon (~800–1,000 PPM / 1.6–2.0 EC for seedlings/veg)
- Scale proportionally for fruiting stages up to 2,400 PPM (4.8 EC)
- Compatible with all hydroponic systems
- Requires an accurate gram-scale for mixing
Pros
- Professional-grade precision at a fraction of commercial nutrient costs
- Exceptional value — a multi-year supply for $30–50
- Easy to adjust ratios by stage; large community of documented recipes
- Consistently produces high-Brix, flavorful fruit
Cons
- Three separate components require mixing — not plug-and-play like bottled nutrients
- No micronutrient package included; you may need to add chelated iron or a dedicated micro blend
- Requires an accurate gram-scale, not a tablespoon
Best for: Yield-focused growers comfortable mixing their own nutrient solution who want the best possible value and precision.
Our Verdict: Best Indoor Tomato Setup by Use Case
Best Overall for Maximum Yield: Dutch Bucket + HLG 600R Rspec + MasterBlend
This is the combination serious home growers run when yield is the primary goal. The Dutch Bucket handles large indeterminate vines with room to scale, the HLG 600R delivers the fruiting spectrum those plants need, and MasterBlend provides precise nutritional control at every stage. Realistic yield: 10–25 lbs per plant per season.
Best for Beginners: DWC + Spider Farmer SF-4000 + General Hydroponics Flora Series
The DWC and SF-4000 combination keeps things simple without sacrificing meaningful yield. General Hydroponics Flora Series is the most beginner-documented nutrient line available — there’s a feeding chart for every stage and enormous community support. Realistic yield: 5–10 lbs per plant for cherry and compact varieties.
Best for Small Spaces and Cherry Tomatoes: Kratky + Mars Hydro TS-1000
For a single plant in a closet or small tent, a Kratky setup — no pump, no electricity for the reservoir — paired with the Mars Hydro TS-1000 is all you need. Compact cherry varieties like Tumbling Tom and Tiny Tim thrive here. Realistic yield: 3–6 lbs per plant.
Best Commercial-Style Home Setup: NFT + Gavita Pro 1700e + MasterBlend
If you’re running a dedicated grow room and want commercial results, the NFT system paired with the Gavita Pro 1700e is the benchmark combination. This setup demands consistent monitoring and a backup pump, but it’s what professional operations use for a reason. Realistic yield: 15–30 lbs per plant in optimized conditions.
Best Budget Setup Under $300: DIY Ebb and Flow + Spider Farmer SF-2000 + Jack’s 321
A DIY Ebb and Flow tray built from a storage tote, the Spider Farmer SF-2000, and Jack’s 321 nutrients get you a functional, productive setup for under $300. Jack’s 321 is nearly as precise as MasterBlend with slightly easier mixing. Realistic yield: 4–8 lbs per plant.
One thing applies to every setup on this list: light is the single biggest yield lever. No nutrient formula, no system upgrade, and no variety choice compensates for inadequate PPFD. Beyond light, maintain pH 5.8–6.3, target 1,600–2,400 PPM (3.2–4.8 EC) during fruiting, and pollinate your flowers manually with an electric toothbrush or oscillating fan — indoors, there’s no wind and no bees to do it for you.
Frequently Asked Questions
How do I get the best tomato yield indoors?
Match your system to your variety: Dutch Bucket for large indeterminate vines, DWC or Kratky for cherry and compact types. Prioritize light first — you need 900–1,200 µmol/m²/s PPFD at the canopy. Keep pH at 5.8–6.3, run EC at 1,600–2,400 PPM during fruiting, and pollinate flowers manually every day. Those four factors — system fit, light intensity, nutrient precision, and pollination — account for the majority of yield differences between home growers.
How many tomatoes can you realistically grow indoors hydroponically?
A well-managed home setup can produce 10–25 lbs per plant per season for large indeterminate varieties in Dutch Bucket. Compact determinate and cherry varieties in DWC typically yield 5–12 lbs per plant. Commercial greenhouse operations running optimized systems, CO₂ enrichment, and year-round lighting routinely hit 40–70 lbs per plant annually — achievable at home only with significant investment in infrastructure and environmental control.
What is the best hydroponic system for growing tomatoes indoors?
For large indeterminate vines, the Dutch Bucket system is the best choice — scalable, forgiving, and capable of the highest yields. For beginners or growers working with compact and cherry varieties, Deep Water Culture (DWC) is the most practical starting point: low cost, easy to monitor, and fast-growing. NFT and Ebb and Flow are strong mid-tier options for growers with more experience who want commercial-style efficiency or multi-plant flexibility.
Why are my indoor hydroponic tomatoes flowering but not setting fruit?
The most common cause is lack of pollination. Indoors, there’s no wind or insects to transfer pollen — you need to do it manually. Vibrate each open flower cluster daily with an electric toothbrush, or run a small oscillating fan to simulate air movement. A boron deficiency (target 0.3–0.5 ppm) is a secondary cause: boron is essential for pollen viability, and low levels result in flowers that open but fail to set. Also check that daytime temperatures aren’t exceeding 85°F (29°C), as heat causes pollen sterility.
What nutrients do hydroponic tomatoes need during fruiting?
During fruiting, shift to lower nitrogen and higher phosphorus and potassium — roughly a 1:2:3 N-P-K ratio. Target 1,600–2,400 PPM (3.2–4.8 EC) with potassium at 250–400 ppm for fruit size and sugar transport. Calcium is critical at 200–250 ppm — deficiency causes blossom end rot, one of the most common fruiting problems. Magnesium should stay at 50–75 ppm to support chlorophyll and photosynthesis. MasterBlend 4-18-38 or Jack’s 321, scaled up proportionally, handles all of these requirements cleanly.