Quick Answer: The Kratky method is a passive, non-circulating hydroponic technique that requires no pumps, electricity, air stones, or timers. Plants sit in net pots above a sealed nutrient reservoir, and as they drink the solution down, a natural air gap forms that delivers oxygen directly to the roots. It’s the simplest form of hydroponics you can practice — genuinely set it and forget it.
What Is the Kratky Method?
The Core Concept in Plain English
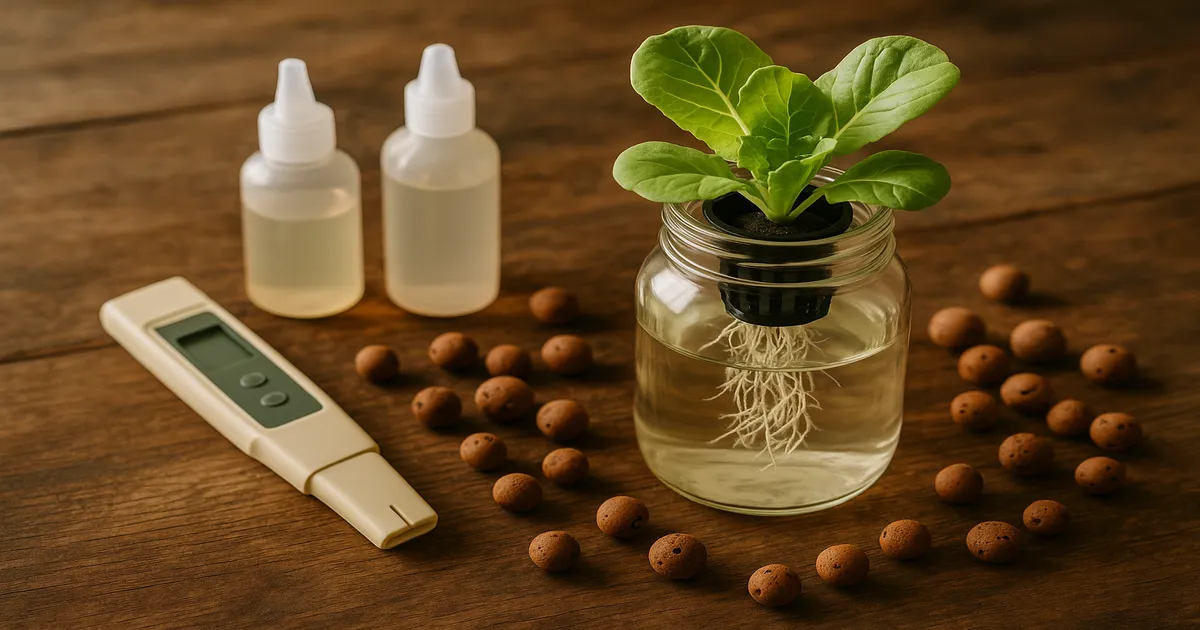
The Kratky method works on a beautifully simple idea: give a plant’s roots access to both nutrient-rich water and open air, then let the plant manage the rest. You fill a sealed, opaque reservoir with nutrient solution, suspend a plant in a net pot just above the waterline, and walk away. As the plant drinks, the water level drops and the gap between the surface and the net pot grows — creating an ever-expanding oxygen zone for the upper roots while the lower roots keep feeding.
No pump. No timer. No electricity bill. Just water, nutrients, and light.
Who Invented the Kratky Method?
Dr. Bernard A. Kratky developed this technique at the University of Hawaii and formally published it in 2009 in Acta Horticulturae under the title “A Suspended Net-Pot, Non-Circulating Hydroponic Method for Commercial Production of Leafy, Romaine, and Semi-Heading Lettuce.” His goal was practical: create a reliable growing system for tropical climates where electricity is expensive or unreliable.
What started as commercial lettuce research has since become a gateway into hydroponics for home growers worldwide, driven largely by YouTube tutorials and communities like r/Kratky on Reddit.
How the Kratky Method Works
The Suspended Net-Pot Principle
A plant sits in a net pot filled with an inert growing medium — hydroton, rockwool, or perlite — which holds the roots in place and wicks moisture upward. The net pot rests in a hole cut into the lid of a sealed container. At the start, the bottom of the net pot just barely touches (or sits no more than ¼ inch above) the nutrient solution, so young roots can reach down and begin feeding immediately.
How the Air Gap Forms — and Why It Matters
Here’s the elegant part. As the plant drinks, the water level drops. That drop creates a gap of humid, oxygen-rich air between the waterline and the net pot. Roots that were once submerged are now exposed to this air — they air-prune, thicken up, and begin absorbing oxygen passively. The lower roots keep drinking from the solution below.
This self-regulating mechanism is why the Kratky method needs no air stone. The plant literally builds its own oxygen delivery system as it grows.
Kratky vs. Deep Water Culture: Key Differences
Both methods suspend plant roots in nutrient solution, so they’re easy to confuse. The difference comes down to one thing: active vs. passive oxygenation.
| Feature | Kratky | Deep Water Culture |
|---|---|---|
| Air pump required | No | Yes |
| Electricity needed | No | Yes |
| Water level | Drops naturally | Kept constant |
| Best for | Short-cycle crops | Long-cycle and fruiting crops |
| Complexity | Minimal | Low–moderate |
DWC continuously aerates and replenishes the solution, making it more forgiving for tomatoes and peppers — but also more complex to set up. The Kratky method is the right choice when simplicity is the priority, especially for leafy greens with a 30–45 day grow cycle.
Types of Kratky Systems
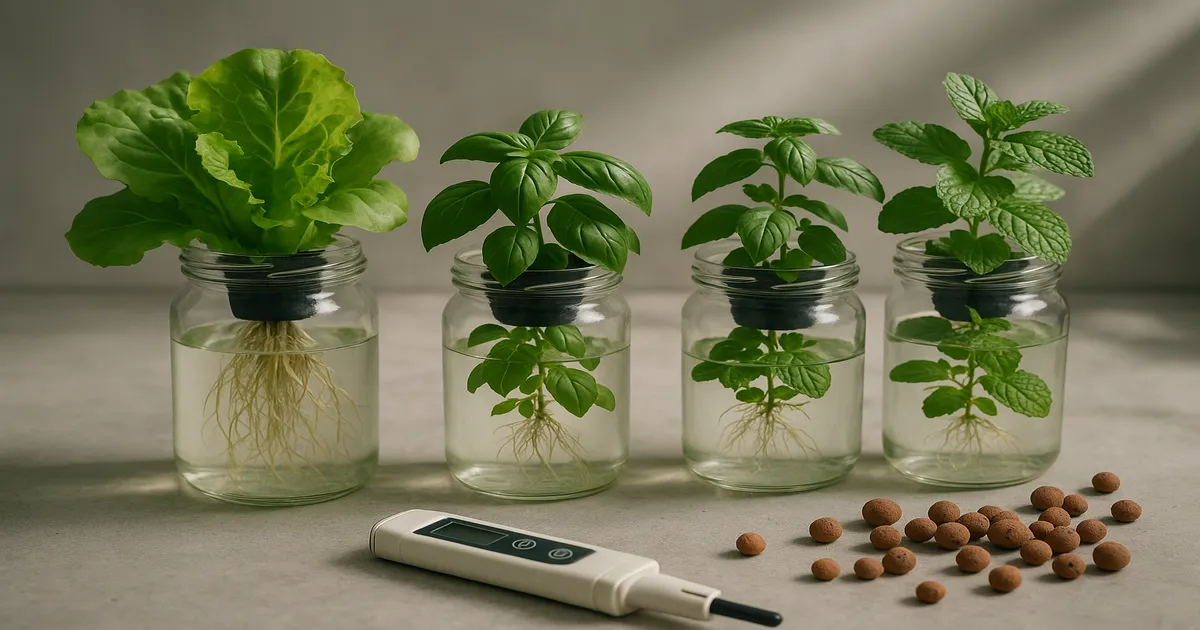
Single-Container Kratky (Mason Jars and Buckets)
This is where most beginners start. A wide-mouth quart mason jar works perfectly for a single lettuce plant, while a 5-gallon bucket handles something larger like basil or a compact pepper. The smaller the container, the more frequently you’ll need to monitor pH and EC — there’s simply less buffer against swings.
Multi-Site Tote Systems
A large opaque storage tote (10–27 gallons) with multiple net pot holes cut into the lid lets you grow six to twelve lettuce plants in one reservoir. One reservoir means one pH check and one nutrient mix — far more efficient than a row of mason jars. This is the sweet spot for home growers who want meaningful harvests without complex infrastructure.
Raft and Pond Kratky for Higher Volume
At the larger end, styrofoam boards float on open reservoirs or lined beds, with net pots dropped into holes cut across the raft. This approach scales to dozens or hundreds of plants and is closest to Dr. Kratky’s original commercial vision. It’s more common in community gardens and small commercial operations than in typical home setups.
Hybrid Kratky: When to Bend the Rules
Pure Kratky works beautifully for leafy greens, but fruiting crops like tomatoes have longer cycles and higher nutrient demands that can push a static reservoir to its limits. Many growers add a small air stone, top off the reservoir periodically, or switch to a two-part reservoir system for these plants. Technically that’s no longer pure Kratky — but it’s a practical adaptation that gets results.
Setting Up Your First Kratky System
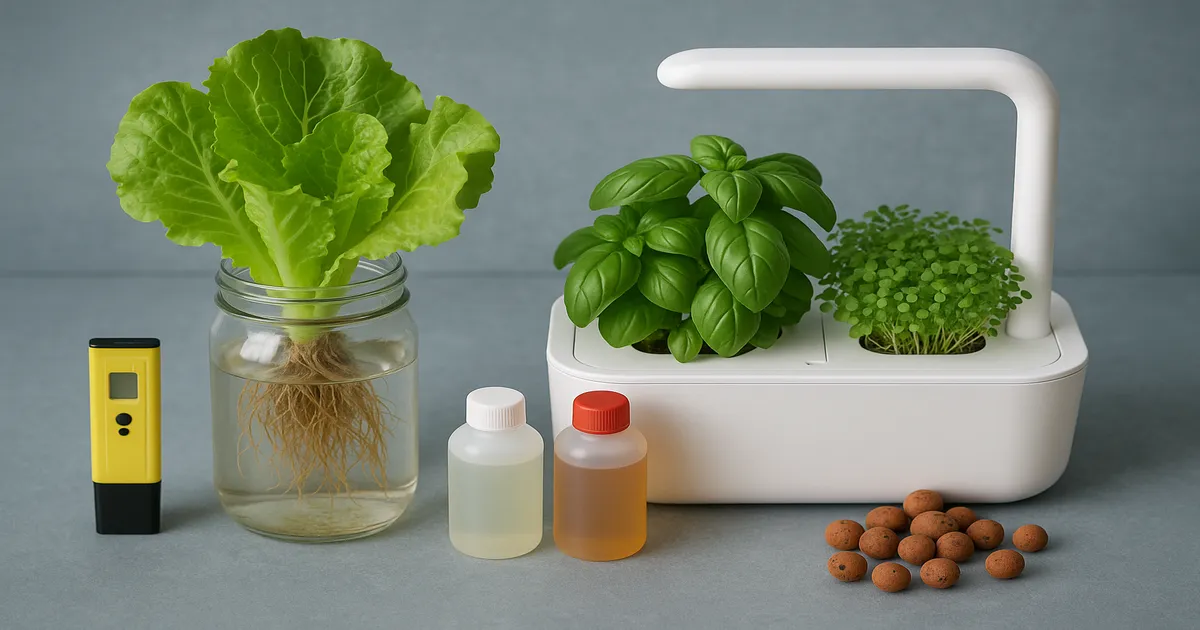
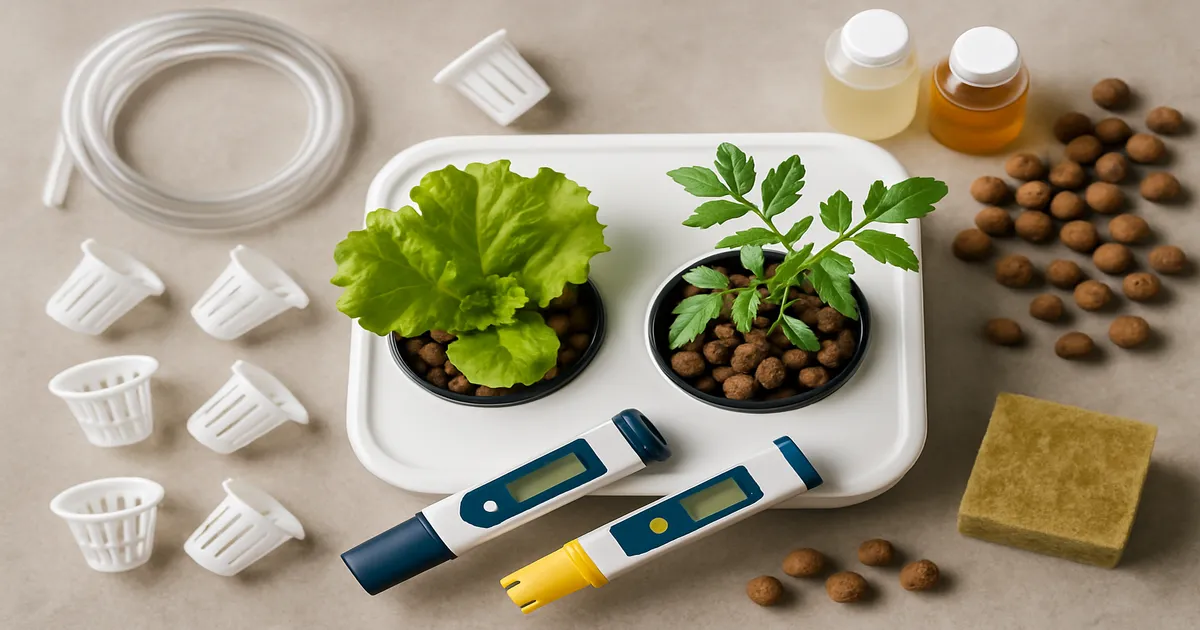
What You Need
- Opaque container (mason jar, bucket, or storage tote)
- Net pots (2-inch for leafy greens, 3–4-inch for larger plants) (Bootstrap Farmer 2-Inch Net Cups)
- Growing medium (hydroton, rockwool cubes, or perlite)
- Nutrient solution (see next section)
- Digital pH meter (Apera PH20)
- EC/TDS meter (Apera EC20)
- pH Up and pH Down solutions
- Seeds or seedlings
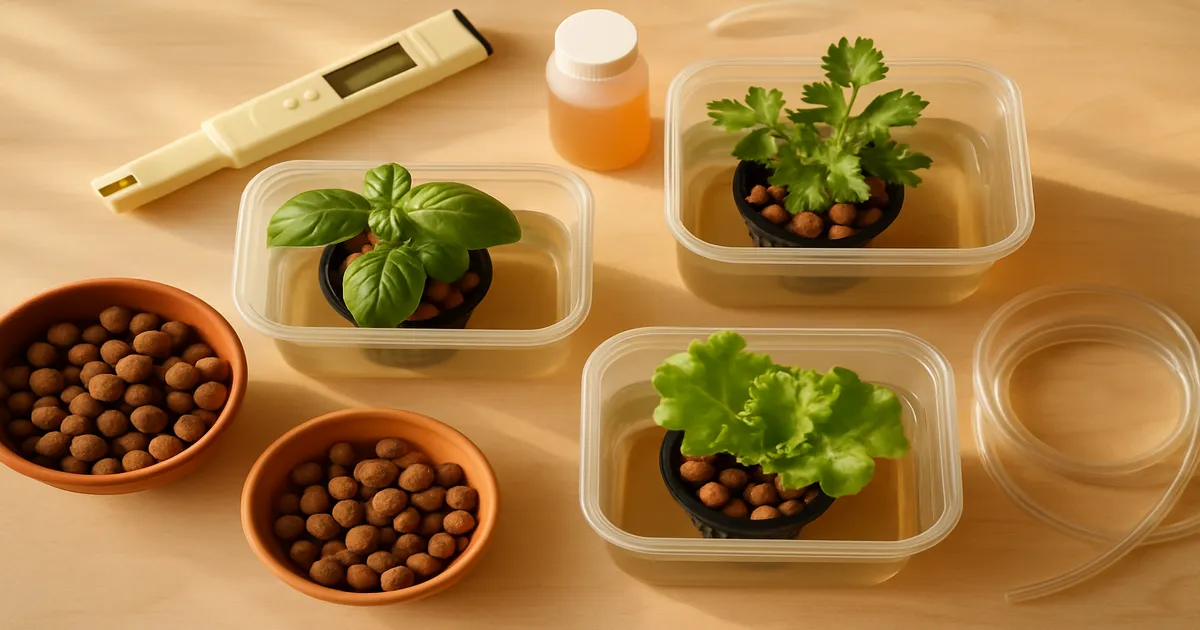
Choosing the Right Growing Medium
Hydroton (expanded clay pebbles) is the most popular choice — reusable, free-draining, and non-compacting. Rockwool cubes are excellent for germinating seeds before transferring to the net pot. Perlite is cheap and effective, though it can float if the water level rises unexpectedly. Avoid soil or coco coir in Kratky; both hold too much moisture and create anaerobic conditions in a static reservoir.
Mixing Your Nutrient Solution
The Masterblend 4-18-38 formula is the community favorite — complete, affordable, and consistent. Per gallon of water:
- Add 2.4 g Calcium Nitrate first and stir until dissolved
- Add 2.4 g Masterblend 4-18-38 and stir
- Add 1.2 g Epsom Salt last and stir
This yields approximately 700–800 PPM (1.4–1.6 EC) — right in the sweet spot for leafy greens. Always follow this order; mixing calcium and sulfate together before dilution causes precipitation. (Masterblend 4-18-38 Tomato Formula)
For a simpler beginner option, General Hydroponics Flora Series at 2.5 mL each of FloraGro, FloraMicro, and FloraBloom per gallon gives a reliable 700–900 PPM (1.4–1.8 EC).
Initial Water Level
Fill the reservoir so the bottom of the net pot just touches the nutrient solution — or sits no more than ¼ inch above it. You want young roots to reach the water quickly, but you also want that small initial air gap to exist from day one. As a rule of thumb, leave about ½–1 inch of air space between the waterline and the underside of the lid.
Nutrients, pH, and EC in the Kratky Method
Why Nutrient Mixing Is Different in Kratky
In a recirculating system, you can adjust nutrient concentration throughout the grow. In pure Kratky, you mix once at the beginning and let the plant consume what it needs. That means targeting the full-term concentration upfront — not the seedling concentration you’d use in week one of a DWC grow.
EC and PPM Targets by Crop Type
| Crop | Starting PPM | Starting EC |
|---|---|---|
| Leafy greens (lettuce, spinach, kale) | 560–840 PPM | 1.1–1.7 EC |
| Herbs (basil, cilantro, mint) | 700–1,120 PPM | 1.4–2.2 EC |
| Fruiting crops (tomatoes, peppers) | 1,260–1,960 PPM | 2.5–3.9 EC |
| Strawberries | 980–1,400 PPM | 1.9–2.8 EC |
Target pH Range
Keep pH between 5.5–6.5, with 5.8–6.2 as the practical sweet spot for most crops. Fruiting plants prefer the lower end (5.8–6.0); herbs are comfortable anywhere from 5.8–6.5. Outside this window, nutrients become chemically unavailable — your plants starve even with a full reservoir.
Check pH and EC every 3–5 days for leafy greens, and every 1–2 days for fruiting crops or during hot weather. pH test strips have a ±0.3–0.5 margin of error — enough to mask a real problem. A quality digital meter is non-negotiable.
Why pH Drifts — and How to Fix It
In the first week or two, pH typically drifts upward as the plant consumes nitrates and releases hydroxide ions. Mid-grow it often stabilizes. Late in the cycle, when the reservoir is low and the solution is concentrated, pH can shift rapidly in either direction.
To correct, add pH Down (phosphoric acid) or pH Up (potassium hydroxide) one drop at a time per gallon, stir thoroughly, and recheck. Always target the middle of your range — pH 6.0 — rather than the edge. That gives natural drift room to move without immediately pushing outside the safe zone.
When to Top Off the Reservoir
- EC is rising (plant drinking more water than nutrients): top off with plain pH-adjusted water
- EC is falling (plant consuming nutrients faster than water): top off with a diluted nutrient solution at roughly half strength
- Never let the reservoir drop below the bottom of the net pot — roots will dry out within hours and the plant may not recover
For short-cycle crops like lettuce, you often won’t need to top off at all. For anything running longer than six weeks, plan on it.
Lighting for Kratky Hydroponics
Natural Light vs. Grow Lights
One of the Kratky method’s great advantages is that it works perfectly well outdoors or on a sunny windowsill. A south-facing window (in the Northern Hemisphere) provides enough light for lettuce, spinach, and most herbs through spring and summer. Fruiting crops are the exception — tomatoes and peppers need more intensity than most indoor windows can deliver.
PPFD and DLI Targets
- Leafy greens: 200–400 PPFD, 12–17 mol/m²/day DLI
- Herbs: 200–400 PPFD, 15–20 mol/m²/day DLI
- Fruiting crops: 600–1,000+ PPFD, 20–30+ mol/m²/day DLI
Recommended Grow Lights
For a single mason jar or small tote, a 4-pack of Barrina T5 LED shop lights covers the basics at under $50. Step up to a multi-site tote and the Spider Farmer SF-2000 (3×3 ft coverage) or the AC Infinity IONBOARD S22 give you dimmable, full-spectrum output with room to grow.
Photoperiod by Crop
- Leafy greens: 16 hours on / 8 hours off
- Herbs: 14 hours on / 10 hours off (basil bolts under very long days)
- Fruiting crops: 16–18 hours on for tomatoes, peppers, cucumbers
- Strawberries: 12–16 hours depending on variety
Best Plants for the Kratky Method
Easiest Crops for Beginners
Lettuce is the undisputed champion of Kratky growing — fast, forgiving, and perfectly sized for a single container. Spinach, kale, arugula, and Swiss chard all perform similarly well. Among herbs, basil, cilantro, and mint thrive and are ready to harvest in 4–6 weeks. These crops share the same qualities that make them ideal: short grow cycles, moderate nutrient demands, and compact root systems.
Fruiting Crops: Challenges and Adaptations
Tomatoes, peppers, and cucumbers can be grown in Kratky systems, but they push the method to its limits. Longer grow cycles mean multiple top-offs. Higher PPM requirements (1,400–2,800 PPM / 2.8–5.6 EC at peak) make pH and EC management more demanding. Root systems can outgrow a standard 5-gallon bucket.
If you want to try fruiting crops, use the largest container you can manage (15–20+ gallons), consider a hybrid approach with occasional top-offs, and monitor daily during fruiting. Strawberries are a rewarding middle ground — longer than lettuce but far less demanding than tomatoes.
Plants to Avoid
Deep-rooted vegetables (carrots, beets, parsnips) don’t suit a shallow Kratky reservoir. Very large plants — full-size indeterminate tomatoes, squash, corn — will exhaust a standard container too quickly. Stick to compact or dwarf varieties if you’re determined to try larger crops.
Common Kratky Problems and How to Fix Them
Yellowing Leaves
Uniform yellowing of older leaves usually signals nitrogen deficiency — common late in a pure Kratky grow as N is depleted. Yellow leaves with green veins (interveinal chlorosis) on newer growth points to iron deficiency, often caused by pH creeping above 6.5. Tip burn on lettuce is almost always a calcium uptake issue, frequently triggered by poor airflow rather than low calcium in the solution.
Fix: Check pH first. Most deficiency symptoms in Kratky are pH lockout problems, not actual nutrient shortages.
Root Rot
Healthy Kratky roots are white or cream-colored. Brown, slimy roots with a foul smell indicate Pythium root rot. The main causes are warm reservoir temperatures, light leaks, and low oxygen levels. Keep reservoir temps below 72°F (22°C), use fully opaque containers, and tape over any gaps around net pots. If rot appears, beneficial bacteria like Botanicare Hydroguard can help suppress the pathogen and restore root health.
Algae Growth
Green or brown slime means light is getting in. Algae competes with your plant for nutrients and oxygen and drives erratic pH swings. The fix is simple: make your container fully opaque. Wrap clear jars in aluminum foil or black tape, and cover gaps around net pots with black electrical tape or foam inserts.
Wilting Despite a Full Reservoir
If a plant is wilting but the reservoir is full, the two most likely culprits are root rot (roots can’t absorb water even when surrounded by it) or an air gap that has grown so large the lower roots can no longer reach the waterline. Check root health, then check your water level — if roots are hanging in air with no contact with the solution, top off immediately.
Frequently Asked Questions About the Kratky Method
Does the Kratky method need an air pump or air stone?
No — that’s the defining feature of the method. The natural air gap that forms as the plant consumes water delivers passive oxygenation to the roots. An air pump is unnecessary for leafy greens and herbs. Some growers add one for fruiting crops with long grow cycles, but doing so technically converts the setup into a hybrid DWC system.
How often do you change the water in a Kratky system?
For short-cycle crops like lettuce (30–45 days), you typically don’t change the water at all — the plant finishes before the solution degrades. For longer-running crops, top off as needed based on EC readings and do a full reservoir change if pH becomes unmanageable or you notice root rot developing.
Can you reuse Kratky nutrient solution?
Yes, with caution. If the solution looks clean, smells neutral, and your EC and pH are within range, you can top it off and continue. Discard it if you see algae, smell rot, or if EC has climbed significantly above your target — that indicates a nutrient imbalance has developed.
What container size do I need for the Kratky method?
For lettuce and small herbs, a 1-quart mason jar is sufficient. Larger herbs like basil do better in a 1-gallon container. Fruiting crops need at least 5 gallons, and ideally 15–20 gallons for a full grow cycle without constant top-offs. When in doubt, go bigger — more solution volume means more stability.
Is the Kratky method good for beginners?
It’s arguably the best starting point in all of hydroponics. There’s no equipment to calibrate, no pump to maintain, and no timer to program. If you can mix nutrients, check pH, and provide adequate light, you can grow lettuce with the Kratky method on your first attempt.