Quick Answer: The Kratky method in mason jars is a passive, pump-free hydroponic technique where plants grow suspended above a nutrient solution, drawing water and oxygen from a self-forming air gap as the liquid level drops. No electricity, no pumps, no timers — just a jar, some nutrients, and a plant. It works best for leafy greens and herbs with a 30–60 day lifecycle.
The Kratky method in mason jars is probably the easiest entry point into hydroponics that exists. Developed by B.A. Kratky at the University of Hawaii, the technique strips hydroponic growing down to its essentials: a container, a nutrient solution, and a plant. Mason jars are the community’s vessel of choice because they’re cheap, food-safe, and available in sizes that suit everything from a single herb to a full head of kale.
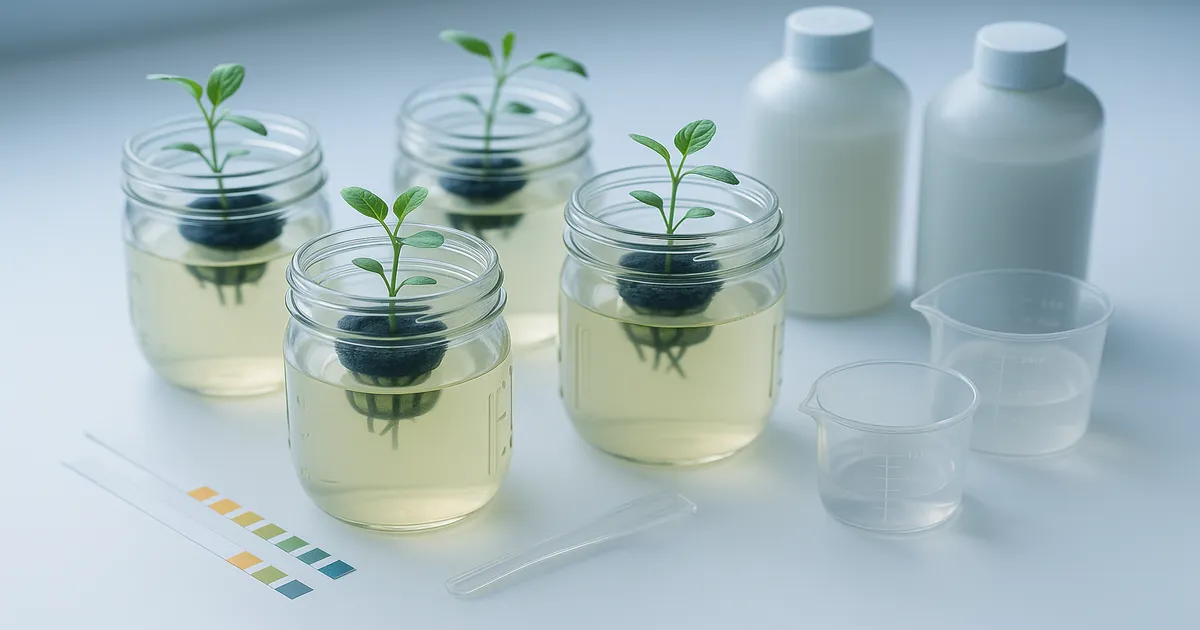
How the Kratky Method in Mason Jars Works
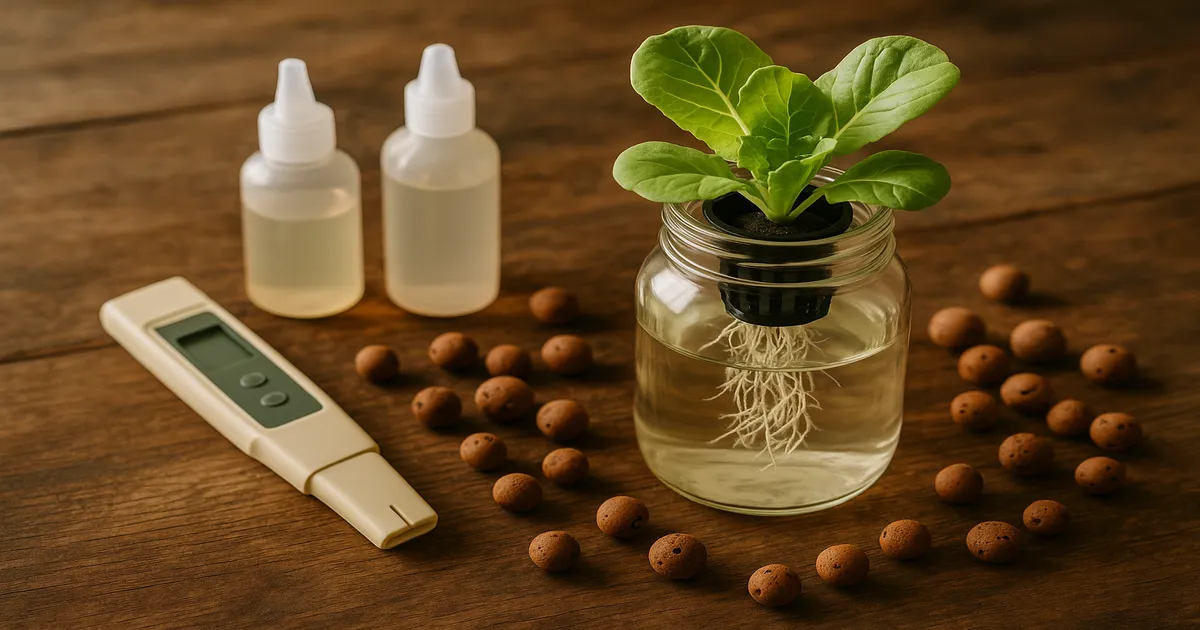
The magic of Kratky is in the air gap. You fill a jar with nutrient solution so the bottom of the net cup just barely touches the liquid. As the plant drinks, the water level drops — and that gap between the solution surface and the roots fills with oxygen-rich air. The roots divide their work naturally: lower roots stay submerged to absorb nutrients, while upper roots hang in the air gap and breathe.
No pump pushes water. No air stone bubbles oxygen in. The plant creates its own ideal root environment just by drinking.
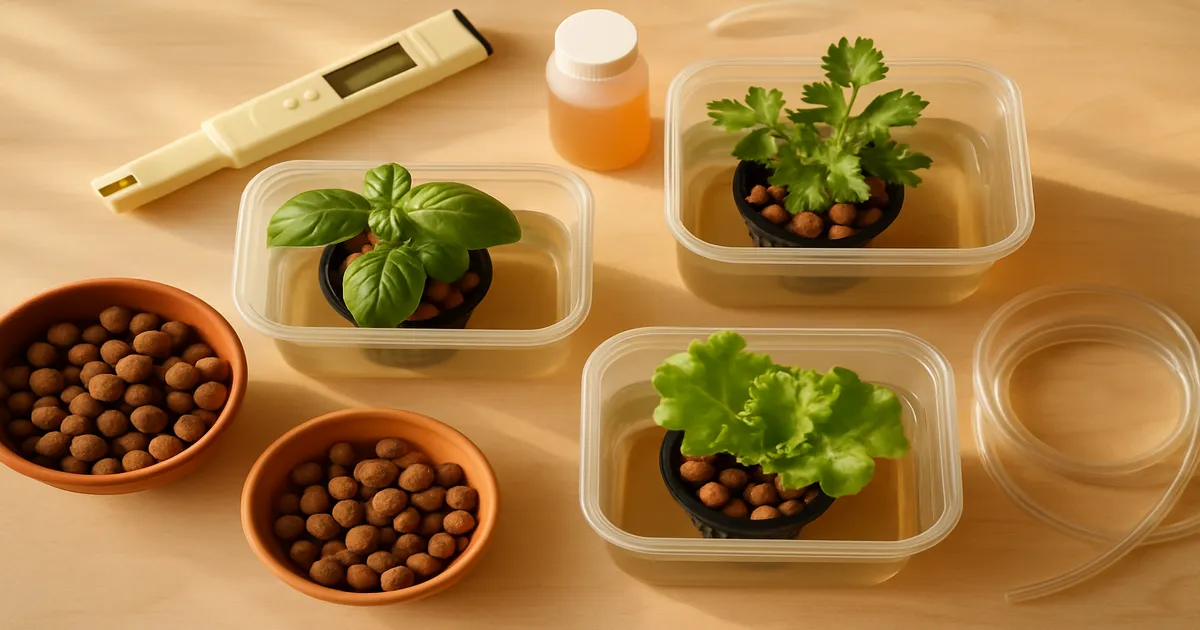
Mason jars hit a sweet spot of availability, cost, and practicality. They’re made from inert, food-safe glass, they seal well, and wide-mouth lids are easy to modify for a net cup. You can find them at any grocery or hardware store for under a dollar each. Their range of sizes — from 16 oz pints to half-gallon jars — makes them flexible enough for herbs, lettuce, and even larger greens.
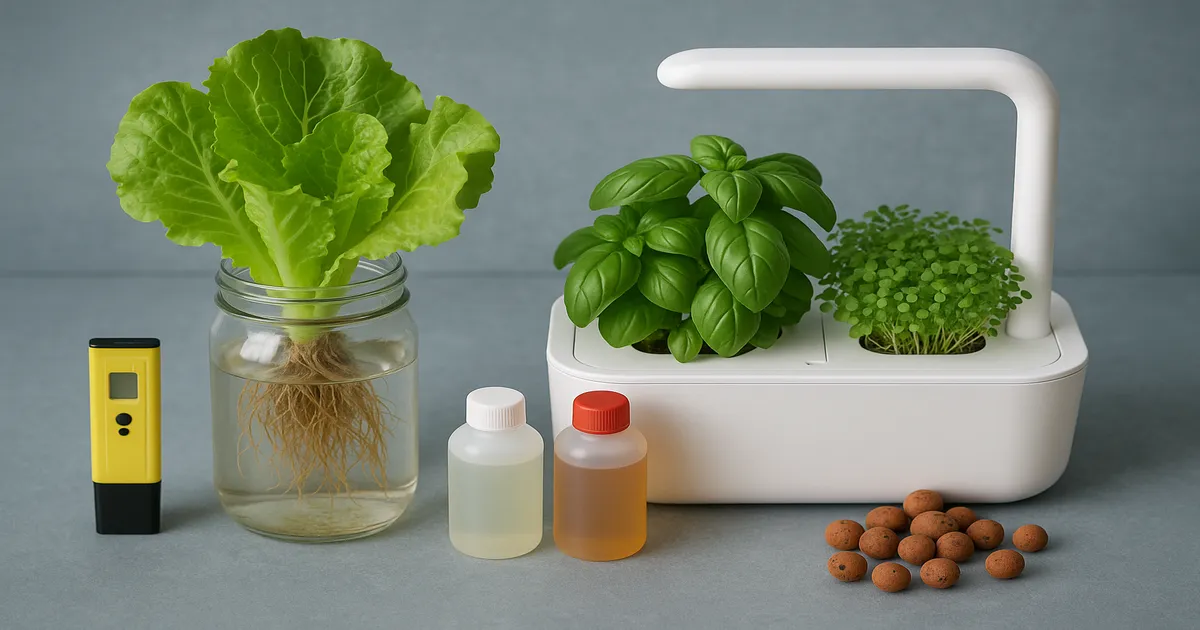
What You Need: Mason Jar Kratky Supplies
Choosing the Right Jar Size
Match jar size to plant size. A cramped root zone limits yield; an oversized jar wastes nutrients.
| Jar Size | Best Crops | Net Cup Size |
|---|---|---|
| 1-pint (16 oz) | Herbs, microgreens | 1.5–2 inch |
| 1-quart (32 oz) | Lettuce, spinach, arugula | 2 inch |
| Half-gallon (64 oz) | Kale, Swiss chard, large lettuce | 2–3 inch |
| 1-gallon (128 oz) | Dwarf tomatoes, peppers | 3 inch |
For most beginners, start with quart jars and lettuce. You’ll see results fast and can dial in your process before scaling up.
Net Cups, Lids, and Light-Blocking
Standard 2-inch net cups fit perfectly in wide-mouth mason jar lids with a hole drilled or cut to size. A hole saw or step drill bit makes clean cuts in metal lids. Plastic wide-mouth lids are easier to cut but less durable.
Blocking light from the reservoir is non-negotiable — algae will take over an exposed jar within days. Your options:
- Aluminum foil: Free, easy to wrap and unwrap for inspections
- Black spray paint or chalk paint: Permanent, clean-looking, and effective
- Opaque electrical or duct tape: Quick and removable
- Fabric sleeve or paper bag: Works in a pinch for dark-colored jars
Growing Media Comparison
| Media | Pros | Cons |
|---|---|---|
| Hydroton/LECA | Reusable, excellent drainage | Needs pre-soaking, can dry out seedlings |
| Rockwool | Great for germination, holds moisture well | Needs pH adjustment before use |
| Perlite | Cheap, lightweight, good aeration | Can float out of net cup |
| Coco coir | Excellent water retention | Can compact over time; rinse well first |
Most beginners do well with hydroton or a perlite/coco blend. Rockwool cubes are ideal if you’re starting from seed and want a clean, contained root zone from day one.
Step-by-Step Mason Jar Kratky Setup
1. Prepare the Jar and Lid
Drill or cut a hole in the center of a wide-mouth lid sized to hold a 2-inch net cup snugly — usually 1¾ inches for a friction fit. Clean the jar thoroughly with soap and water, then rinse well. Block light from the outside using paint, foil, or tape, covering the entire jar body and leaving only the lid area exposed.
2. Mix Your Nutrient Solution
Mix nutrients into room-temperature water before adding it to the jar — always add nutrients to water, not the other way around. Adjust pH after mixing, since nutrients will shift the pH on their own.
For lettuce or herbs, target 800–1,000 PPM (1.6–2.0 EC) at pH 5.8–6.2. Use a digital pH meter (Apera PH20) and a TDS/EC meter for accurate readings. Test drops work on a tight budget, but a digital meter pays for itself quickly.
3. Seed or Transplant into the Net Cup
Pack your growing medium loosely into the net cup and place a pre-soaked rockwool cube or a few seeds in the center. Fill around it with more media. If transplanting a seedling, nestle the roots gently into the media so they point downward.
4. Set the Starting Water Level
This is the most critical step. Fill the jar so the bottom of the net cup is submerged ¼–½ inch into the nutrient solution — no more. You want the medium to wick moisture up to the seed, not drown the roots from day one. As the plant establishes, the water level drops naturally and the air gap forms on its own.
Nutrient Solutions for Kratky Mason Jar Systems
PPM and EC Targets by Crop
| Crop | Seedling Stage | Mature Stage |
|---|---|---|
| Lettuce & leafy greens | 400–600 PPM (0.8–1.2 EC) | 800–1,200 PPM (1.6–2.4 EC) |
| Herbs (basil, cilantro) | 700–900 PPM (1.4–1.8 EC) | 1,000–1,400 PPM (2.0–2.8 EC) |
| Fruiting crops | 800–1,200 PPM (1.6–2.4 EC) | 1,600–2,400 PPM (3.2–4.8 EC) |
Start at the lower end. Nutrient burn in a small mason jar is hard to fix mid-grow.
Recommended Nutrients for Beginners
General Hydroponics MaxiGro is the simplest option — a single powder you mix at roughly 7g per gallon for approximately 800–900 PPM (1.6–1.8 EC). Measure, dissolve, adjust pH, done.
The GH Flora Series Lucas Formula is another reliable choice: 8 mL FloraMicro + 16 mL FloraBloom per gallon, skipping FloraGro for leafy greens. This targets 800–1,000 PPM (1.6–2.0 EC) and covers the full nutrient spectrum.
The MasterBlend Formula
The MasterBlend 3-part system is the most popular choice in the Kratky community — precise, affordable, and complete.
Per gallon of water:
- 2.4g MasterBlend 4-18-38
- 2.4g Calcium Nitrate
- 1.2g Epsom Salt (magnesium sulfate)
This yields approximately 800–900 PPM (1.6–1.8 EC) at pH 5.8–6.2. Always dissolve the calcium nitrate separately before combining with MasterBlend to prevent precipitation.
If your tap water is soft, add a Cal-Mag supplement to prevent the calcium and magnesium deficiencies that are among the most common Kratky problems. (General Hydroponics CALiMAGic)
pH and EC Management
Ideal pH Ranges
- Leafy greens and herbs: pH 5.8–6.2
- Fruiting crops: pH 6.0–6.5
Stay within these ranges and most nutrient lockout issues disappear before they start.
Adjusting pH in Small Volumes
In a quart mason jar, pH adjustment requires a light touch. Use a dropper or 1 mL syringe to add pH Down — even a single drop can shift pH by 0.3–0.5 units in a small volume. Add, stir, wait 30 seconds, then retest. Always adjust after mixing nutrients, not before.
EC Drift in a Passive System
As your plant drinks, it absorbs water faster than nutrients, so EC will naturally creep upward over time. A rise of 10–15% above your starting EC is normal. If EC climbs more than 20% — often from evaporation in warm rooms — top up with plain pH-adjusted water. If EC drops significantly, your plant is eating nutrients faster than water; top up with half-strength nutrient solution instead.
When to Top Up the Reservoir
For leafy greens finishing in 30–45 days, you likely won’t need to top up at all. For longer-season crops, top up when the reservoir reaches 25–30% of its original volume. The critical rule: never refill to the original level. The air gap your plant has established is its oxygen supply — flooding it back will suffocate the aerial roots. Top up to just below the existing root zone boundary, and test pH and EC every 7–10 days.
Lighting for Mason Jar Kratky
Windowsill Growing: What to Expect
A south-facing window in the Northern Hemisphere delivers roughly 20–40 µmol/m²/s PPFD — enough for herbs and lettuce to survive, but often not enough to thrive, especially in winter. Expect slower growth, leggier plants, and smaller yields compared to grow-light setups. From October through March in most temperate climates, supplemental lighting makes a meaningful difference.
Grow Light Options for Small Setups
For a countertop setup with 4–12 mason jars, a Spider Farmer SF-1000 or Mars Hydro TS-1000 delivers full-spectrum light at a reasonable cost. For a budget-friendly alternative, T5 or T8 LED shop lights in the 4000K–5000K range hung close to the canopy work exceptionally well for leafy greens. Clip-on grow lights are convenient for 1–4 jars and easy to reposition.
Light Targets by Crop
| Crop | Target PPFD | Target DLI | Photoperiod |
|---|---|---|---|
| Lettuce & leafy greens | 150–250 µmol/m²/s | 12–17 mol/m²/day | 14–16 hours |
| Herbs (basil, cilantro) | 200–400 µmol/m²/s | 15–20 mol/m²/day | 14–16 hours |
| Fruiting crops | 400–600 µmol/m²/s | 20–30 mol/m²/day | 16–18 hours |
DLI (Daily Light Integral) is the total light dose your plant receives per day: DLI = (PPFD × hours × 3,600) ÷ 1,000,000. A 200 µmol/m²/s light running 16 hours delivers a DLI of about 11.5 — adequate for lettuce, slightly low for basil. Set a 16-hour on / 8-hour off cycle using an outlet timer to keep plants on a consistent schedule without guesswork.
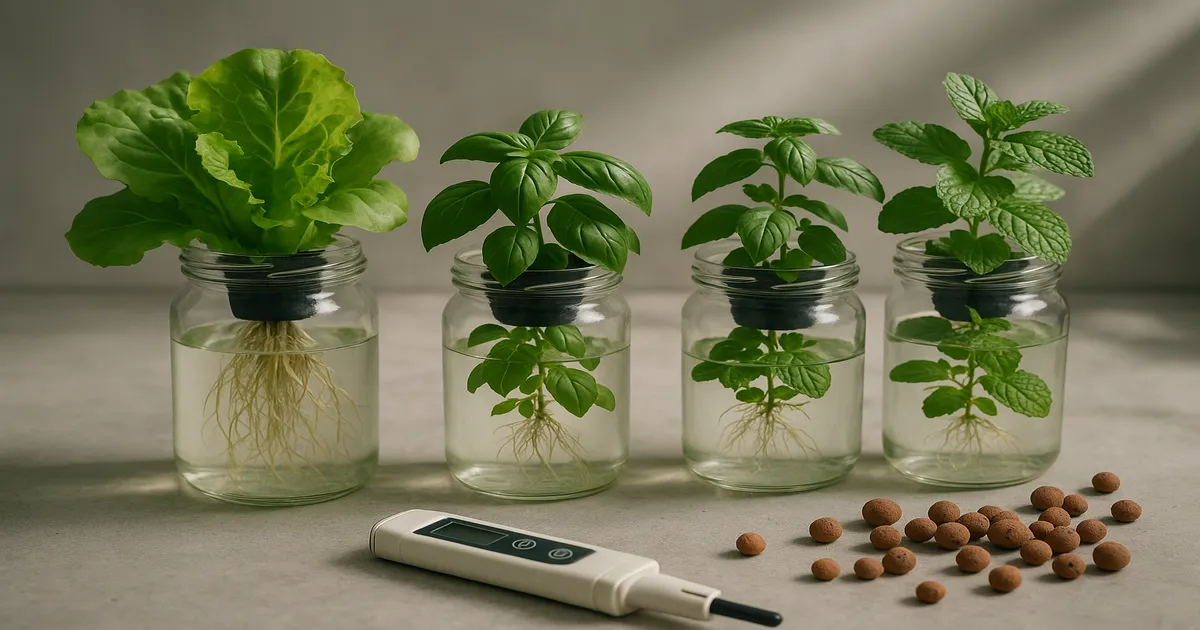
Best Plants for the Kratky Method in Mason Jars
Tier 1: Easiest Crops (Lettuce, Spinach, Arugula)
Lettuce is the ideal Kratky crop. Butterhead, romaine, and loose-leaf varieties all perform brilliantly in a quart jar, reaching harvest in 28–45 days with yields of 50–150g per jar. It’s forgiving of minor pH swings and nutrient imbalances, making it perfect for learning the system.
Spinach germinates and matures in 25–40 days. It prefers slightly cooler solution temperatures — 60–70°F (15–21°C) — making it a great winter crop for unheated spaces.
Arugula is the speed champion: harvestable in just 21–30 days. Its peppery flavor intensifies slightly under mild stress, which can actually work in your favor.
Tier 2: Intermediate Crops (Basil, Kale, Swiss Chard)
Basil needs warmth — air and solution temperatures of 70–80°F (21–27°C) are ideal. It takes 30–45 days to first harvest and benefits from regular pinching to delay flowering and extend the harvest window.
Kale and Swiss chard are productive cut-and-come-again crops that take 40–60 days to reach harvestable size. Use a half-gallon jar for these — they need the root and reservoir space. Both handle lower light levels better than basil.
Tomatoes and Peppers: Possible, But Not Ideal
You can grow fruiting crops in mason jar Kratky, but with caveats. They need higher nutrient concentrations (up to 2,400 PPM / 4.8 EC at peak), more light (400–600 µmol/m²/s), and periodic solution top-ups — making them semi-passive rather than truly set-and-forget. Use at least a gallon jar, choose compact or dwarf varieties, and be prepared to monitor the system more closely. For your first Kratky grow, stick with leafy greens.
Troubleshooting Common Kratky Mason Jar Problems
Algae in the Reservoir
Green or brown slime means light is getting in. Check your light-blocking coverage for gaps, especially around the lid edge and net cup. Drain the jar, rinse it clean, and reinforce your light barrier before refilling. Algae competes with your plant for nutrients and oxygen — don’t ignore it.
Root Rot and Brown, Slimy Roots
Healthy Kratky roots are white and slightly fuzzy. Brown, slimy roots indicate root rot, usually caused by a collapsed air gap or solution temperatures above 72°F (22°C). Keep solution temps at 65–72°F (18–22°C) and confirm the air gap is established. Adding 1–2 mL of 3% food-grade hydrogen peroxide per gallon can help knock back early-stage rot without harming the plant.
Yellowing Leaves
Yellowing almost always points to one of two things: nitrogen deficiency or pH-induced nutrient lockout. Check EC first — if it’s dropped significantly, your plant is hungry and needs a nutrient top-up. If EC looks fine, test pH. A reading outside 5.8–6.2 locks out key nutrients even when they’re present in the solution.
pH Swings
Upward pH drift is the most common pattern in Kratky systems as plants absorb nitrates. A rise of 0.3–0.8 units over two weeks is normal. If pH is swinging more than 1.0 unit in a short period, switch to a chelated nutrient formula such as MasterBlend or General Hydroponics Flora Series, which buffer more reliably in small volumes than some single-part powders.
Frequently Asked Questions
How often do I need to check my mason jar Kratky system? For a 30–45 day leafy green crop, check pH and EC once a week. In warm rooms or with fast-growing plants, check every 3–5 days. Beyond that, the system largely takes care of itself.
Do I need to change the nutrient solution during a grow? For short-season crops like lettuce and arugula, no — the original fill usually lasts the full grow. For longer crops like kale or basil, top up with half-strength solution when the reservoir drops to about 25–30% of its original volume.
Can I reuse mason jars between grows? Yes. Rinse the jar thoroughly with hot water, scrub away any root debris or algae, and rinse again with a dilute hydrogen peroxide solution (1 part 3% H₂O₂ to 4 parts water). Let it dry completely before refilling.
Why are my seedlings wilting even though the jar is full? The most likely cause is that the net cup is sitting too deep in the solution, drowning the roots before an air gap can form. Lower the water level so only the bottom ¼–½ inch of the net cup touches the solution. Wilting can also result from solution temperatures above 75°F (24°C), which reduces dissolved oxygen.
What is the best nutrient solution for Kratky mason jar growing? For beginners, MasterBlend 4-18-38 (2.4g), Calcium Nitrate (2.4g), and Epsom Salt (1.2g) per gallon is the most widely recommended formula. It’s precise, affordable, and covers the full nutrient spectrum. General Hydroponics MaxiGro is the simplest single-product alternative.