Quick Answer: Yes, you can grow tomatoes with the Kratky method — especially determinate and cherry varieties. Use a 5-gallon minimum container, start at the right nutrient concentration for each growth stage, and top off the reservoir every week or two. It’s more hands-on than growing lettuce this way, but the reward is real, pump-free tomatoes.
The Kratky method for tomatoes sits at the intersection of simplicity and ambition. Lettuce in a mason jar is the classic beginner move — tomatoes are where things get genuinely interesting. This guide covers everything you need: container sizing, variety selection, nutrients, lighting, and how to troubleshoot the problems that actually show up.
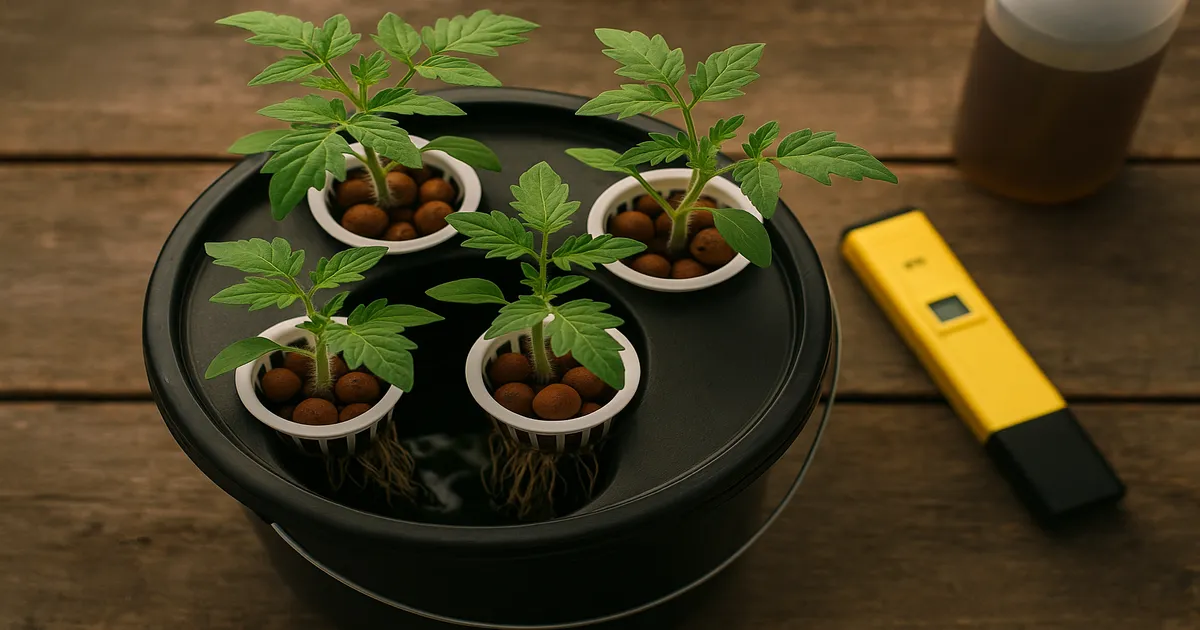
Can You Grow Tomatoes with the Kratky Method?
What Is the Kratky Method?
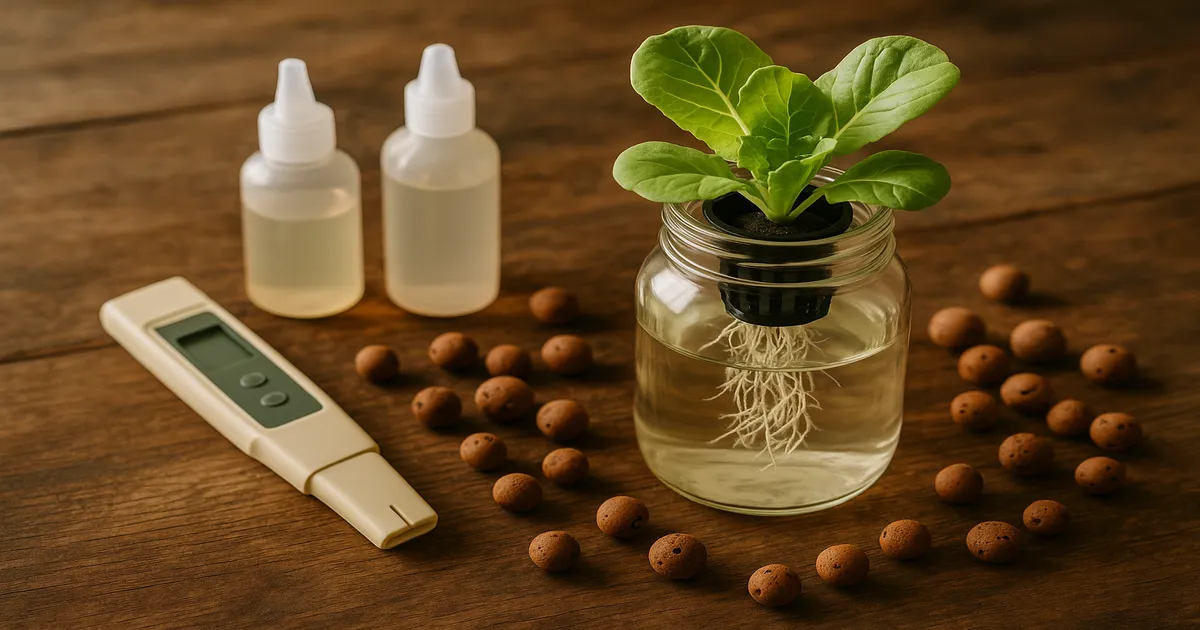
The Kratky method is a passive, non-circulating hydroponic technique developed by B.A. Kratky at the University of Hawaii. Plants sit in net pots above a reservoir of nutrient solution. As the plant drinks the solution down, an air gap forms naturally between the water surface and the roots. That gap delivers oxygen directly to the upper root zone — no air pump, no electricity required.
Is Kratky Suitable for Tomatoes?
Tomatoes are an intermediate-to-advanced Kratky crop, mainly because they’re heavy feeders with a long growing season. A head of lettuce finishes in 30–40 days on a single reservoir fill. A tomato plant runs 70–120 days and can drink several gallons of solution in the process. The practical solution is modified Kratky — periodic top-offs to replenish the reservoir — which keeps things passive while accommodating the plant’s larger demands.
How the Kratky Method Works for Tomatoes
The Air Gap Principle
At setup, the net pot sits just touching the nutrient solution. As the plant feeds, the water level drops and an air gap forms. Upper roots — now exposed to air — handle oxygen uptake, while lower roots stay submerged for water and nutrients. This self-regulating system works well for tomatoes as long as you maintain that gap. Never let the reservoir refill to the point where it floods the air roots. Maintain a minimum 2–3 inch gap at all times.
True Kratky vs. Modified Kratky for Tomatoes
True Kratky means a sealed reservoir with no intervention — the plant consumes everything by harvest. That works beautifully for fast crops like lettuce. For tomatoes, it’s impractical; the plant exhausts the solution long before the first fruit ripens.
Modified Kratky is the practical standard for tomatoes. You top off the reservoir with nutrient solution (or plain pH-adjusted water, depending on EC readings) every week or two. You keep the simplicity of no pump, no timer, no circulation — just a bucket, a lid, and a net pot.
Choosing the Right Container and Setup
Container Size by Tomato Variety
Container size is where most beginners go wrong. Too small, and you’ll be topping off constantly — or worse, the plant stalls from nutrient exhaustion.
- 3–5 gallons — Cherry tomatoes, dwarf varieties (Tumbling Tom, Patio)
- 5 gallons — Standard determinate varieties (Bush Early Girl, Roma)
- 7–10 gallons — Best all-around choice; reduces top-off frequency and gives roots room to thrive
- 15–20 gallons — Indeterminate types (Beefsteak, Brandywine); advanced growers only
When in doubt, go bigger. A 10-gallon bucket costs almost nothing extra and makes the whole grow significantly more forgiving.
Best Grow Media for Kratky Net Pots
- Hydroton (LECA clay pebbles): The gold standard. Excellent drainage and aeration, reusable, and easy to work with.
- Rockwool: Great for starting seeds — transplant the cube directly into your net pot and backfill with Hydroton.
- Perlite: Cheap and effective, though it can float initially. Rinse well before use.
- Coco/perlite mix (70/30): Good moisture retention with adequate drainage; works well for larger containers.
Reservoir Setup Tips
Cover your reservoir — always. Light reaching the nutrient solution causes algae blooms that compete with roots and destabilize pH. Use an opaque lid, black tape over any gaps, or paint the outside of a clear container black. A tight lid also reduces evaporation, which matters because water evaporating without nutrient uptake causes EC creep — the solution becomes more concentrated as water leaves but salts stay behind.
Best Tomato Varieties for the Kratky Method
Why Determinate Varieties Work Best
Determinate tomatoes grow to a fixed size, fruit in a concentrated window, and stop. That predictable, finite nutrient demand aligns well with a passive reservoir system. You can dial in your starting EC for each growth stage, and the plant’s demands won’t spiral beyond what the reservoir can handle.
Top Varieties to Try
| Variety | Container Size | Expected Yield | Difficulty |
|---|---|---|---|
| Tumbling Tom | 3–5 gal | 2–4 lbs | Beginner |
| Patio (Bush) | 3–5 gal | 3–5 lbs | Beginner |
| Bush Early Girl | 5 gal | 4–7 lbs | Beginner–Intermediate |
| Celebrity | 5–7 gal | 6–10 lbs | Intermediate |
| Roma | 5 gal | 4–8 lbs | Beginner–Intermediate |
| Sun Gold (cherry) | 5 gal | continuous | Beginner |
Cherry varieties like Sun Gold, Sweet Million, and Black Cherry are arguably the best starting point for anyone new to Kratky tomatoes. They have lower individual fruit calcium demand — which means significantly less blossom end rot risk — and they fruit faster and more continuously, so you’re rewarded early. A 5-gallon bucket with a Sun Gold plant in a sunny spot is one of the most satisfying things you can grow hydroponically.
Indeterminate varieties like Beefsteak and Brandywine are possible, but they need 15–20 gallon containers, frequent top-offs, and serious support structures. If this is your first Kratky tomato grow, skip them and come back after a successful run with a determinate variety.
Nutrient Solution for Kratky Tomatoes
EC and PPM Targets by Growth Stage
| Growth Stage | PPM (500 scale) | EC (mS/cm) |
|---|---|---|
| Seedling (0–2 weeks) | 400–600 | 0.8–1.2 |
| Vegetative (2–5 weeks) | 800–1,200 | 1.6–2.4 |
| Early Flowering | 1,200–1,600 | 2.4–3.2 |
| Fruiting/Peak Production | 1,600–2,400 | 3.2–4.8 |
| Late Season/Ripening | 1,200–1,600 | 2.4–3.2 |
Tomatoes need far more than leafy greens, which top out around 800–1,200 PPM. In a passive system, starting at the right concentration for each stage is critical because you can’t easily adjust mid-cycle.
Key Nutrients to Get Right
- Nitrogen: High during vegetative growth; back off slightly at fruiting to avoid lush foliage at the expense of fruit set.
- Phosphorus: Critical for root development and flower initiation — make sure it’s adequate at transplant and early flowering.
- Potassium: The star of the fruiting stage. Tomatoes need a high K:N ratio during fruit development. Use a bloom-oriented formula.
- Calcium: Non-negotiable. Target 200–300 PPM Ca to prevent blossom end rot. This is the single most important number to get right.
- Magnesium: Works hand-in-hand with calcium; target 50–75 PPM Mg. Deficiency shows as interveinal chlorosis on older leaves.
MasterBlend Trio Recipe
The MasterBlend trio is the most popular DIY nutrient approach for Kratky tomatoes — precise, affordable, and calcium-complete.
Per gallon of water (fruiting stage):
- MasterBlend 4-18-38: 2.4 g/gallon
- Calcium Nitrate (15.5-0-0): 2.4 g/gallon
- Epsom Salt (MgSO₄): 1.2 g/gallon
This targets approximately 1,400–1,600 PPM (2.8–3.2 EC) — right in the fruiting-stage sweet spot. Scale down proportionally for seedlings and vegetative stages. Always dissolve the calcium nitrate separately before combining with MasterBlend to prevent precipitation.
Jack’s 321 (3.6 g/gal Part A + 2.4 g/gal Part B + 1.2 g/gal Epsom Salt) is an equally reliable option, delivering 1,400–1,800 PPM at fruiting stage. The General Hydroponics Flora Series (FloraGro, FloraBloom, FloraMicro) is more widely available at garden centers and works well with their published tomato feed chart.
pH and EC Management
Ideal pH Range for Kratky Tomatoes
Keep pH at 5.8–6.3, with 6.0 as your target. At this range, calcium, magnesium, and iron are all highly bioavailable. Drift above 6.5 and you risk iron and manganese lockout; drop below 5.5 and calcium and magnesium become unavailable — which invites blossom end rot and deficiency symptoms fast.
How to Monitor and Correct
A calibrated digital pH pen is essential — test strips aren’t accurate enough. The Apera PH20 and Bluelab pH Pen are both reliable options. For EC/TDS, the Apera EC60 covers most growers’ needs. Check pH and EC every 3–5 days during active growth, weekly during slower periods.
One important note: TDS meters use either a 500 or 700 PPM scale. Check which scale your meter uses before comparing numbers — the same solution reads differently on each.
Common corrections:
- pH rising (most common): Tomatoes uptake more anions than cations, pushing pH alkaline. Top off with slightly acidic solution (pH 5.5–5.8) to counteract.
- EC creep (hot conditions, high evaporation): Top off with plain pH-adjusted water — no nutrients — to dilute back to target.
- EC dropping (peak fruiting, heavy feeding): Top off with full-strength nutrient solution.
Always mix nutrients first, check EC, then adjust pH. Nutrients affect pH, so adjusting before mixing gives you a false reading. Add pH Down (phosphoric acid) drop by drop, stir, wait 15 minutes, and recheck before adding to the reservoir.
Lighting for Indoor Kratky Tomatoes
Outdoor Kratky
Outdoor Kratky is the simplest possible setup — no electricity, no fixtures, no timers. Tomatoes need 8–12 hours of direct sunlight daily, with 10–12 hours optimal for fruiting. The main outdoor concern is reservoir temperature: keep it below 72°F (22°C) by insulating the container or placing it in partial shade during the hottest part of the day. Temperatures above 75°F accelerate root rot risk.
Indoor Light Targets
| Stage | PPFD Target | DLI Target |
|---|---|---|
| Seedling | 100–250 μmol/m²/s | 8–12 mol/m²/day |
| Vegetative | 400–600 μmol/m²/s | 15–20 mol/m²/day |
| Flowering/Fruiting | 600–1,000 μmol/m²/s | 20–30 mol/m²/day |
Tomatoes are day-neutral, so they don’t need a specific photoperiod to flower. Run 16–18 hours during vegetative growth and pull back to 14–16 hours during fruiting. Don’t run 24-hour continuous light — tomatoes need a dark period for calcium transport and basic metabolic function.
For grow lights, budget roughly 30–50 watts of quality LED per plant. The Spider Farmer SF-2000 offers solid full-spectrum coverage for 2–4 plants at a reasonable price. For a step up in efficiency, the HLG 300L Rspec delivers 2.5–2.9 μmol/J and is worth the investment if you’re growing regularly. Avoid cheap “blurple” lights rated at “1000W equivalent” — they rarely deliver the actual photon output tomatoes need to set fruit well.
Troubleshooting Common Kratky Tomato Problems
Blossom End Rot (BER)
BER is the most common tomato problem in Kratky, and it’s almost always a calcium delivery issue. The cause is either insufficient calcium in solution (below 200 PPM), pH drift above 6.5 locking out calcium uptake, or inconsistent moisture at the root zone from a lost air gap. Fix it by verifying your calcium concentration, keeping pH at 5.8–6.3, and maintaining a steady reservoir level.
Root Rot
Root rot in Kratky is caused by reservoir temperatures above 72°F (22°C) or a collapsed air gap that leaves roots fully submerged without oxygen. Insulate your reservoir from heat, restore the air gap immediately if it’s been flooded, and consider adding beneficial bacteria like Botanicare Hydroguard to the reservoir. Healthy Kratky roots should be white and fuzzy — brown, slimy roots need immediate attention.
Nutrient Deficiencies
Interveinal chlorosis on newer leaves usually indicates iron deficiency, often caused by pH above 6.5. The same symptom on older leaves points to magnesium deficiency. General yellowing starting from the bottom of the plant is typically nitrogen deficiency — check your EC and make sure you’re not running too dilute for the current growth stage.
If multiple deficiency symptoms appear simultaneously, check pH before adding more nutrients. Nine times out of ten, correcting pH resolves the symptoms within a few days.
Algae in the Reservoir
Green algae is entirely preventable. Use opaque containers, cover all lid gaps with black tape or foam, and never let light reach the nutrient solution. If algae has already established, drain the reservoir, rinse the container, clean the roots gently, and refill with fresh solution.
Frequently Asked Questions
How big of a container do I need for Kratky tomatoes?
Use at least a 5-gallon container for standard determinate varieties, and 3–5 gallons for cherry or dwarf types. For less frequent top-offs and more root room, a 7–10 gallon container is ideal. Indeterminate varieties like Beefsteak need 15–20 gallons minimum.
Do I need to top off the nutrient solution in a Kratky tomato system?
Yes. For tomatoes, modified Kratky with periodic top-offs is the practical standard. Tomatoes have a 70–120 day growing cycle and will exhaust a single reservoir fill well before harvest. Check the reservoir every 3–5 days and top off with nutrient solution or plain pH-adjusted water depending on your EC reading.
What’s the best tomato variety for a first Kratky grow?
Cherry tomatoes — especially Sun Gold or Sweet Million — are the best starting point. They’re forgiving, fruit quickly, and have lower calcium demand than large-fruited varieties, which means less blossom end rot risk. A 5-gallon bucket is all you need.
Why are my Kratky tomato leaves yellowing?
Yellowing from the bottom up usually means nitrogen deficiency — check your EC. Yellowing between the veins on older leaves points to magnesium deficiency. If newer leaves are yellowing between the veins, check your pH; iron lockout from high pH is a common culprit. Always check pH first before adding more nutrients.
Can I grow Kratky tomatoes outdoors?
Yes, and it’s the easiest possible setup — no electricity required. Place your covered reservoir in a spot with 10–12 hours of direct sun, insulate the container to keep reservoir temps below 72°F, and top off every week or two. Outdoor Kratky tomatoes perform very well in warm climates with long growing seasons.