Quick Answer: Hydroponics grows plants in nutrient-rich water instead of soil, delivering results 30–50% faster while using 70–90% less water than traditional gardening. Beginners should start with a Deep Water Culture or Kratky system — both are low-cost, low-maintenance, and can produce harvestable lettuce or herbs in as little as 3–6 weeks. Nail your pH and nutrient levels, and you’ll be surprised how quickly things take off.
If you’re searching for hydroponic gardening tips for beginners, you’ve probably already hit a wall of jargon, conflicting advice, and gear lists that seem to grow longer by the minute. Here’s the truth: the core principles are simple. Grow plants in water, keep the pH in range, provide light and nutrients, and let the plants do their thing. This guide walks you through every step — from picking your first system to harvesting your first crop.
Hydroponic Gardening for Beginners: Choosing the Right System
What Is Hydroponic Gardening?
Hydroponics means growing plants without soil. Roots sit directly in — or are regularly bathed by — a nutrient-rich water solution. An inert growing medium like clay pebbles or rockwool may support the roots physically, but it doesn’t feed the plant. The water does all that work.
Because nutrients are delivered straight to the root zone and oxygen levels can be optimized, hydroponic plants typically grow 30–50% faster than soil-grown counterparts. Water use drops by 70–90% since the solution is recirculated rather than lost to the ground.
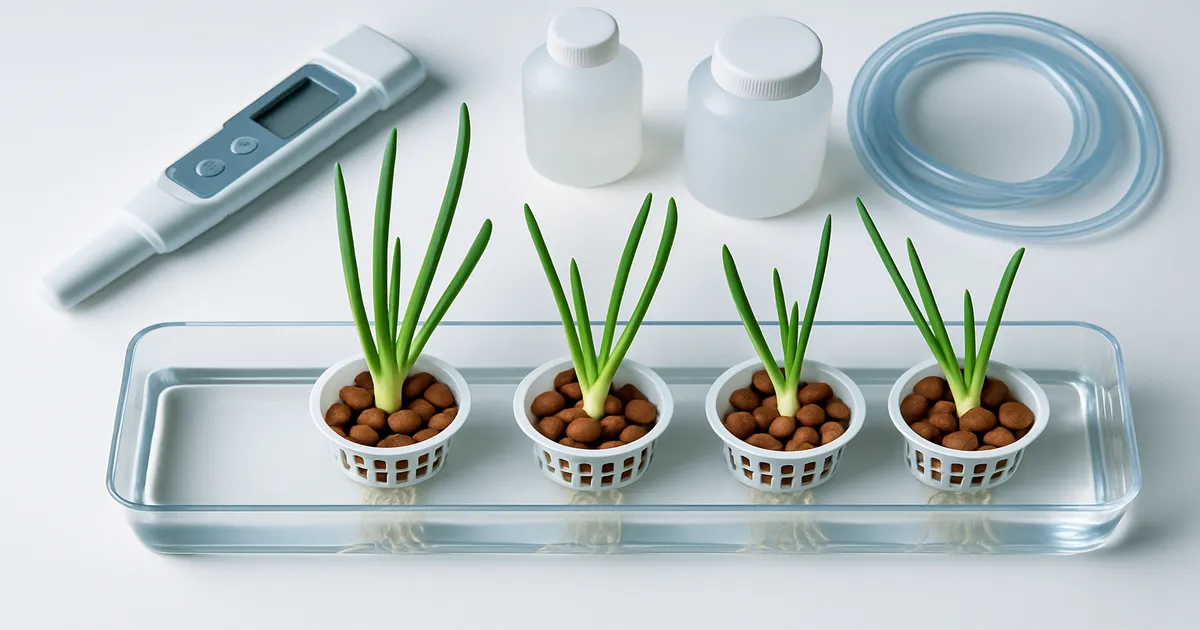
Deep Water Culture (DWC): The Best Starting Point
A DWC setup is just a reservoir, an air pump, an air stone, and net pots suspended in a lid. Roots hang into oxygenated nutrient solution around the clock. It’s hard to find a simpler active hydroponic system, and the fast growth rates make it deeply satisfying for first-time growers.
Best crops: lettuce, basil, kale, chard, and most fast-growing leafy greens.
Kratky Method: Passive Hydroponics with Zero Electricity
Kratky is DWC’s even simpler cousin. Fill a container, plant your seedling, and let the water level drop naturally as the plant drinks. An air gap forms between the water surface and the net pot, letting roots breathe. No pump, no timer, no electricity required.
It’s ideal for lettuce and herbs in small spaces. The trade-off is limited scalability — larger or faster-growing plants may outpace the passive oxygen supply.
Wick Systems: Ultra-Low-Cost Option for Herbs and Microgreens
A wick system uses an absorbent rope to draw nutrient solution from a reservoir up into the growing medium. You can build one from a mason jar and some cotton rope for almost nothing. Wicks can’t deliver nutrients fast enough for large or thirsty plants, so stick to small herbs and microgreens.
Systems to Graduate To: NFT, Ebb & Flow, and Dutch Bucket
Once you have one successful grow behind you, these systems open up more possibilities:
- NFT (Nutrient Film Technique): A thin film of nutrient solution flows continuously through sloped channels. Space-efficient and scalable — great for herbs and strawberries.
- Ebb & Flow (Flood & Drain): A timer floods a grow tray at set intervals, then drains it back to the reservoir. Versatile and compatible with almost any crop or growing medium.
- Dutch Bucket: Individual buckets are drip-fed and drain back to a central reservoir. The go-to system for tomatoes, cucumbers, and peppers.
Aeroponics — which mists roots at high frequency — produces the fastest growth of any system, but nozzle clogs or a 30-minute pump failure can kill a crop. Save it for after you’ve mastered the basics.
| System | Difficulty | Best Crops | Key Advantage |
|---|---|---|---|
| DWC | Easy | Lettuce, herbs | Simple, fast, low cost |
| Kratky | Easy | Lettuce, herbs | No electricity needed |
| Wick | Easy | Small herbs, microgreens | Ultra-low cost |
| NFT | Moderate | Herbs, strawberries | Space-efficient |
| Ebb & Flow | Moderate | Tomatoes, herbs | Versatile |
| Dutch Bucket | Moderate | Tomatoes, cucumbers | Great for fruiting crops |
| Aeroponics | Advanced | Most vegetables | Fastest growth |
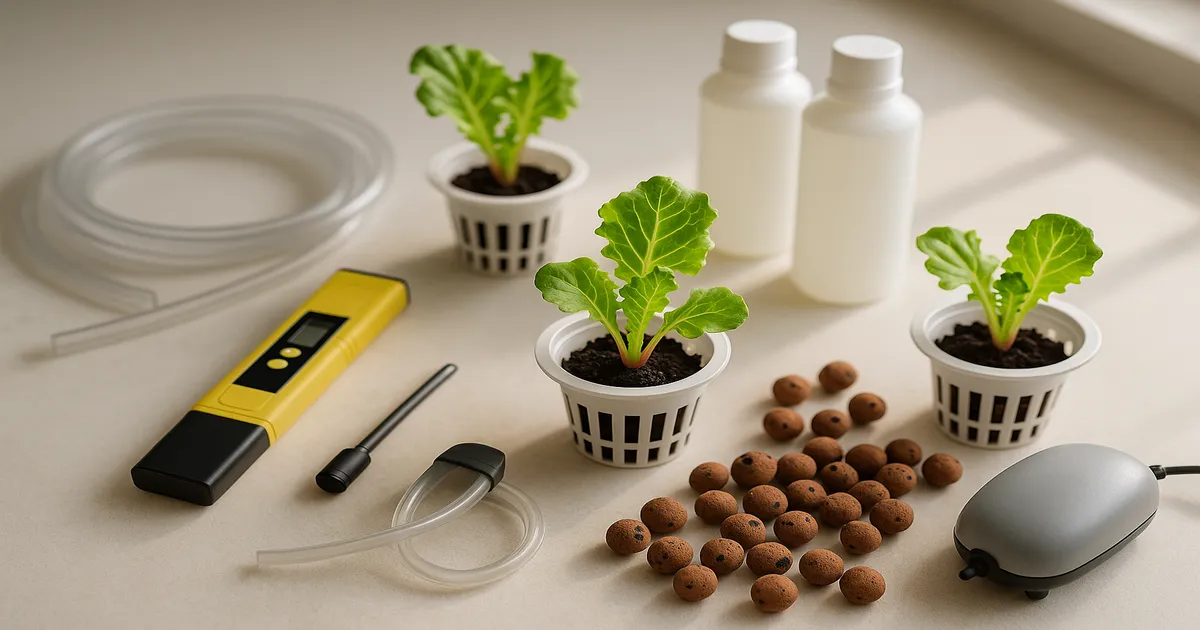
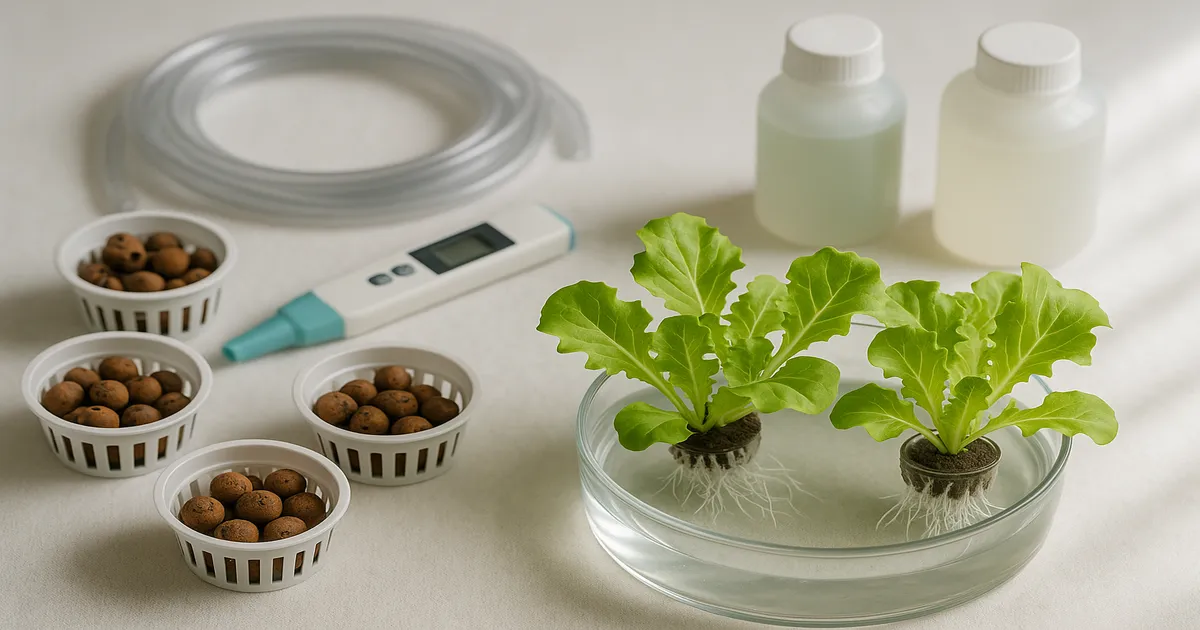
Essential Equipment for Beginner Hydroponic Growers
Reservoir, Net Pots, and Growing Media
Your reservoir is the heart of the system. For lettuce and herbs, plan on at least 1 gallon per plant. Fruiting crops like tomatoes need 3–5 gallons each — more water volume means more stable pH and EC, which makes your life considerably easier.
Net pots hold your plants in the lid and let roots hang freely into the solution. Fill them with an inert growing medium:
- Hydroton (clay pebbles): Reusable, excellent drainage and aeration — the most popular choice.
- Rockwool: Great for germinating seeds and cloning. Handle with gloves; the fibers are a skin irritant.
- Perlite: Cheap and widely available. Works well in wick systems and as a top-fill in DWC.
Air Pumps and Air Stones
In a DWC system, an air pump pushing bubbles through an air stone keeps dissolved oxygen high enough to prevent root rot. Size your pump to your reservoir volume — most manufacturers list a gallon-per-hour rating. When in doubt, go bigger; over-oxygenation is not a real concern in hobby-scale systems. A reliable dual-outlet pump like the Vivosun 317 GPH Air Pump handles most small-to-medium DWC setups without issue.
pH and EC/TDS Meters: Your Most Important Tools
No single piece of equipment matters more than your meters. A reliable pH meter and an EC/TDS meter are non-negotiable — guessing either value is the fastest route to crop failure.
For pH, mid-range pens like the Apera PH20 are accurate, easy to calibrate, and built to last. For EC, the HM Digital COM-100 is a solid, affordable choice. If you’d rather measure both at once, the Apera PC60 is a convenient step up.
Grow Lights
If you’re growing indoors, light quality determines everything. Full-spectrum white LEDs are the clear choice for beginners — they mimic natural sunlight, let you inspect plant health under normal-looking light, and modern models are highly efficient. Older red/blue “blurple” LEDs work, but they’re less efficient and make it harder to spot problems early. A fixture like the Spider Farmer SF-2000 covers a 2×4 ft canopy and suits most beginner setups well.
Hydroponic Nutrients: What to Feed Your Plants and When
Macronutrients: N, P, and K
The three primary macronutrients each play a distinct role:
- Nitrogen (N): Drives leafy, vegetative growth. Deficiency shows up as yellowing on older, lower leaves first.
- Phosphorus (P): Supports root development, flowering, and fruiting. Deficiency causes purple or reddish tints on leaf undersides.
- Potassium (K): Regulates water uptake, enzyme activity, and fruit quality. Deficiency causes brown, scorched leaf edges.
During vegetative growth, lean toward a higher-N formula (N-P-K ratio around 3-1-2). When plants shift to flowering and fruiting, move toward higher P and K (around 1-3-2).
Calcium and Magnesium: The Most Overlooked Nutrients
Calcium is the most frequently deficient secondary nutrient in hydroponics. It prevents tip burn in lettuce and blossom end rot in tomatoes — two of the most common beginner frustrations. If you’re using reverse osmosis water, you almost certainly need a Cal-Mag supplement like Botanicare Cal-Mag Plus since RO strips these minerals out entirely.
Magnesium is the central atom in chlorophyll. Deficiency causes yellowing between the veins on older leaves — easy to confuse with iron deficiency if you’re not familiar with the pattern.
Best Beginner Nutrient Formulas
Three options stand out:
- General Hydroponics Flora Series — A 3-part liquid system (FloraMicro, FloraGro, FloraBloom). For vegetative growth, mix 5 mL FloraMicro + 10 mL FloraGro + 5 mL FloraBloom per gallon. For fruiting, shift to 5 mL / 5 mL / 10 mL.
- General Hydroponics MaxiGro / MaxiBloom — Powder-based, one-part formula. Dissolve 7 g per gallon for roughly 800–900 PPM (1.6–1.8 EC). Simple and cost-effective.
- MasterBlend 4-18-38 — Professional powder at a fraction of the cost of liquid nutrients. Standard recipe: 2.4 g MasterBlend + 2.4 g calcium nitrate + 1.2 g Epsom salt per gallon, yielding around 800–900 PPM (1.6–1.8 EC).
PPM and EC Targets by Growth Stage
| Growth Stage | PPM (500 scale) | EC |
|---|---|---|
| Seedling / Clone | 100–400 | 0.2–0.8 |
| Early Vegetative | 400–800 | 0.8–1.6 |
| Late Vegetative | 800–1,200 | 1.6–2.4 |
| Early Flower/Fruit | 1,000–1,400 | 2.0–2.8 |
| Late Flower/Fruit | 1,200–1,600 | 2.4–3.2 |
| Flush (final week) | 0–200 | 0.0–0.4 |
Note: North American meters typically use the 500 PPM scale; European meters often use the 700 scale. The same solution reads differently on each. EC is the universal standard — get comfortable using it.
pH and EC Management: The Core Skill in Hydroponic Gardening
Why pH Controls Everything
Nutrients only become available to roots within specific pH windows. Outside that window, they lock up in solution and your plant can’t access them — this is called nutrient lockout. You can be running a perfectly formulated nutrient solution and still starve your plant if the pH is off. Even a 0.5-unit swing can produce visible deficiency symptoms within 24–48 hours.
For most crops, targeting pH 5.8–6.2 keeps you safely in range for nearly all nutrient uptake.
Optimal pH Ranges by Crop
| Crop | Optimal pH |
|---|---|
| Lettuce, spinach, kale | 6.0–7.0 |
| Herbs (basil, mint, cilantro) | 5.5–6.5 |
| Tomatoes, peppers, cucumbers | 5.5–6.5 |
| Strawberries | 5.5–6.0 |
| Microgreens | 5.5–6.5 |
Testing, Calibrating, and Adjusting pH
Calibrate your pH meter weekly using pH 4.0 and 7.0 buffer solutions — it takes two minutes and prevents the most common beginner measurement error. Store the probe tip in storage solution, not plain water; plain water causes the membrane to leach ions and throws off readings.
To adjust:
- pH too low: Add pH Up (potassium hydroxide) in 1–2 mL increments per 5 gallons. Stir, wait 15 minutes, retest.
- pH too high: Add pH Down (phosphoric acid) using the same incremental approach. Phosphoric acid also provides a small phosphorus boost, making it preferable to citric acid.
Never dump either solution in all at once.
EC Management and Reservoir Changes
As plants drink, water evaporates and EC climbs because nutrients concentrate. Top off with plain pH-adjusted water — not fresh nutrient solution — to bring the level back up and EC back down. Change the full reservoir every 7–14 days in small systems to prevent salt buildup and microbial growth.
| Symptom | Likely Cause | Fix |
|---|---|---|
| pH rising steadily | Plants consuming more nitrates than cations — normal in veg | Add pH Down in small doses |
| pH dropping rapidly | Microbial activity or ammonium-heavy nutrients | Check for root rot; switch to nitrate-based nitrogen |
| Swings >1.0 per day | Reservoir too small or EC too low | Increase reservoir volume; keep EC above 1.2 |
| Stable pH, visible deficiency | Nutrient lockout or antagonism | Flush and reset solution |
Best Plants for Beginner Hydroponic Gardening Tips
Start Here: Lettuce, Basil, and Leafy Greens
Lettuce is the perfect first hydroponic crop. It’s fast, forgiving, thrives in DWC and Kratky, and doesn’t demand high light levels or complex nutrient management. Basil is nearly as easy and rewards you with an aromatic, useful harvest. Both go from seed to harvest in 3–5 weeks under decent light, at a PPFD of 150–250 µmol/m²/s and a DLI of 12–17 mol/m²/day.
Intermediate Crops: Herbs, Strawberries, and Spinach
Mint, cilantro, and parsley are all solid second-grow choices. Strawberries are a popular step up — they prefer a slightly lower pH (5.5–6.0) and do well in NFT or Kratky systems. Spinach is fast but more pH-sensitive than lettuce, making it good practice for your monitoring skills.
Challenging but Rewarding: Tomatoes, Peppers, and Cucumbers
These crops deliver, but they demand more: higher PPFD (400–600 µmol/m²/s), larger reservoirs (3–5 gallons per plant), more careful nutrient management through flowering and fruiting stages, and physical support structures for vines. Save them for your second or third grow once you’re comfortable with pH and EC management.
Fastest Results: Microgreens in 7–14 Days
If you want a win this week, grow microgreens. Sunflower, radish, pea shoots, and broccoli microgreens can be harvested in 7–14 days, require minimal equipment, and need only 100–300 µmol/m²/s of light. They’re a great way to build confidence before committing to a full system.
Frequently Asked Questions
How much does it cost to start a hydroponic garden? A basic Kratky setup — container, net pots, growing medium, nutrients, and a pH meter — can be assembled for $50–$80. A small DWC kit with an air pump and a quality grow light runs $150–$250. Costs scale up with system size and lighting.
Do hydroponic plants need sunlight? Not necessarily. Full-spectrum LED grow lights replicate the wavelengths plants need for photosynthesis. A south-facing window can supplement or replace artificial lighting for low-light crops like lettuce, but most indoor setups rely on dedicated grow lights for consistent results.
How often should I change my nutrient solution? Every 7–14 days in small systems. Between changes, top off with plain pH-adjusted water to compensate for evaporation and plant uptake. Letting the solution go longer risks salt buildup and microbial growth.
Why are my hydroponic plants turning yellow? Yellowing is usually a pH or nutrient issue. Check pH first — if it’s outside 5.8–6.2, correct it before assuming a deficiency. If pH is fine, look at the pattern: yellowing on older lower leaves points to nitrogen deficiency; yellowing between leaf veins on older leaves suggests magnesium deficiency.
Can I grow hydroponics without a grow tent? Yes. A grow tent isn’t required, but it helps contain light, maintain temperature and humidity, and keep pests out. For a first grow, a simple shelf or countertop setup works fine. As you scale up or add more systems, a tent like the AC Infinity CLOUDLAB 844 makes environmental control much easier.