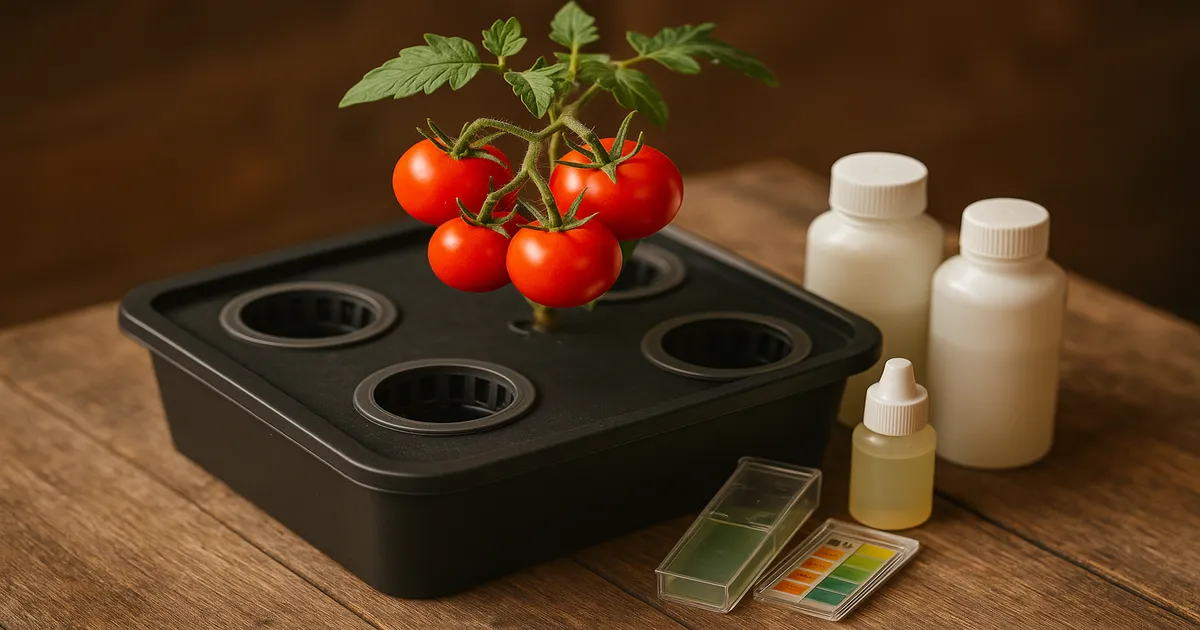
Quick Answer: The Kratky method is a passive, pump-free hydroponic technique that works surprisingly well for tomatoes — with a few key modifications. You’ll need a larger reservoir (5+ gallons), periodic nutrient top-offs, and physical support for the plant. Stick with determinate or dwarf varieties as a beginner, and you can expect fruit 30–50% faster than soil under the same light conditions.
Learning how to grow Kratky hydroponic tomatoes is one of those projects that sounds too good to be true — no pumps, no electricity, no complicated timers — but it genuinely works. The key is knowing where the classic Kratky approach needs adapting for a heavy-feeding, fast-drinking plant like a tomato. Get those details right, and you’ll be harvesting fresh tomatoes from a bucket in your garage or spare room.
What Is the Kratky Method?
The Kratky method was developed by Dr. Bernard A. Kratky at the University of Hawaii and published in HortTechnology in 2009. The concept is elegantly simple: suspend a plant above a reservoir of nutrient solution and let it drink. As the roots consume the liquid, an air gap forms naturally between the water surface and the net pot — and that gap keeps roots oxygenated without any pump or air stone.
Originally validated for lettuce and leafy greens, Kratky has been enthusiastically adapted by hobbyists for fruiting crops. Tomatoes are the most popular stretch goal.
Can You Really Grow Tomatoes with Kratky?
Yes — but tomatoes are hungrier and thirstier than lettuce, so the classic “set it and forget it” approach won’t cut it. You’ll need a larger reservoir, occasional top-offs, and a support structure. Think of it as a modified Kratky setup rather than the pure static version. Under good lighting, Kratky tomatoes can produce fruit 30–50% faster than soil-grown plants.
Setting Up Your Kratky Hydroponic Tomato System
Choosing the Right Container
For tomatoes, bigger is always better. A single determinate plant needs a minimum of 5 gallons; indeterminate varieties can drink through 15+ gallons over a full season. Starting too small means constant top-offs and a higher risk of the reservoir running dry during fruiting — the worst possible time for a water crisis.
Use opaque containers only. Light penetrating the reservoir feeds algae, which competes with your plant and destabilizes pH.
Classic vs. Modified Kratky for Tomatoes
The classic Kratky setup — fill once, never touch — works beautifully for lettuce. Tomatoes need the modified Kratky approach: periodic top-offs and a larger container. Here’s how the main variants compare:
| Variant | Description | Best For |
|---|---|---|
| Classic Kratky | Static reservoir, no top-offs | Leafy greens |
| Modified Kratky | Periodic top-offs, larger containers | Tomatoes, peppers |
| Semi-Kratky | Occasional aeration added | Fruiting plants |
| Drain/Fill Port | Refill without disturbing plant | Tomatoes — recommended |
The drain/fill port version is the clear winner for tomatoes. A simple bulkhead fitting near the base of the container lets you add solution from outside without lifting the lid and disrupting roots. Drill a hole near the base, install a ½-inch bulkhead fitting, and attach a short capped tube. Top-offs take five minutes and cause zero root disturbance.
Essential Components
Here’s what you need to get started:
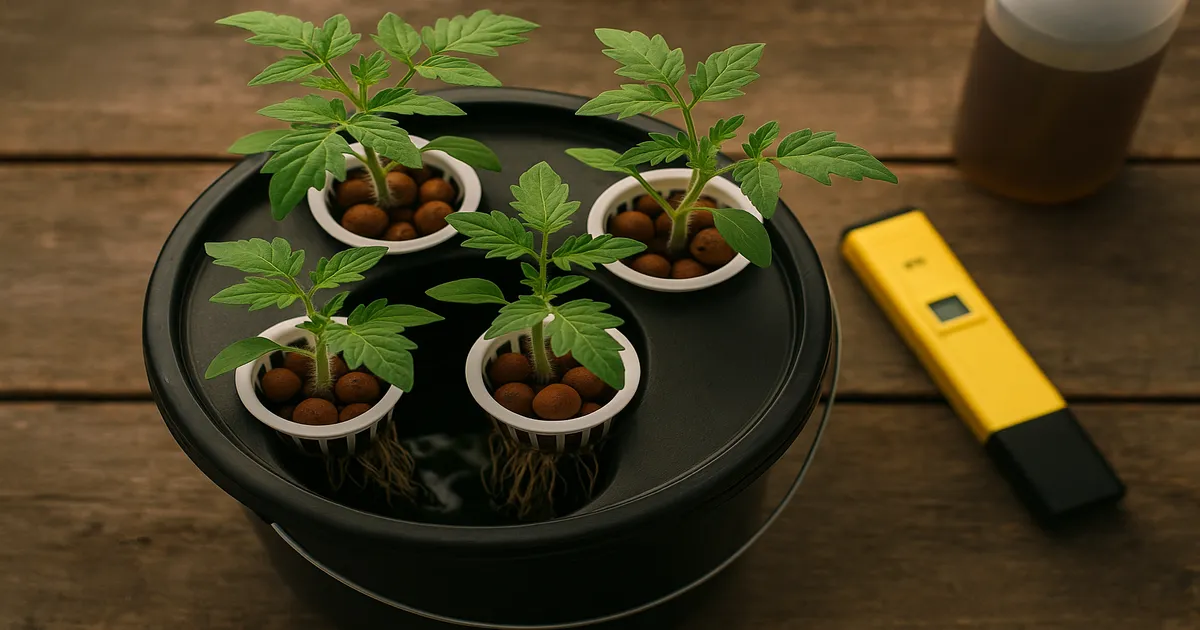
- Opaque reservoir — 5-gallon bucket minimum; dark-colored storage totes work well for larger setups
- 3–4 inch net pots — standard size for tomato seedlings
- Growing media — hydroton (expanded clay pebbles) or rockwool cubes; both drain well and anchor heavy root systems
- Light-blocking lid — a tight-fitting lid with a hole cut for the net pot; spray-paint any clear lids black
A 5-gallon bucket with a fitted lid and a 3-inch net pot is the most beginner-friendly starting point. Add a grow tent with reflective mylar walls and you’ll boost light efficiency by 20–30% — worth it if you’re growing indoors year-round. (AC Infinity CLOUDLAB 632)
Choosing the Best Tomato Varieties for Kratky Hydroponic Growing
Why Determinate Varieties Work Best
Determinate tomatoes grow to a fixed height, set all their fruit roughly at once, and then stop. That compact, predictable growth habit is a natural fit for a static reservoir. You can plan your support structure in advance, and total water demand stays manageable.
Indeterminate varieties just keep growing — and keep drinking — which turns reservoir management into a part-time job.
Top Recommended Varieties
| Variety | Plant Size | Fruit Size | Days to Maturity | Difficulty |
|---|---|---|---|---|
| Tiny Tim | 12–18 in | Cherry | 55–60 days | ⭐ Easy |
| Patio | 18–24 in | Cherry/small | 65–70 days | ⭐ Easy |
| Bush Early Girl | 24–36 in | Medium | 54–60 days | ⭐ Easy |
| Celebrity | 36–48 in | Medium-large | 70–75 days | ⭐⭐ Moderate |
| Rutgers | 36–48 in | Medium | 74 days | ⭐⭐ Moderate |
Tiny Tim and Patio are the best entry points — compact enough for a 5-gallon bucket, productive enough to make it worthwhile.
Can You Grow Indeterminate Tomatoes?
You can, but set realistic expectations. Varieties like Beefsteak or Cherokee Purple need a 15+ gallon reservoir, daily monitoring during peak fruiting, and robust structural support. It’s not a beginner project.
Supporting Your Plant
Anchor your support structure to something other than the reservoir lid — the weight of a fruiting plant can crack or warp the lid and break the seal. Good options include:
- Bamboo stakes inserted through the growing media and tied to a fixed overhead point
- Tomato cages placed around (not through) the container, weighted or secured to a wall
- Overhead trellis with clips — the cleanest solution for grow tent setups
Nutrient Solution for Kratky Hydroponic Tomatoes
EC and PPM Targets by Growth Stage
| Growth Stage | PPM (500-scale) | EC (mS/cm) |
|---|---|---|
| Seedling (0–2 weeks) | 400–600 | 0.8–1.2 |
| Vegetative (2–5 weeks) | 800–1,200 | 1.6–2.4 |
| Pre-flower / Transition | 1,200–1,600 | 2.4–3.2 |
| Flowering | 1,600–2,200 | 3.2–4.4 |
| Fruiting / Ripening | 1,800–2,400 | 3.6–4.8 |
Note: These PPM values use the 500-scale standard common in the US. If your TDS meter uses the 700-scale, multiply your EC reading by 700 instead of 500.
Option 1: General Hydroponics Flora Series (Beginner-Friendly)
The Flora Series is widely available and a solid starting point.
- Vegetative: FloraGro 3 tsp/gal + FloraMicro 2 tsp/gal + FloraBloom 1 tsp/gal
- Flowering/Fruiting: FloraGro 1 tsp/gal + FloraMicro 2 tsp/gal + FloraBloom 3 tsp/gal
- Add CalMag at 1–2 tsp/gal at every stage — tomatoes demand it
Always add FloraMicro to water first, then FloraGro, then FloraBloom. Adding them out of order can cause nutrient precipitation.
Option 2: Masterblend 4-18-38 (Cost-Effective and Precise)
The Masterblend tomato formula is the go-to for hobbyists who want precision without breaking the bank.
- Masterblend 4-18-38: 2.4 g/gal
- Calcium Nitrate (15.5-0-0): 2.4 g/gal
- Magnesium Sulfate (Epsom Salt): 1.2 g/gal
Critical mixing order: Dissolve calcium nitrate in water first, then add Masterblend, then Epsom salt. Never combine calcium nitrate and Masterblend as dry concentrates — they’ll react and precipitate. This recipe produces approximately 800–1,000 PPM (1.6–2.0 EC); scale up proportionally for later growth stages.
Option 3: Maxibloom Single-Part Formula (Simplest)
General Hydroponics Maxibloom at 7 g/gal gives roughly 800–900 PPM (1.6–1.8 EC) and works well for fruiting plants. Still add CalMag.
Why CalMag Is Non-Negotiable
Calcium is the foundation of cell wall integrity in tomatoes. Without adequate calcium — or when pH swings block uptake — cells at the blossom end of developing fruit collapse, causing Blossom End Rot (BER). A CalMag supplement (General Hydroponics CALiMAGic) at 1–2 tsp/gal is cheap insurance against the most common tomato problem in hydroponic systems.
Key Nutrients to Watch
- Nitrogen (N): High during veg; reduce during fruiting or you’ll get lush leaves and poor fruit set
- Potassium (K): The most critical fruiting nutrient — governs sugar transport, fruit size, and disease resistance
- Boron (B): Essential for pollen viability; deficiency causes hollow fruit. Target 0.3–0.5 PPM
- Iron (Fe): Use chelated forms (Fe-EDTA or Fe-DTPA) for reliable availability across your pH range
- Magnesium (Mg): Interveinal chlorosis on older leaves is the classic deficiency sign; target 50–75 PPM
Managing pH and EC in Your Kratky Reservoir
Optimal pH Range
Keep your reservoir at pH 5.8–6.3, with 6.0–6.2 being the sweet spot. Below pH 5.5, iron, manganese, and zinc become toxic while calcium uptake collapses. Above pH 6.5, iron, boron, and manganese lock out — your plant will look deficient even with a well-mixed solution.
How to Measure and Adjust pH
Always mix nutrients first, then check and adjust pH — nutrients shift the final reading significantly.
- Mix nutrient solution at target concentration
- Check pH with a calibrated digital meter
- Add pH Down (phosphoric acid) drop by drop to lower; pH Up (potassium hydroxide) to raise
- Stir, wait 30 seconds, recheck
- Repeat until stable within your target range
Avoid baking soda as a long-term pH Up solution — sodium accumulates in the reservoir and damages roots. Potassium bicarbonate is a better alternative.
A reliable combo meter saves a lot of hassle. The Apera PC60 reads pH, EC, and temperature in one unit and is the best single-tool value for home growers at around $100. For pH only, the Apera PH20 (~$40) is accurate and auto-calibrating. Calibrate weekly with pH 4.0 and 7.0 calibration solutions — an uncalibrated meter is the most common source of nutrient management errors.
How EC Behaves in a Static Reservoir
Plants consume water faster than dissolved nutrients, so EC creeps upward over time. If EC rises more than 200–300 PPM above your target, top off with plain pH-adjusted water — no nutrients. If EC drops below target (less common, but possible with a heavily feeding plant), top off with fresh solution at target concentration.
When to Top Off
Check water level every 2–3 days during vegetative growth; daily during fruiting or hot weather. Top off when the solution drops to roughly 1–2 inches above the bottom of the net pot. The critical rule: never submerge the air gap. The roots exposed to air above the waterline are what keep your plant breathing — flood them and you risk root suffocation.
Water Quality
Ideal starting water runs below 150 PPM (0.3 EC). If your tap water is above 400 PPM (0.8 EC), that mineral load will throw off your EC targets and may require a hard-water nutrient formula. Let chlorinated tap water sit uncovered for 24 hours before use, or treat with a small amount of sodium thiosulfate to neutralize chlorine. Reverse osmosis water is the cleanest starting point but isn’t strictly necessary for most home growers.
Lighting for Kratky Hydroponic Tomatoes
PPFD and DLI Targets
| Growth Stage | PPFD (µmol/m²/s) | DLI at 16h photoperiod |
|---|---|---|
| Seedling | 100–200 | 6–11 mol/m²/day |
| Vegetative | 300–500 | 17–29 mol/m²/day |
| Flowering | 500–800 | 29–46 mol/m²/day |
| Fruiting | 600–1,000+ | 35–58 mol/m²/day |
For home growers without CO₂ supplementation, 600–900 PPFD is the practical sweet spot. Push above that and photosynthesis saturates — you’re just running up your electricity bill.
Spectrum and Photoperiod
Blue-dominant light (450–470 nm) promotes compact vegetative growth. For flowering and fruiting, shift toward red-dominant spectrum (620–660 nm). Most modern full-spectrum white LEDs perform well across all stages, especially those with supplemental red diodes. Far-red (730 nm) diodes trigger the Emerson enhancement effect and improve photosynthetic efficiency — a genuine bonus, not just marketing.
Tomatoes are day-neutral, meaning they flower based on maturity rather than day length. Run 16–18 hours of light per day for maximum growth. Avoid 24-hour lighting — it causes leaf curl and reduces photosynthetic efficiency over time.
Recommended LED Grow Lights
| Budget Level | Fixture | Coverage | Approx. Cost |
|---|---|---|---|
| Budget | Mars Hydro TS-1000 | 2×2 ft | ~$100 |
| Mid-Range | Spider Farmer SF-2000 | 2×4 ft | ~$200 |
| Performance | HLG 225 Rspec | 2×3 ft | ~$250 |
| Premium | HLG 350R | 3×3 ft | ~$400 |
Hang lights 18–24 inches above the canopy and verify actual PPFD with a PAR meter or the free Photone app — it’s surprisingly accurate when calibrated properly.
Ongoing Care: Keeping Your Kratky Tomato Healthy
Maintaining the Air Gap
The air gap is the most important variable in a Kratky system. Roots below the waterline absorb nutrients; roots above it absorb oxygen. Both zones must exist simultaneously. When you top off, add solution slowly and stop before the waterline reaches the base of the net pot. A 1–2 inch air gap is your minimum target at all times.
Pollination Indoors
Outdoors, wind and insects handle pollination. Indoors, you need to do it manually. Once flowers open, gently shake the plant or tap individual flower clusters daily. A small electric toothbrush held against the flower stem for a few seconds works even better — the vibration mimics a bumblebee and dramatically improves fruit set.
Pruning and Canopy Management
Remove suckers (the shoots that emerge between the main stem and a branch) on indeterminate varieties to keep growth manageable. For determinate varieties, minimal pruning is needed — removing a few lower leaves to improve airflow is usually enough. Good airflow reduces the risk of fungal issues, which are more common in humid indoor environments.
Troubleshooting Common Problems
| Symptom | Likely Cause | Fix |
|---|---|---|
| Yellow lower leaves | Nitrogen deficiency or overwatering | Check EC; ensure air gap is intact |
| Black blossom end on fruit | Blossom End Rot (calcium deficiency) | Add CalMag; check pH is in range |
| Brown, slimy roots | Root rot (Pythium) | Reduce reservoir temp; increase air gap |
| Wilting despite full reservoir | Root suffocation | Check air gap; reduce water level |
| Pale new growth | Iron lockout | Adjust pH to 5.8–6.2 |
Frequently Asked Questions
How long does it take to grow Kratky hydroponic tomatoes from seed to harvest? Expect 70–90 days from transplant to first harvest with a fast-maturing determinate variety like Bush Early Girl. Add 1–2 weeks for germination and seedling development before transplanting, so total time from seed is roughly 85–110 days. Indeterminate varieties take longer and produce continuously once they start.
Do I need to change the nutrient solution completely, or just top it off? For a single-season grow, topping off is usually sufficient. If EC climbs well above your target despite top-offs with plain water, or if you notice salt buildup or root discoloration, do a full reservoir flush and refill with fresh solution. A complete change every 4–6 weeks is good practice for longer grows.
Why are my Kratky tomato roots turning brown? Some browning of older roots is normal. Slimy, foul-smelling brown roots indicate Pythium (root rot), usually caused by reservoir temperatures above 72°F (22°C) or a flooded air gap. Lower the water level to restore the air gap, keep reservoir temps between 65–70°F (18–21°C), and consider adding a beneficial bacteria product like Hydroguard to prevent recurrence.
Can I start tomatoes directly in the Kratky system, or do I need to germinate separately? Germinate separately. Start seeds in a rockwool cube or rapid rooter plug, keep them warm and moist until the taproot is visible (usually 5–7 days), then move the seedling into your net pot. Transplant into the Kratky reservoir once roots are just beginning to emerge from the bottom of the net pot — typically at 2–3 weeks old.
What’s the biggest mistake beginners make with Kratky tomatoes? Using too small a reservoir. A 1-gallon container might work for lettuce, but a tomato in peak fruiting can drink a gallon of water per day in warm conditions. Start with at least 5 gallons for a determinate variety and install a drain/fill port so top-offs are easy. Running dry during fruiting is the fastest way to lose a crop.