Quick Answer: Automating your hydroponic system means using sensors, timers, dosing pumps, and controllers to manage pH, EC, lighting, irrigation, temperature, and humidity with minimal hands-on effort. Even basic automation — a $30–$50 timer for lights and pumps — eliminates the most common causes of crop failure. Full automation can reduce daily labor from hours to minutes while boosting yields by 15–30%.
If you’ve ever asked “how do I automate my hydroponic system?”, you’re already thinking like a serious grower. Manual monitoring works when you’re starting out, but pH drifting overnight, missed pump cycles, and inconsistent nutrients are the silent killers of hydroponic crops. Automation solves all three — and you don’t need a big budget to get started.
How to Automate a Hydroponic System: The Four Levels
What Hydroponic Automation Actually Means
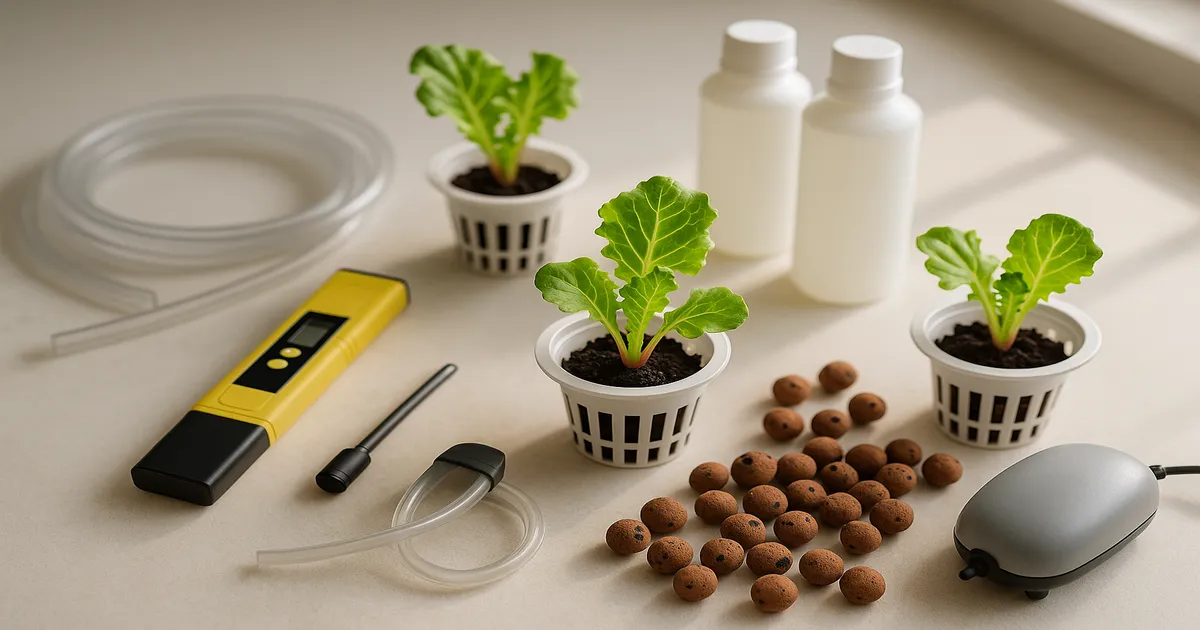
At its core, automating a hydroponic system means replacing manual checks with sensors and controllers that act on your behalf. A sensor reads a value — pH, EC, light level — a controller compares it to your target, and a pump or relay takes action. No intervention required.
You don’t have to automate everything at once. Most growers start with timers and layer in dosing and monitoring as their budget and confidence grow.
How Much Does It Cost?
Costs range widely depending on how deep you go:
| Level | Cost Range | What’s Included |
|---|---|---|
| Level 1 — Basic | $30–$150 | Mechanical timers for lights and pumps |
| Level 2 — Intermediate | $200–$600 | Digital monitors, smart plugs, auto top-off |
| Level 3 — Advanced | $600–$2,000 | Automated pH/EC dosing, data logging |
| Level 4 — Full Commercial | $2,000–$50,000+ | PLC/AI control, integrated climate systems |
Level 1 — Basic: Timers for Lights and Pumps
This is where everyone should start. A simple mechanical or digital outlet timer keeps your lights and pumps on a consistent schedule, which alone eliminates one of the most common causes of crop failure. Budget $15–$40 per timer and you’ve covered Level 1.
Level 2 — Intermediate: Digital Monitors and Smart Plugs
At this stage you add a continuous pH/EC monitor with app-based alerts, a float-valve auto top-off for your reservoir, and smart plugs for remote control. You’re still adjusting nutrients manually, but you’ll know when something needs attention — even from your phone.
Level 3 — Advanced: Automated Dosing and Data Logging
This is where automation gets genuinely powerful. Peristaltic dosing pumps handle pH Up, pH Down, and nutrient concentrates automatically. A controller like the TrolMaster Hydro-X logs data over time so you can spot trends before they become problems. Expect to invest $600–$2,000 depending on reservoir size and sensor count.
Level 4 — Full Commercial: PLC, AI, and Integrated Climate Control
Commercial operations use programmable logic controllers (PLCs), AI-assisted nutrient management, and integrated HVAC systems. Platforms like Growlink Pro handle everything from CO₂ injection to harvest scheduling across multiple grow zones. This tier is overkill for home growers but standard for anyone running a commercial facility.
Which Hydroponic Systems Are Easiest to Automate?
Not all hydroponic systems are equally automation-friendly. Here’s a quick breakdown:
| System | Automation Complexity | Priority Automated Components |
|---|---|---|
| DWC | Low–Moderate | Air timers, pH/EC monitoring, auto top-off |
| NFT | Moderate | Pump timers, pH/EC dosing, flow sensors |
| Ebb & Flow | Moderate | Flood timers, drain sensors |
| Vertical/Tower | Moderate | Pump cycles, nutrient dosing |
| RDWC | Moderate–High | Centralized dosing, chiller control |
| Drip | Moderate–High | Drip timers, runoff EC monitoring |
| Kratky | Low | Auto top-off, basic monitoring only |
| Aeroponics | High | Millisecond-precision misting timers, pressure monitors |
Best starting point for beginners: DWC and NFT. Deep Water Culture has one reservoir to monitor, minimal moving parts, and a straightforward auto top-off setup. NFT is similarly approachable — a single pump timer and inline pH/EC probe covers most of your needs.
High-complexity systems: Aeroponics and RDWC. Aeroponics requires misting intervals measured in milliseconds. A timer failure doesn’t just cause drift — roots can dry out and die within hours. Get comfortable with automation basics before committing to these systems.
How to Automate pH and EC Control in Hydroponics
Why pH and EC Automation Delivers the Most Value
pH directly controls nutrient availability. Outside the 5.5–6.5 range (5.8–6.2 is the ideal target for most crops), even a perfectly formulated nutrient solution locks out key elements. EC drift tells you whether plants are drinking water faster than nutrients (EC rises) or consuming nutrients faster than water (EC falls). Catching either problem within minutes — rather than during your next manual check — is the difference between a healthy crop and a stressed one.
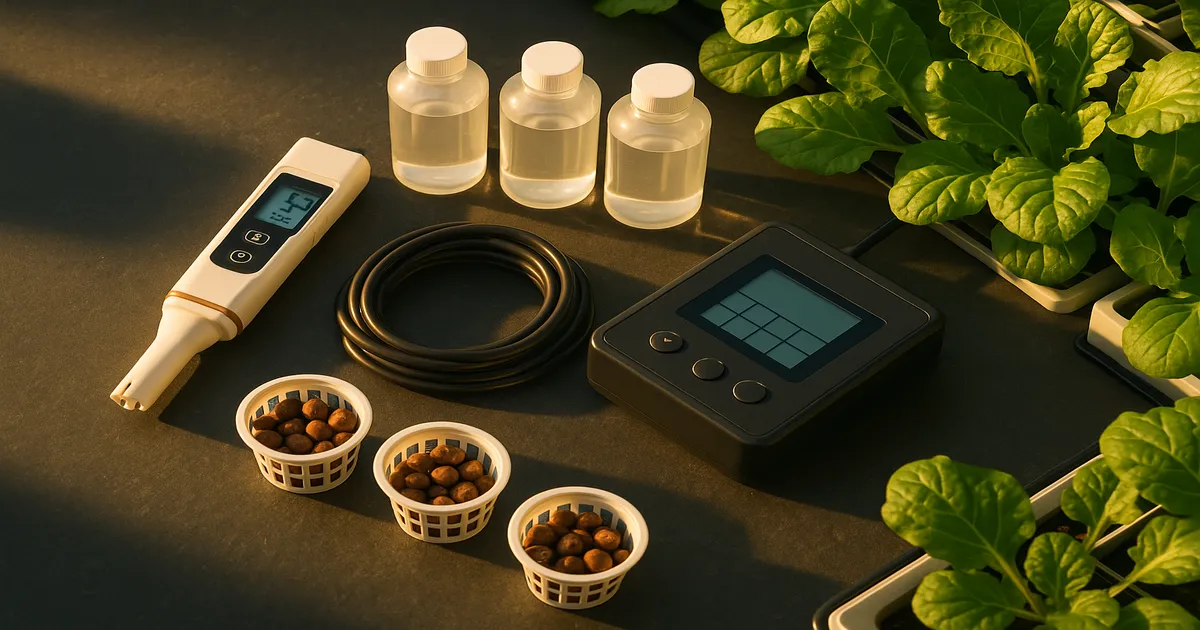
Choosing the Right Probes and Controllers
For plug-and-play setups, the Bluelab Guardian Monitor ($350) covers pH, EC, and temperature in one unit. The TrolMaster Hydro-X ($300–$500) adds environmental control and app connectivity. For DIY builders, Atlas Scientific EZO circuits (~$150–$200 per circuit) integrate cleanly with Arduino or Raspberry Pi via I2C.
How Automated pH Dosing Works
- An inline pH probe sends a continuous reading to the controller.
- The controller compares it to your setpoint (e.g., pH 5.8).
- If pH rises above the tolerance band (e.g., above 6.2), the pH Down pump activates.
- If pH drops below the tolerance band (e.g., below 5.5), the pH Up pump activates.
- The system waits 5–15 minutes for mixing and equilibration, then re-reads before dosing again.
This prevents “pH hunting,” where a system overdoses and swings past the target in the opposite direction. Always dose in small increments — 0.5–2 mL at a time — and allow full equilibration between doses.
pH adjustment chemicals for dosing pumps:
- pH Down: Phosphoric acid diluted to a 10–20% working solution. Never run full-strength concentrate through a dosing line.
- pH Up: Potassium hydroxide (KOH) diluted to 10–20%. Preferred over sodium hydroxide because it also contributes beneficial potassium.
Automated EC and Nutrient Dosing
The process mirrors pH dosing: the EC probe reads the reservoir, the controller compares it to your stage-specific target, and nutrient dosing pumps activate in programmed ratios until the target is reached. When EC climbs too high, an auto top-off system dilutes the reservoir with fresh or RO water.
EC/PPM targets by growth stage:
| Stage | PPM Target (500 scale) | EC Target |
|---|---|---|
| Seedling/Clone | 100–400 PPM | 0.2–0.8 EC |
| Early Vegetative | 400–800 PPM | 0.8–1.6 EC |
| Late Vegetative | 800–1,200 PPM | 1.6–2.4 EC |
| Early Flower/Fruit | 1,000–1,600 PPM | 2.0–3.2 EC |
| Late Flower/Fruit | 1,200–2,000 PPM | 2.4–4.0 EC |
| Flush/Final Week | 0–400 PPM | 0.0–0.8 EC |
Note: PPM values above use the 500 conversion scale (EC × 500). Some meters use the 700 scale — check your meter’s documentation.
Probe Maintenance Schedule
Probes are the weakest link in any automated system. A fouled probe gives false readings, and false readings trigger incorrect dosing.
- Daily: Visual check for debris or fouling on the probe tip
- Weekly: Clean pH probe with probe cleaning solution; rinse EC probe with distilled water
- Bi-weekly: Two-point calibration of pH probe using pH 4.0 and 7.0 buffer solutions
- Monthly: Replace probe storage solution; full system calibration check
- Every 12–18 months: Replace the pH probe membrane — they degrade regardless of maintenance
Automating Nutrient Delivery and Reservoir Management
Best Nutrients for Automated Dosing Systems
Liquid concentrates are the only practical choice for automated dosing lines — dry nutrients can settle and clog tubing. The General Hydroponics Flora Series (Flora Grow, Micro, Bloom) is the industry standard for a reason: it’s compatible with virtually every dosing pump and well-documented for every growth stage. Athena Pro Line and Canna Aqua Series are excellent choices for recirculating systems with minimal residue.
Critical rule: Keep Part A and Part B concentrates in separate reservoirs. Mixing them directly causes calcium to react with sulfates and phosphates, forming a precipitate that clogs lines and wastes nutrients.
Setting Up Peristaltic Dosing Pumps
Peristaltic pumps are the right tool for this job. They’re self-priming, accurate at small volumes, and resistant to pH chemicals and nutrient solutions. Good options:
- Jebao DP-4 (~$40–$60): Budget-friendly and reliable for small to mid-size systems
- Stenner Peristaltic Pump (~$150–$200): Professional-grade with a long service life
- Atlas Scientific EZO-PMP (~$80): Purpose-built for microcontroller integration
Program each pump to dose 0.5–2 mL per activation with a 5–15 minute equilibration window to prevent EC overshoot.
Auto Top-Off and Water Quality
As plants transpire, reservoir volume drops and EC climbs. An auto top-off system — either a float valve connected to a freshwater supply or a level sensor triggering a small pump — keeps volume stable without manual intervention.
Starting with reverse osmosis (RO) water near 0 PPM gives you a blank slate. Tap water at 200–400 PPM baseline EC reduces your control over final nutrient concentration and can introduce bicarbonates that drive pH upward. If you use RO water, add a Cal-Mag supplement to reach 150–200 PPM (0.3–0.4 EC) before adding your main nutrients — RO strips the calcium and magnesium plants need.
Automating Hydroponic Lighting Schedules
A $15 mechanical outlet timer handles basic light automation. For remote monitoring, a smart plug with app control works well at Level 2. Advanced controllers like the TrolMaster Hydro-X integrate lighting with temperature, humidity, and CO₂ management in a single dashboard.
Three metrics matter when programming a lighting schedule:
- PPFD (Photosynthetic Photon Flux Density): Light intensity at canopy level, in µmol/m²/s
- DLI (Daily Light Integral): Total light delivered per day — PPFD × hours × 0.0036, in mol/m²/day
- Photoperiod: Hours of light per day, which triggers flowering in photoperiod-sensitive crops
Light requirements by crop type:
| Crop Type | PPFD Target | Photoperiod |
|---|---|---|
| Leafy greens, herbs | 150–300 µmol/m²/s | 16–18 hours |
| Tomatoes, peppers | 400–600 µmol/m²/s | 16–18 hrs (veg) / 12 hrs (fruit set) |
| Cannabis (veg) | 400–600 µmol/m²/s | 18–20 hours |
| Cannabis (flower) | 600–900 µmol/m²/s | 12 hours |
| Strawberries | 200–400 µmol/m²/s | 16 hours |
High-end LED drivers and environmental controllers can ramp intensity gradually at “sunrise” and “sunset,” reducing plant stress from abrupt transitions. It’s a small detail, but in tightly controlled environments it contributes to the consistency that drives yield improvements.
DIY Hydroponic Automation with Arduino and Raspberry Pi
These platforms have put sophisticated automation within reach for under $200. An Arduino handles real-time sensor reading and relay control well. A Raspberry Pi adds Wi-Fi, data logging, and a web dashboard. Many growers use both — Arduino for hardware control, Raspberry Pi for data and remote access.
Essential components for a DIY build:
- Microcontroller (Arduino Uno or Raspberry Pi 4)
- Atlas Scientific EZO pH circuit + probe
- Atlas Scientific EZO EC circuit + probe
- 4–8 channel relay module
- Peristaltic dosing pumps (one each for pH Up, pH Down, Part A, Part B)
- Float sensors for auto top-off
- 5V or 12V regulated power supply
- Waterproof enclosure for electronics
Total component cost typically runs $150–$300 depending on sensor quality and number of dosing channels. Atlas Scientific EZO circuits communicate via I2C or UART, and their open-source library covers both Python and Arduino C — so you’re not starting from scratch. Home Assistant and OpenHAB can serve as dashboards, with push notification alerts when values go out of range.
Troubleshooting Common Hydroponic Automation Problems
pH keeps drifting even with automated dosing. A ±0.3–0.5 pH swing over 24 hours is normal — photosynthesis raises pH during the day, respiration lowers it at night. If your system is constantly chasing pH outside that range, check for algae growth (eliminate light leaks), increase solution buffering, or switch to RO water to remove bicarbonates. A rapid pH crash points to bacterial bloom or root rot — replace the reservoir and inspect roots immediately.
EC readings are inconsistent or inaccurate. Salt buildup on the EC probe is the most common culprit. Rinse with distilled water and recalibrate. Confirm your controller applies temperature compensation — EC readings shift significantly with temperature, and most modern meters auto-compensate to 77°F (25°C). If readings spike after adding nutrients, mixing is inadequate; add an air stone or circulation pump.
Dosing pump not dispensing correctly. Check tubing for kinks, air locks, or salt crystallization near the outlet. Flush dosing lines with RO water weekly, especially with organic-based formulas that leave more residue. Peristaltic tubing degrades over time — replace it every 6–12 months depending on use.
Automation system loses connection or fails remotely. Use wired Ethernet for controllers where possible, and add a UPS (uninterruptible power supply) to keep the system running through brief outages. Always build in a mechanical backup timer on your main pump — if the controller loses power, plants shouldn’t go dry.
Frequently Asked Questions About Automating a Hydroponic System
What is the cheapest way to automate a hydroponic system?
Start with mechanical outlet timers for your lights and pumps — you can cover both for $30–$50 total. This single step eliminates inconsistent schedules and is the most impactful upgrade a beginner can make. Add pH/EC monitoring once you’re comfortable with the basics.
Can I automate a hydroponic system without coding?
Yes. Plug-and-play controllers like the TrolMaster Hydro-X and Bluelab Guardian Monitor require no coding — just set your target values and let the system manage dosing and alerts. DIY Arduino/Raspberry Pi builds do require basic coding, but open-source libraries handle most of the heavy lifting.
How often do I need to check an automated hydroponic system?
Even a fully automated system needs a daily visual check — look at plant health, probe tips, and reservoir level. A weekly hands-on session for calibration, line flushing, and reservoir top-up keeps everything running accurately. Automation reduces daily labor to 5–10 minutes; it doesn’t eliminate oversight entirely.
Is automated pH dosing safe for all hydroponic crops?
Yes, as long as you use diluted solutions (10–20% concentration) and dose in small increments with adequate equilibration time. Concentrated pH chemicals can cause localized burns if they contact roots directly. Always inject dosing lines into a high-flow area of the reservoir so chemicals mix quickly.
What’s the biggest mistake beginners make when automating hydroponics?
Skipping probe calibration. An uncalibrated pH probe can read 0.5–1.0 pH units off, causing your automated system to dose in the wrong direction. Calibrate with fresh buffer solutions every two weeks, and replace pH probes every 12–18 months regardless of how well they appear to be working.